
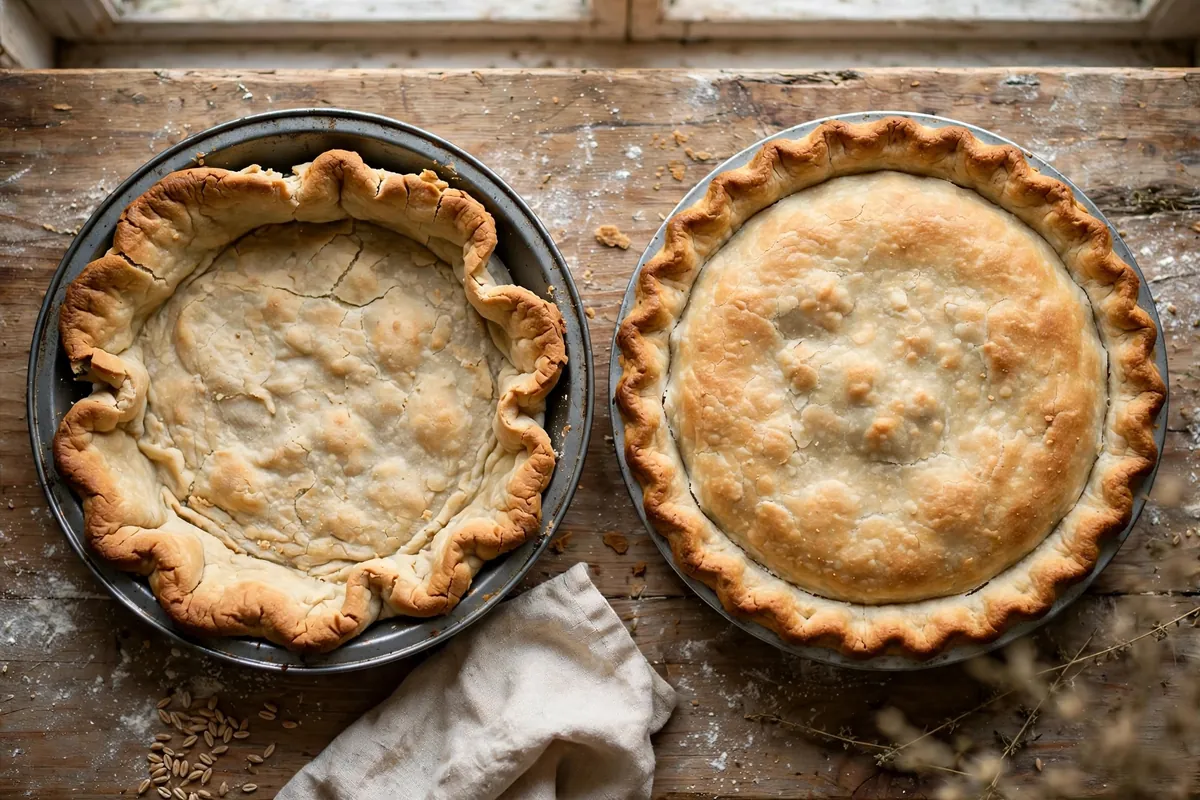
Quick diagnosis: Shrinking is gluten snapping back like a rubber band. It comes from three things in order: dough that was overworked, dough that wasn’t rested, and dough that was stretched — not eased — into the pan. Rest the dough a full hour, chill the shaped shell 20 minutes before baking, and never stretch it to fit. That trio fixes nearly every shrinking crust.

Pie dough has a memory. Every minute of handling develops gluten — the elastic protein network that also makes bread chewy — and gluten’s whole job is to spring back to its original shape. Roll it, stretch it, then heat it, and it contracts exactly the way a stretched rubber band does when released. The fixes are all about relaxing that network before it ever sees the oven.
1. The dough was overworked
Gluten develops with handling: every fold, press, and re-roll builds more elasticity. A dough that’s been kneaded like bread, rolled three times to “get it right,” or pressed aggressively into every flute has a gluten network strong enough to visibly retract in the heat.
How to tell: The dough fought you — it kept springing back while rolling, shrank as you lifted it, or felt elastic and bouncy rather than supple. Tough, leathery baked texture alongside the shrink confirms it.
The fix: Handle it as little as possible. Cut the fat in with a pastry blender or your fingertips, add ice water a tablespoon at a time, and stop the moment it holds together when squeezed. Use the fraisage technique for stubborn bits: smear small sections across the counter with the heel of your hand once or twice — it combines without kneading. When I timed myself, my best crusts came together in under 90 seconds of actual handling.
2. The dough wasn’t rested
Resting lets gluten relax and flour fully hydrate. An unrested dough goes into the pan tense, like a flexed muscle, and the oven heat is what finally lets it release — by contracting. This is the single most skipped step in home pie-making.
How to tell: You mixed, rolled, and filled in one continuous session with no waiting. The dough may also have cracked at the edges while rolling (under-hydrated flour alongside tense gluten).
The fix: Rest twice. First, wrap the mixed dough and refrigerate at least 1 hour (overnight is ideal — flavor improves too). Second, after shaping the shell in the pan, chill it 20–30 minutes before baking. That second chill is the one most recipes underplay; in my testing it cut shrinkage roughly in half on its own, because the gluten relaxes in its final shape.
3. The dough was stretched into the pan
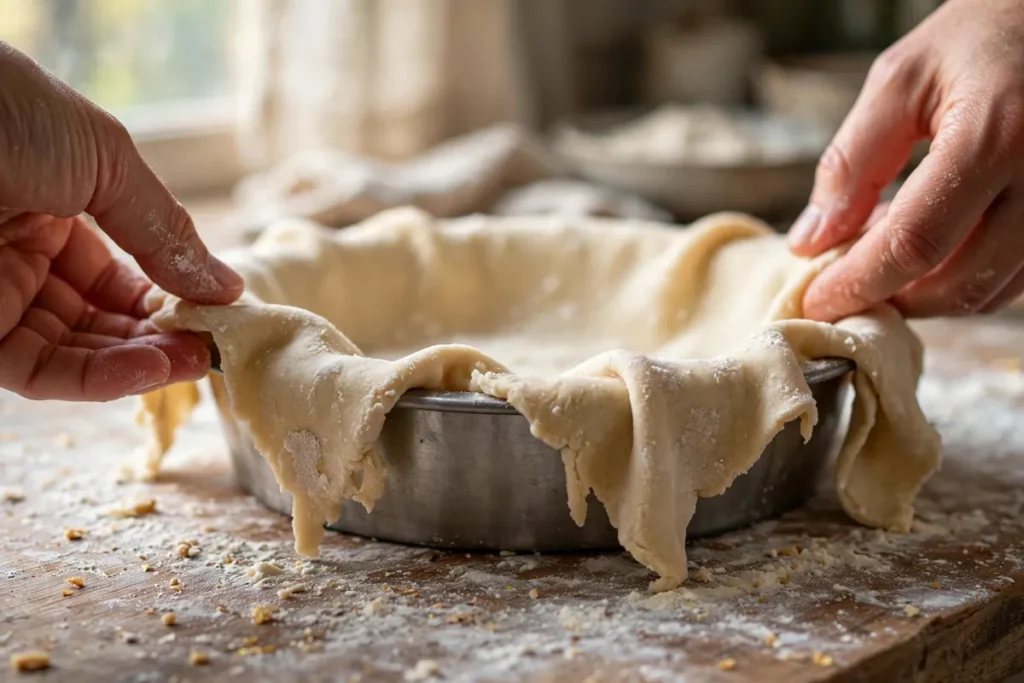
This is the mechanical cause, and it compounds the gluten problem. When you pull dough to reach the pan’s edges, you’re pre-loading it like a stretched rubber band. Heat releases the tension, and the dough snaps back toward the center — sides slump, the rim drops, and fluting disappears.
How to tell: The sides slumped most where you tugged hardest, and decorative crimping melted into a smooth low rim.
The fix: Roll the dough 2 inches wider than the pan all around, then lift and ease it in — let it settle under its own weight, nudging gently, never pulling. Leave a full 1-inch overhang; trim only after blind baking (or fold the overhang under for a thick edge before crimping). Excess dough is your insurance: it gives the crust somewhere to contract without pulling away from the pan.
4. The fat got too warm
Warm fat melts into the flour instead of staying in distinct pea-sized pieces, and melted-into dough behaves more like a cracker dough — it also means you probably over-handled it trying to compensate for the greasy texture, which loops back to cause #1. Cold fat is structural: those solid pieces create the flaky layers and the dough stays relaxed.
How to tell: The dough felt greasy or soft at room temperature, butter visibly smeared rather than staying in chunks, and the baked crust was tough rather than flaky.
The fix: Keep everything cold — freeze the cubed butter 15 minutes before starting, use ice water (with actual cubes in it), and if the kitchen is warm, chill the flour too. You should see distinct butter pieces the size of peas throughout the mixed dough. If the dough softens while you work, stop and refrigerate 15 minutes; there’s no penalty for pausing.
5. The oven wasn’t hot enough at the start
Pastry needs a blast of initial heat to set its structure before the fat fully melts and the gluten starts contracting. A lukewarm oven lets the dough sit in the danger zone — soft, melty, and free to shrink — for far too long.
How to tell: The crust looks pale and slumped rather than golden and defined; it took longer than expected to show any color.
The fix: Blind-bake at 400–425°F (200–220°C), fully preheated. The hot start sets the exterior fast, locking the shape before contraction can take hold. Verify with an oven thermometer — this is the same 15–25°F cool-oven problem that ruins cookies (see Why Do My Cookies Spread Flat?).
6. No pie weights (for blind-baked shells)
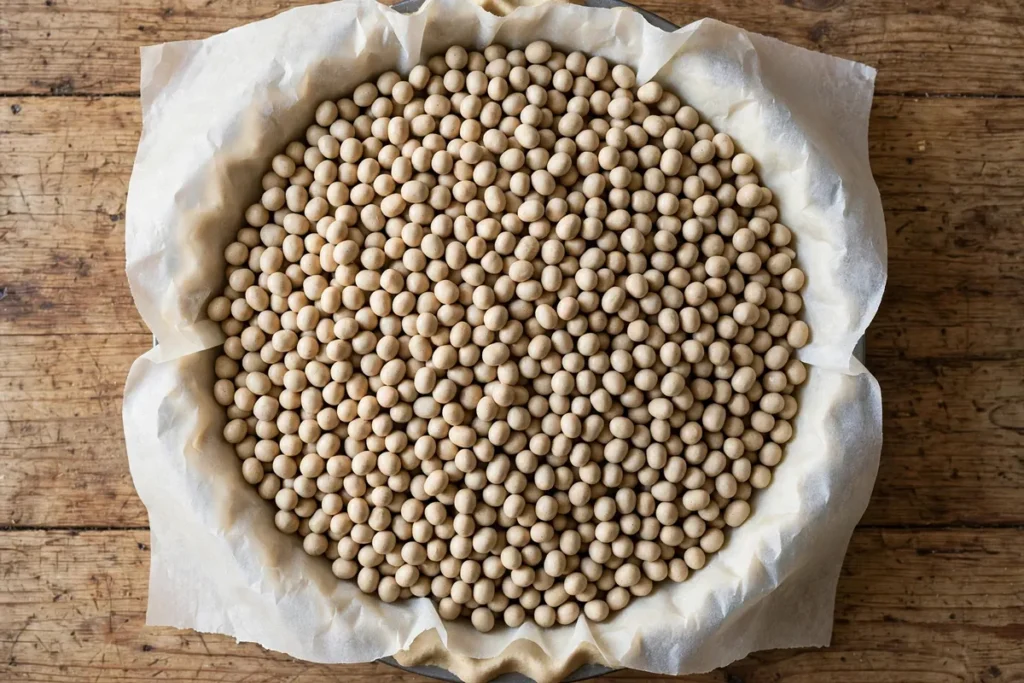
Weights don’t stop gluten contraction directly, but they pin the dough against the pan while the structure sets — physically preventing the slump while causes #1–5 are being fixed at the source. An unweighted shell has nothing holding it in place during the critical first minutes.
How to tell: The bottom puffed up and the sides slid down into it — classic unweighted blind bake.
The fix: Line the chilled shell with parchment and fill completely to the rim with pie weights, dried beans, or even sugar (granulated sugar as a weight is my favorite trick — it toasts lightly and is reusable). Bake 15–20 minutes until the edges set, then remove weights and bake 5–10 minutes more to brown the bottom.
FAQ
Can I still use a shrunken pie shell?
Usually yes. If it shrank but held together, fill it anyway — custard and cream fillings hide a multitude of sins, and it will taste fine. Only start over if the sides collapsed so far that filling would overflow. Shrinkage is cosmetic far more often than structural.
Is it safe to eat pie dough that was left out during resting?
Countertop resting is fine for the short shaping rests (20–30 minutes). But the long hydrating rest must be refrigerated — dough with butter sitting out for hours is a food-safety risk. When in doubt, the fridge is always the right call.
Can I fix shrinkage after the crust is baked?
No — once baked, the shape is permanent. Prevention is the entire game here, which is why the double rest (dough + shaped shell) matters so much. Build it into your timeline: pie day starts the night before.
Does vodka really make better pie crust?
It helps with tenderness, not shrinkage directly. Replacing half the water with cold vodka adds liquid for easy rolling but develops less gluten (gluten needs water, and vodka is only 60% water). It’s a legitimate trick for tender crusts — just keep it ice cold and don’t expect it to fix an overworked dough.
Why did my fluted edge disappear?
The fluting was stretched thin during crimping, then contracted in the heat. Fix: make the edge thick — fold the overhang under itself before crimping so the rim is double-layered — and chill the shaped shell well. A thick, cold edge holds its decoration.
Should I trim the overhang before or after baking?
After, for blind-baked shells. Trimming before baking removes the insurance policy — the excess gives the crust room to contract without pulling away from the pan. For double-crust pies, trim and crimp before baking since the top crust anchors the edge.
Related troubleshooting: Soggy Bottom Pie: How to Get a Crisp Base Every Time · Puff Pastry Not Puffing: Lamination Mistakes to Avoid · Why Do My Cookies Spread Flat?