Category: Cookies & Pastry

  • Why Did My Danish Braid Leak? (Sealing & Filling Fixes)

    Why Did My Danish Braid Leak? (Sealing & Filling Fixes)

    A leaking Danish braid is a containment failure with three usual suspects: filling too wet (it boils and forces its way out), edges poorly sealed (it finds the gap), or dough too warm going into the oven (butter layers melt before the structure sets). Fix all three and the filling stays put.

    Quick diagnosis: Your filling was too wet or too abundant (most common), the braid edges weren’t sealed with egg wash and a firm pinch, or you skipped the pre-bake chill. Fix: thicken fruit filling with cornstarch until a spoon stands in it, seal every seam with egg wash, chill the shaped braid 20–30 minutes before baking.

    My tested baseline: dough from 500g bread flour, 7g instant yeast, 60g sugar, 1 tsp salt, 250ml cold milk, 1 egg, 280g cold butter laminated in with 3 letter folds and 30-minute chills between. Filling: 300g frozen cherries cooked with 60g sugar and 2 tbsp cornstarch until a spoon stands upright, cooled completely. Shaped braid, egg-washed seams, chilled 25 minutes, baked at 375°F (190°C) for 25 minutes to deep golden.

    1. The filling was too wet — boiling fruit blows out the seams

    Wet filling is the number-one leaker. In a 375°F (190°C) oven, excess liquid turns to steam and boils — pressurized liquid looking for an exit. It finds your weakest seam, forces it open, and erupts onto the pan, where the sugars burn black.

    How to tell: The leaked material spread wide and burned dark; the filling inside tastes good but loose; you used fresh juicy fruit, thin jam, or un-thickened pie filling.

    The fix: The filling must be thick enough that a spoon stands upright in it when cool. Cook fruit down with sugar, thicken with 1–2 tbsp cornstarch per cup of fruit — full boil for 1 minute to activate the starch — then cool completely before filling. (Warm filling melts the dough’s butter layers on contact.) Thick jam from a jar is the safe lazy option.

    2. The seams weren’t sealed — egg wash is the glue

    A braid looks sealed when merely folded, but oven heat is a lie detector: any seam held by hope alone springs open as the dough puffs. Without an adhesive, layers separate exactly where you need them joined.

    How to tell: The leak came from a specific seam or end that visibly opened; the filling’s consistency is fine.

    The fix: Brush every seam and edge with beaten egg wash before pressing — egg is the glue. Press firmly, crimp or fold edges under, and pinch again. Tuck both ends tightly underneath; ends are the most common blowout point. Rest the shaped braid 10 minutes so the egg wash gets tacky before chilling.

    3. You skipped the chill — warm dough can’t hold anything

    Danish is laminated dough: alternating layers of dough and solid butter. If the shaped braid goes in warm, the butter melts before the starches set — layers fuse, the braid slumps, and the filling pours out of the collapsing structure. The chill is structural, not optional.

    How to tell: The braid spread flat and wide instead of baking tall; butter pooled on the pan; layers look merged, not flaky.

    The fix: Chill the shaped braid 20–30 minutes in the fridge (10–15 in the freezer) until firm and cold to the touch. Bake straight from the fridge into a fully preheated 375°F (190°C) oven. Cold butter hitting hot air makes steam between layers — that’s the flakiness — while the dough sets around the filling. Same lamination discipline as dense croissants.
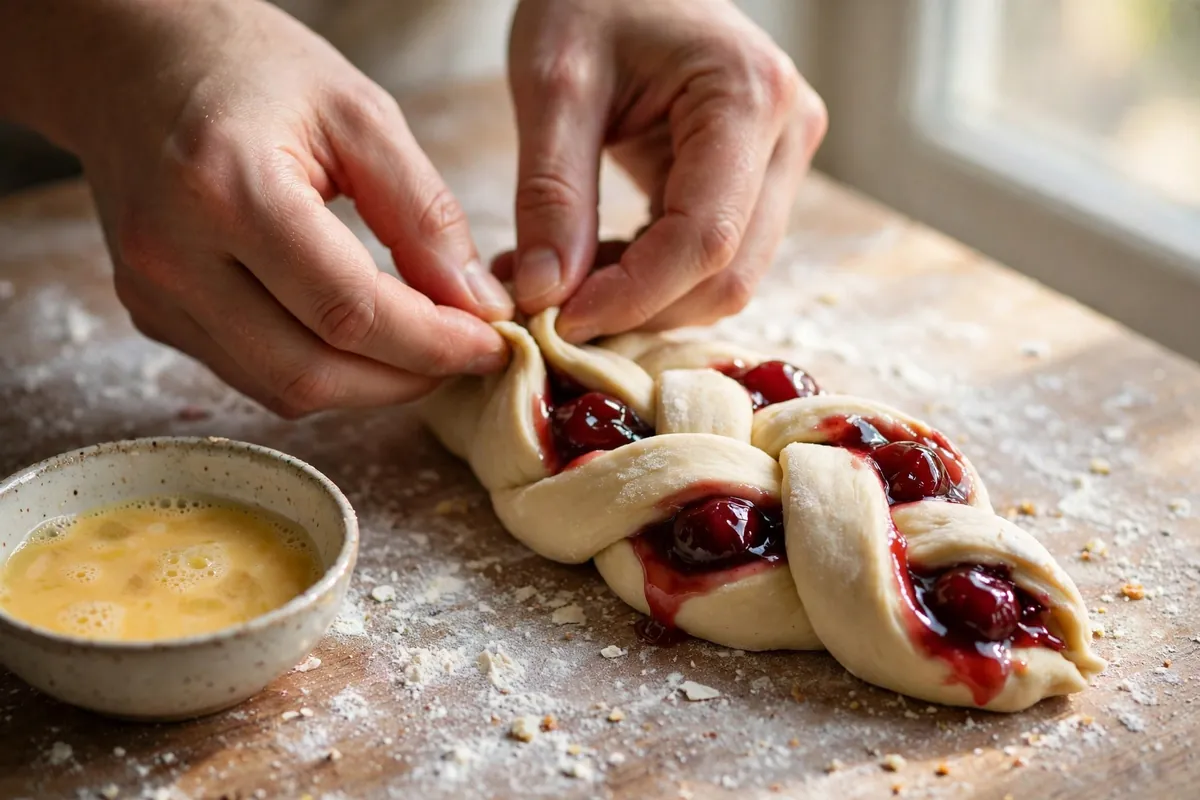
    hands tucking and pinching the end seam of a filled Danish braid closed, small bowl of egg wash nearby
    hands tucking and pinching the end seam of a filled Danish braid closed, small bowl of egg wash nearby

    4. You overfilled it — there has to be room to seal

    A braid has fixed capacity: overfill and the seams can’t close over the mound, the dough can’t contain the volume as it puffs, and the excess has nowhere to go but out.

    How to tell: Filling mounded above the dough before braiding; seams wouldn’t meet without stretching.

    The fix: About 1 to 1¼ cups of filling per large (12-inch) braid — a generous layer down the center with a 1-inch border of bare dough on all sides for sealing. Doubling filling “for flavor”? Make two braids instead. The border is sacred: it’s what the egg wash glues to.

    5. The vents were cut too deep — slashes became escape hatches

    Top slashes vent steam — but cut through to the filling and you’ve built it a chimney. Filling bubbles up through deep cuts exactly as it would through a failed seam.

    How to tell: Filling erupted through the top slashes rather than the seams; the cuts look deep and wide after baking.

    The fix: Slash shallow — just the top dough layer, 3–4mm, never into the filling. The braid’s natural gaps already vent plenty of steam; extra slashes are decorative, so keep them cosmetic.

    6. The oven was too hot — violent boiling vs gentle bubbling

    Above 400°F (200°C), filling doesn’t just bubble — it boils violently, and violent boiling finds exits. Danish needs heat high enough to set the laminated structure fast, but not so fierce the filling erupts.

    How to tell: The braid browned very fast while the filling exploded; the oven was above 375°F (190°C); leaked filling looks scorched.

    The fix: Bake at 375°F (190°C) — verified with a thermometer — middle rack, 20–25 minutes to deeply golden. If the top colors early, tent with foil rather than pulling early; underbaked Danish has a doughy layer under the filling, a cousin of the soggy galette problem.

    Can you fix a leaked Danish braid after the fact?

    The filling can’t go back in, but the braid is rarely ruined. While warm, trim blackened, bitter bits with a knife or shears — scorched sugars taste acrid. Dust generously with powdered sugar: it hides a multitude of sins and looks intentional. Serve warm — a warm Danish with a little escaped filling reads as “rustic,” especially with coffee.
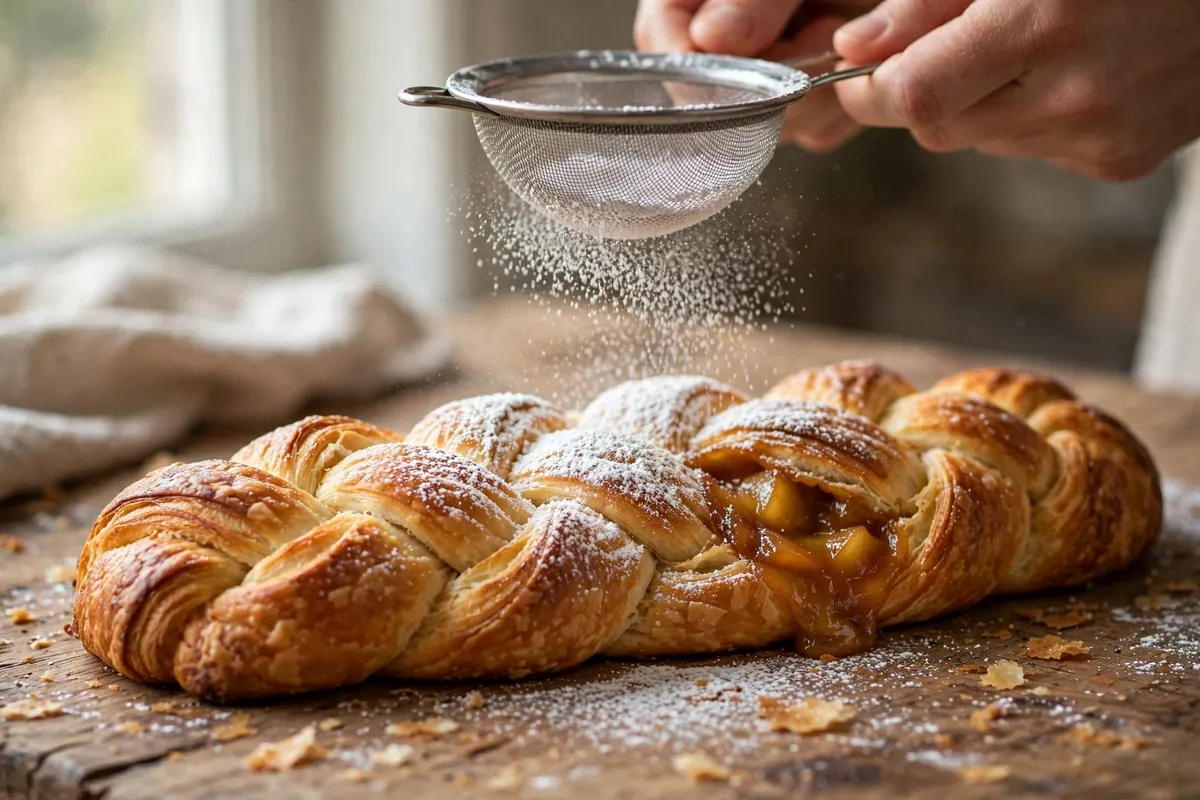
    baked Danish braid with a little golden filling at one seam, being dusted with powdered sugar
    baked Danish braid with a little golden filling at one seam, being dusted with powdered sugar

    FAQ

    Is it safe to eat a Danish braid that leaked?
    Yes — leaked filling is just baked fruit and sugar. Trim any blackened, bitter bits; the rest is delicious.

    Why did my Danish braid leak cream cheese filling?
    The filling was too loose. Use full-fat block cream cheese (never tub spread), an egg yolk to set it, minimal sugar. If it pours rather than mounds, add another yolk or 1 tbsp flour.

    Should Danish dough be cold going into the oven?
    Yes — firm and cold after 20–30 minutes in the fridge. Cold laminated dough in a hot oven is the mechanism of flakiness; warm dough is the mechanism of leaks.

    Can I use canned pie filling?
    Yes — it’s pre-thickened, one of the safest options. If it’s loose in the can, simmer 5 minutes with 1 tbsp cornstarch per cup and cool before using.

    Why did my braid unravel as well as leak?
    Under-sealed seams plus no chill: strands weren’t glued with egg wash and warm dough relaxed open. Seal with egg wash, tuck ends under, chill before baking — the same fixes solve both. (See also cinnamon rolls and rugelach.)

    How do I keep the bottom from getting soggy?
    Bake on a preheated sheet or stone so the base sets fast, don’t overfill, and keep the filling thick — watery filling soaks the base. A dusting of flour or fine breadcrumbs under the filling absorbs stray moisture.

    Related troubleshooting: Why Did My Croissants Come Out Dense? Lamination Fixes · Kouign-Amann Troubleshooting: Leaked Butter and Burnt Sugar, Fixed · Galette Troubleshooting: Soggy, Leaky, Cracked (Free-Form Pie Fixes)
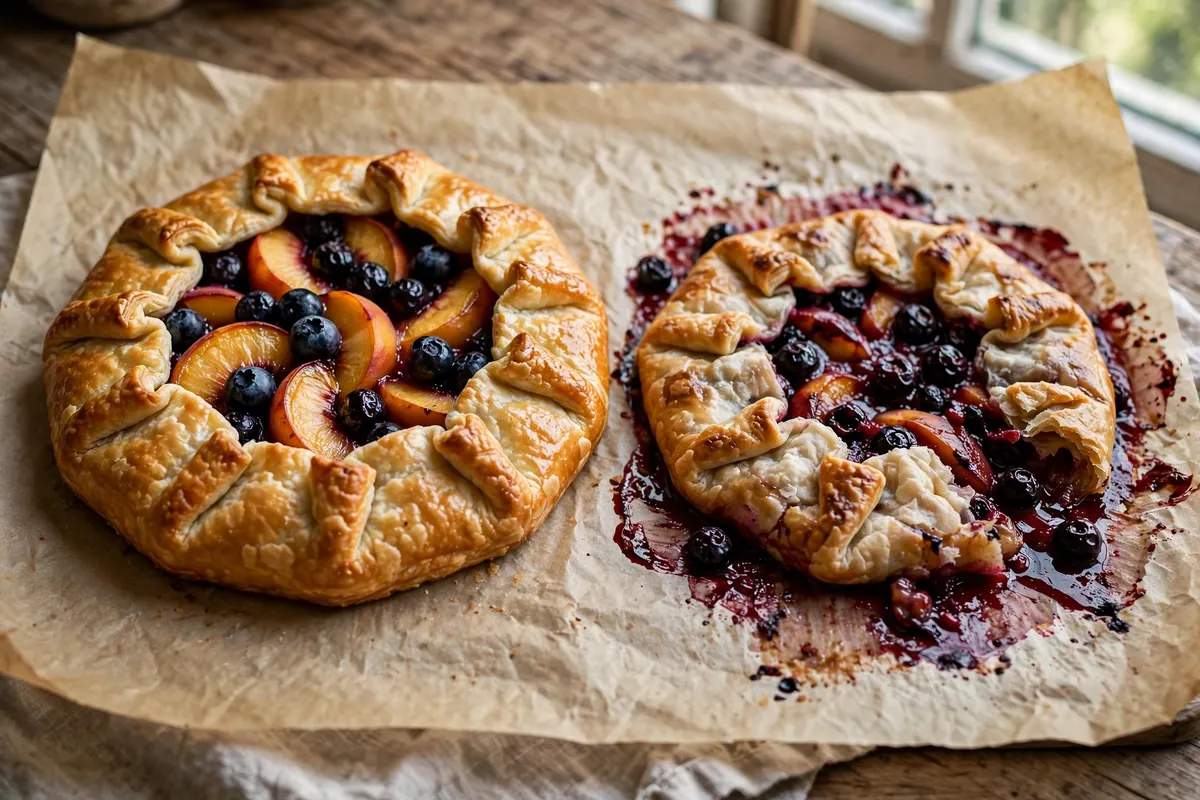
  • Galette Troubleshooting: Soggy, Leaky, Cracked (Free-Form Pie Fixes)
    Galette Troubleshooting: Soggy, Leaky, Cracked (Free-Form Pie Fixes)
    The galette is supposed to be the forgiving pastry — no pie plate, no crimping. Until it isn’t: juice pooling where the bottom crust should be, fruit leaking through the folds, a crust cracking like dry earth. All three have mechanical causes and fixes — a galette is a pie without a pan, so every problem is moisture management and dough handling.

    Quick diagnosis: Soggy bottoms mean the filling’s juice never got hot enough, fast enough — bake on a preheated steel at 400–425°F (200–220°C) with a thickener. Leaks mean the folds weren’t overlapped and sealed. Cracks mean the dough was too cold or too dry when folded.

    Soggy bottom: the filling steamed the crust

    A galette bottom goes soggy when fruit juice pools under the dough faster than heat drives it off — the dough boils in fruit syrup instead of crisping.

    Why it happens: Oven not hot enough, galette launched onto a room-temperature sheet (which insulates the bottom), juicy fruit with no thickener, or the assembled galette sat before baking while fruit macerated into raw dough.

    The fixes, in order of impact:

    1. Bake on a preheated steel or stone. The single biggest upgrade. A 45-minute preheat at 425°F (220°C) means the bottom hits screaming heat on landing — the crust sets before juice soaks in. A preheated dark heavy sheet is the budget version. Never launch onto a cool sheet.
    2. Thicken the filling. Toss fruit with 1–2 tablespoons cornstarch (or 2–3 of flour) plus sugar. The starch must actually boil to gel — another reason the hot oven matters. You want the filling visibly bubbling in the center, not just at the edges.
    3. Add a moisture barrier. A thin layer of frangipane, fine breadcrumbs, or semolina under the fruit absorbs juice from below while adding flavor. The French bakery trick is frangipane; the farmhouse trick is breadcrumbs.
    4. Assemble and bake immediately. Once fruit hits raw dough, juice migrates instantly. Have the oven fully preheated and the steel screaming hot before you roll out the dough.

    Done looks like: the bottom is golden-brown and crisp when you lift an edge — not pale, floppy, or translucent.

    Leaking: the folds weren’t a seal

    Juice escaping through the folds and caramelizing into a bitter puddle is a construction failure. Galette folds look casual but do structural work — they’re all that stands between a pound of juicy fruit and your oven floor.

    Why it happens: Folds too small or barely overlapping, no egg-wash seal, fruit piled too close to the edge, or the galette went in warm so the folds slumped open.

    The fixes:

    1. Fold generously and overlap. Leave a full 2-inch border, fold up and over in pleats overlapping at least an inch, like shingles. Skimpy half-inch folds look rustic and leak like sieves.
    2. Egg-wash the folds into place. Brush the border with beaten egg, press each pleat to seal — the proteins glue layers as they bake — then egg-wash the whole border for color.
    3. Chill before baking. Fifteen to twenty minutes in the refrigerator firms the butter so folds hold instead of slumping in the oven’s first minutes. Cold dough, hot oven — the eternal pastry rule.
    4. Pile, don’t spread. Mound fruit tall in the center rather than flat toward the edges — less fruit pressing against the folds, gravity working with you.

    Leaking mid-bake? Don’t open the oven — the temperature drop worsens sogginess. Let it finish; a leaked galette still tastes excellent.

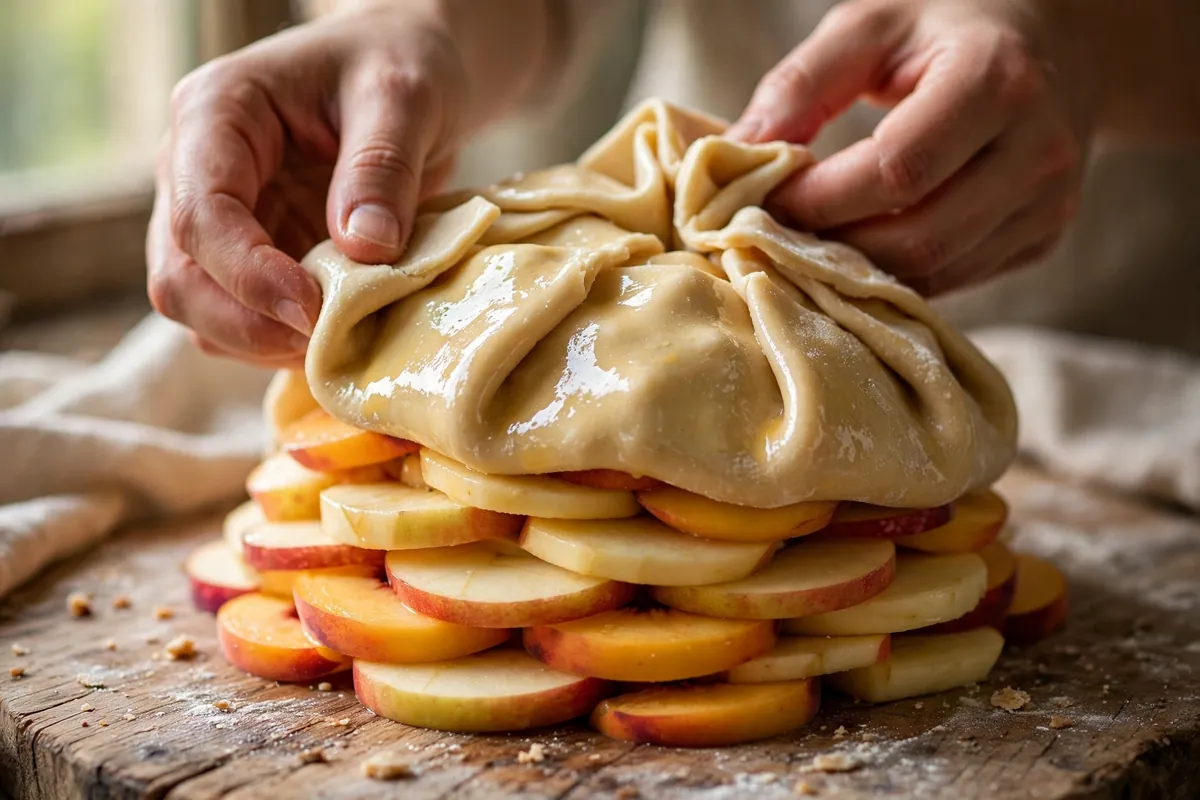
    hands folding a galette edge in overlapping pleats over mounded fruit
    hands folding a galette edge in overlapping pleats over mounded fruit

    Cracked crust: dough too cold, too dry, or both

    Cracks in the folded border are a dough-condition problem. Pastry cracks when bent cold (rigid butter, no pliability) or when too dry (too little water to hold flour together under stress). The fold is the highest-stress point, so weakness shows there.

    Why it happens: Rolled and folded straight from the refrigerator, under-hydrated from the start, or dried out during rolling (too much bench flour, too long on the counter).

    The fixes:

    1. Temper before folding. Let the rolled dough sit 5–10 minutes at cool room temperature until pliable — if edges crack when lifted, it’s still too cold. Don’t let it go warm and greasy; there’s a window, and you’ll feel it.
    2. Patch, don’t panic. Press a dough scrap over the crack with a dab of water as glue, smooth with a finger, egg-wash over it. After baking the patch is invisible — pros patch galettes constantly.
    3. Hydrate properly next time. Chronically cracking dough needs slightly more water — it should just hold together when squeezed, no dry crumbly bits. A teaspoon of vodka or vinegar replacing water also helps: less gluten forms, so the dough stays tender and pliable. Rest a full hour (or overnight) after mixing so flour fully hydrates.

    The bake: hot, bottom-heavy, patient

    Oven at 400–425°F (200–220°C) — 425°F (220°C) for juicy fruit, 400°F (200°C) for delicate — steel preheated 45 minutes, galette assembled fast and chilled 15 minutes, baked 35–45 minutes until the filling bubbles visibly in the center and the crust is deeply golden. The bubbling center is your doneness signal, not the timer: starch-thickened juice must boil to set. Tent the edges with foil if they brown too fast.

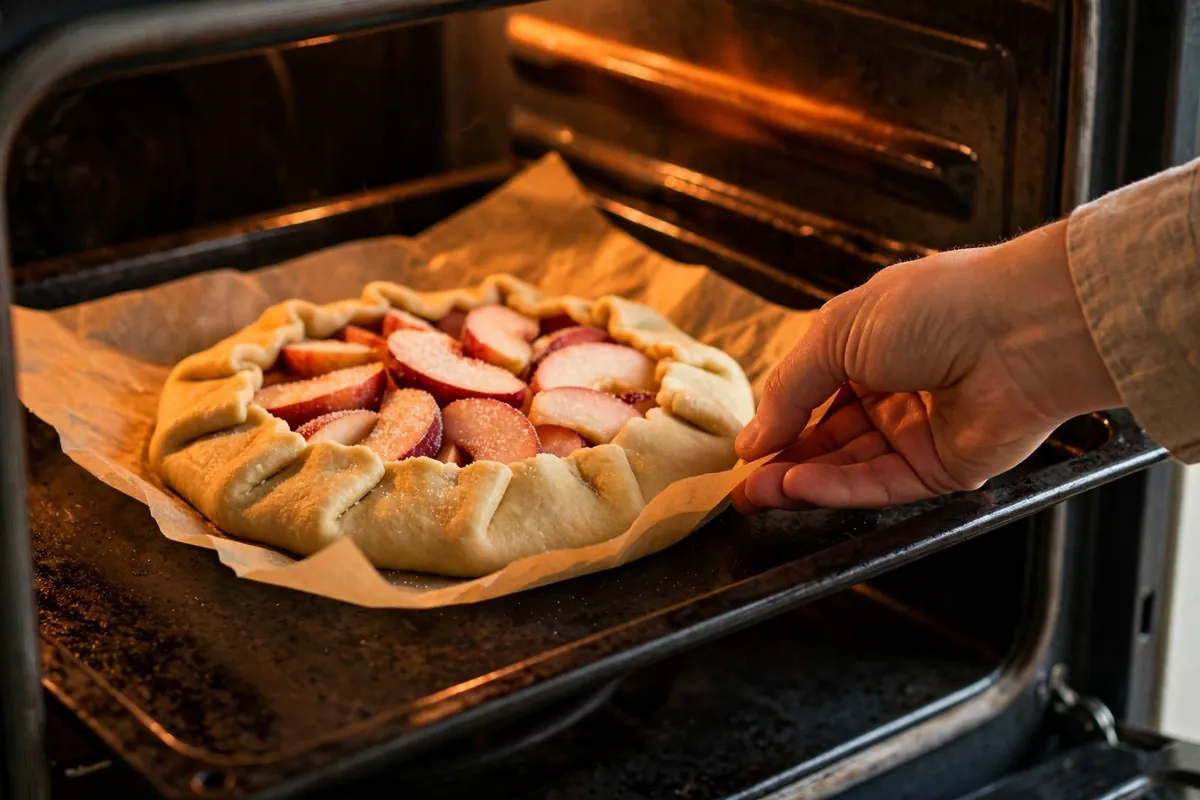
    galette on a preheated steel going into a hot oven
    galette on a preheated steel going into a hot oven

    What about the failed galette on your counter?

    A soggy galette is still safe and delicious warm — serve in bowls with juices spooned over like a pandowdy. Trim bitter burnt-juice bits off a leaker; serve a cracked one with confidence, since cracks are cosmetic. Every failure reheats well: 10 minutes at 375°F (190°C) re-crisps the bottom noticeably.

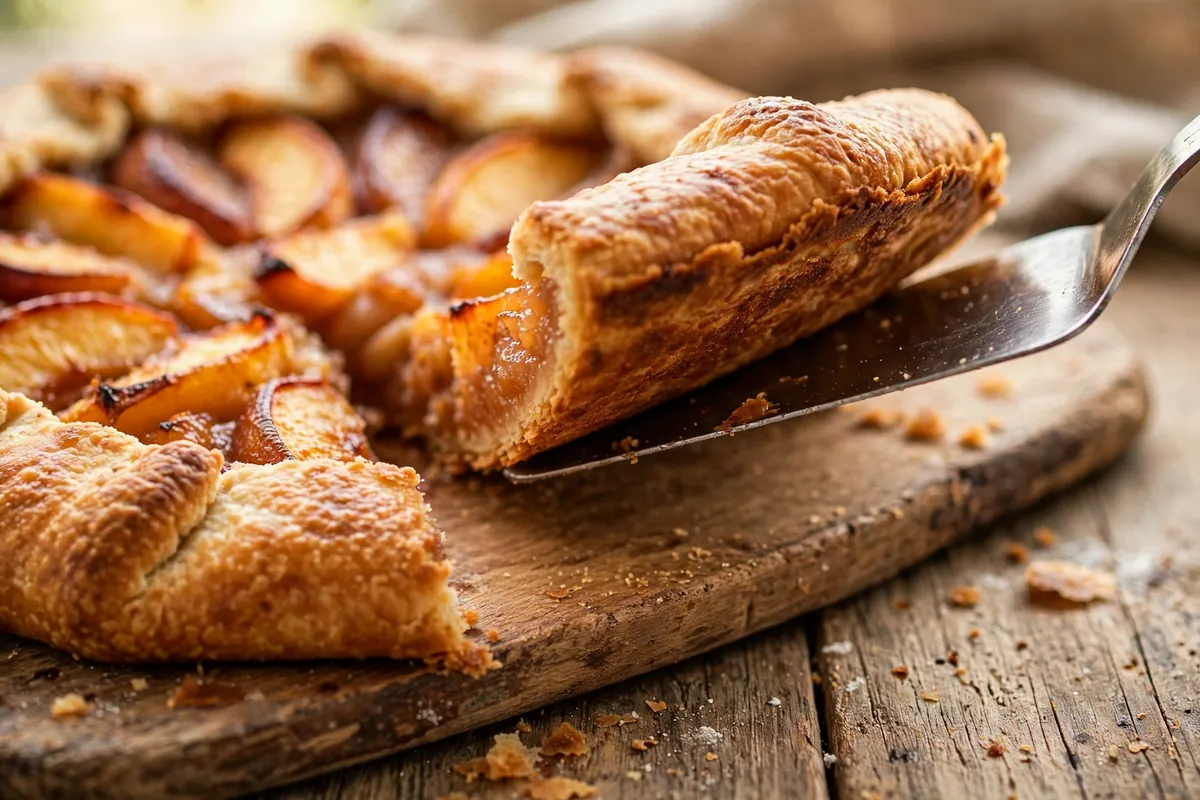
    lifting a galette edge with a spatula to show a crisp golden bottom
    lifting a galette edge with a spatula to show a crisp golden bottom

    FAQ

    Is a soggy galette safe to eat?
    Yes — sogginess is texture, not safety, as long as the filling cooked through. Serve warm in bowls with the juices, or re-crisp 10 minutes at 375°F (190°C).

    Can I fix a galette that’s leaking in the oven?
    Mostly no — opening the door drops the temperature and worsens the accompanying sogginess. Let it finish, then trim bitter burnt-juice bits before serving. Prevent it with generous overlapping folds sealed in egg wash and a 15-minute chill before baking.

    Why did my galette dough crack when I folded it?
    Too cold or too dry. Cold butter makes pastry rigid — temper the rolled dough 5–10 minutes until pliable. Chronically cracking dough needs slightly more water, or a spoonful of vodka/vinegar replacing water for tenderness. Patch cracks with scraps and water; they bake invisible.

    How do I stop fruit making my galette soggy?
    Four defenses: preheated steel or stone at 425°F (220°C), 1–2 tablespoons cornstarch tossed with the fruit, a frangipane or breadcrumb moisture barrier, and assembling right before baking. The preheated steel is the single biggest fix.

    Can I make galette dough ahead?
    Yes — up to 3 days refrigerated or 3 months frozen; the rest improves pliability as flour hydrates. Thaw overnight in the fridge, temper 10–15 minutes before rolling so it folds without cracking.

    What temperature do I bake a galette at?
    400–425°F (200–220°C): 425°F (220°C) for juicy berries and stone fruit, 400°F (200°C) for apple or pear. Bake 35–45 minutes until the filling bubbles in the center — that bubbling is the doneness signal, since the starch must boil to set.

    Related troubleshooting: Soggy Bottom Pie? How to Get a Crisp Base Every Time · Pie Crust Shrinking in the Oven · Why Did My Éclairs Collapse? Choux Pastry Science

  • Why Did My Linzer Cookies Crack? Nut Dough Fixes

    Why Did My Linzer Cookies Crack? Nut Dough Fixes

    Linzer cookies look sturdy in the bakery case, but the dough underneath is one of the most fragile in all of cookie baking. Ground hazelnuts or almonds replace a big share of the flour, and with them goes the gluten network that holds ordinary cookies together. What you get instead is a short, buttery, delicious dough that cracks if you look at it wrong. Every crack traces back to temperature or handling — the fixes below are all about keeping the dough cold, calm, and barely touched.

    Quick diagnosis: The dough was too warm when you rolled it, or too cold and stiff. Linzer dough cracks both ways. Chill it 30–60 minutes until firm, let it sit 5–10 minutes before rolling so it relaxes, roll between parchment to ⅛-inch, and chill the cut cookies 15–20 minutes before they hit the oven.

    My tested baseline: 100g ground hazelnuts (or almonds), 200g all-purpose flour, 150g cold butter cubed, 70g powdered sugar, 1 egg yolk, 1 tsp cinnamon, pinch of salt. Rub or pulse to a crumbly dough, press into a disc, and chill 1 hour. Roll to ⅛-inch (3mm), cut equal numbers of solid bases and windowed tops, chill cut shapes 20 minutes, and bake at 325°F (165°C) for 10–12 minutes until the edges just set. Cool fully, spread ½ teaspoon of raspberry jam on each base, and cap with a powdered-sugar-dusted top.

    1. You rolled warm dough — the number one cause of cracks

    Nut dough has almost no gluten to forgive rough handling. When it’s warm, the butter softens, the dough goes slack, and every lift, transfer, or cutter press drags and tears it. How to tell: Dough stuck to the work surface, edges tore when lifting, cutters dragged instead of cutting clean, shapes distorted on the tray.

    The fix: Chill the disc until firm — 30 to 60 minutes, not 10. Roll it cold between two sheets of parchment. If it starts to soften and stick mid-roll, slide the whole parchment sandwich onto a tray and chill 10 minutes, then continue. Cold dough cuts like clay; warm dough tears like paper. (Same temperature discipline as Why Did My Rugelach Unravel? — chilled dough is structural dough.)

    2. You rolled it too cold — over-chilled dough cracks too

    This is the trap on the other side. Dough straight from a long fridge stay is stiff, and the first roll press sends cracks spidering across the sheet. Both extremes crack; the working window is firm but pliable.

    How to tell: Cracks appeared the moment the rolling pin touched down; the disc felt like a hockey puck; edges crumbled instead of smoothing.

    The fix: Let the chilled disc sit at room temperature 5–10 minutes before rolling — press it with your palm; it should give slightly without cracking. Roll from the center outward with light, even pressure, rotating the parchment 90 degrees every few passes for an even sheet. If edge cracks appear, pinch them closed while the dough is still cool and re-roll gently; small cracks heal, big ones don’t.

    3. Your thickness was off — too thin snaps, too thick breaks

    ⅛-inch (3mm) is the target for a reason. Thinner than that, and the windowed tops have almost no structure around the cut-out — they snap lifting off the tray and crumble at the first bite. Thicker than ¼-inch, the cookie bakes up cakey, the top and base don’t match in texture, and the thick tops crack around the window as they cool and contract.

    The fix: Use rolling guides, stacked rulers, or two ⅛-inch dowels flanking the dough — eyeballing thickness is how batches go inconsistent. If you only have one guide set, roll all the dough at once rather than re-rolling scraps thinner.

    4. You overworked it — warm hands and endless re-rolls

    Third-generation scraps — the dough you’ve gathered, re-rolled, and re-cut twice — bakes up tough and crack-prone no matter how carefully you started. Pressing cutters with a twist also seals and drags the edges instead of cutting them.

    How to tell: First-cut cookies were fine; later re-rolled batches cracked and baked up hard; cutter edges looked compressed and wavy.

    The fix: Cut shapes close together to minimize scraps, press cutters straight down and lift straight up, dipping cutters in flour between cuts. Gather scraps once, press into a disc, chill 20 minutes, and roll one final time. Work quickly and let the fridge, not your hands, do the temperature control.

    5. You assembled them wrong — jam mistakes crack and sog the sandwich

    Assembly is where finished linzers die. Spreading jam on warm cookies melts it into the crumb, and the steam softens the base until it splits under the top cookie. Too much jam squeezes out the sides and welds the sandwich into a sticky mess. And jam that’s too thin or watery migrates into the cookie within hours, turning crisp shells soggy — soggy linzers crack when lifted because the structure has dissolved.

    How to tell: Jam oozed out the sides, bases went soft within a day, tops slid off, cookies stuck to the storage container.

    The fix: Cool cookies completely — stone cold — before assembly. Warm seedless raspberry jam just enough to spread — ½ teaspoon per cookie, reaching almost to the edge. Thick, high-fruit jam stays put; thin jelly migrates. Dust the windowed tops with powdered sugar BEFORE placing them on the jam — sugaring after means sugar dissolving into wet jam. Press gently; the sandwich should hold by contact, not force.

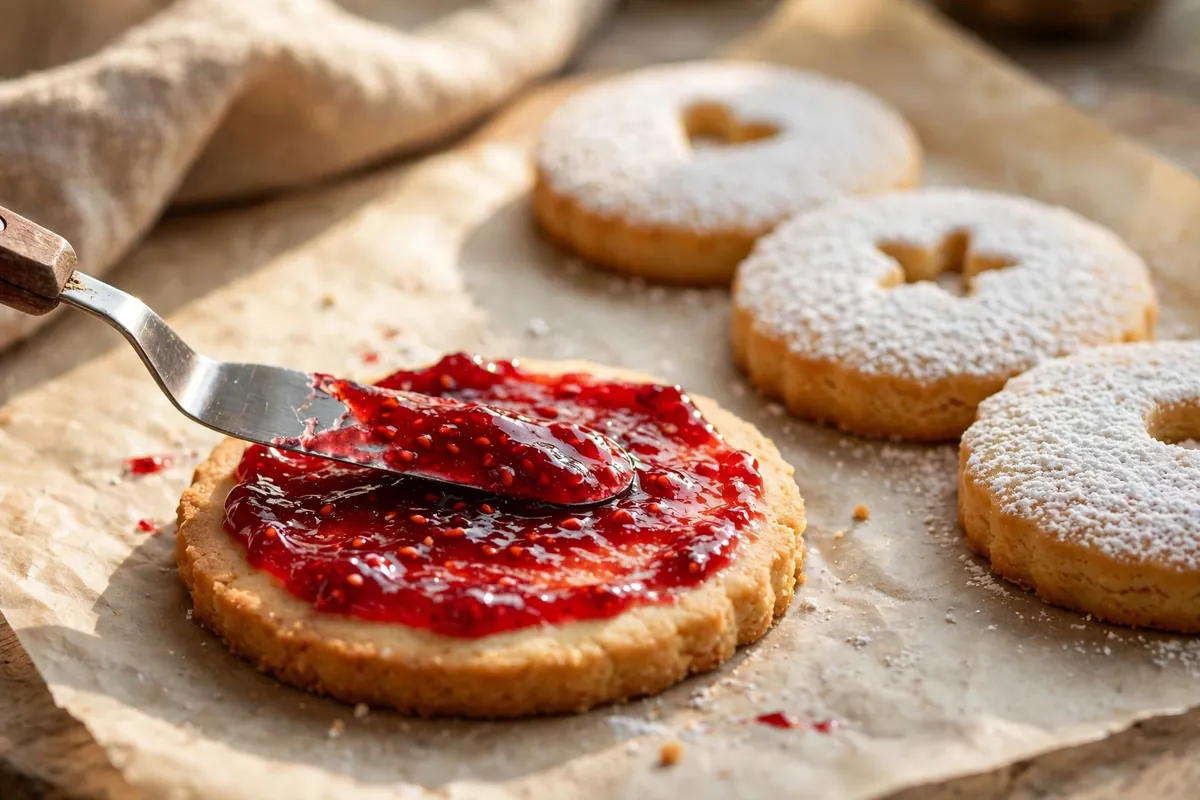
    hands spreading a thin layer of raspberry jam on a cooled linzer base, tops dusted with powdered sugar waiting nearby
    hands spreading a thin layer of raspberry jam on a cooled linzer base, tops dusted with powdered sugar waiting nearby

    6. You stored them assembled too long — jam moisture always wins eventually

    Even perfect linzers have a clock. Jam is wet; cookies are dry; moisture migrates from one to the other every hour they sit together. Day one: crisp shell, bright jam. It’s physics — but storing them wrong accelerates it dramatically.

    How to tell: Day-two linzers were noticeably softer than day one; jam bled into the cookie; powdered sugar tops turned pink and sticky.

    The fix: For maximum crispness, store baked unfilled cookies airtight at room temperature up to a week, keep jam separate, and assemble the day of serving — or up to 24 hours ahead.

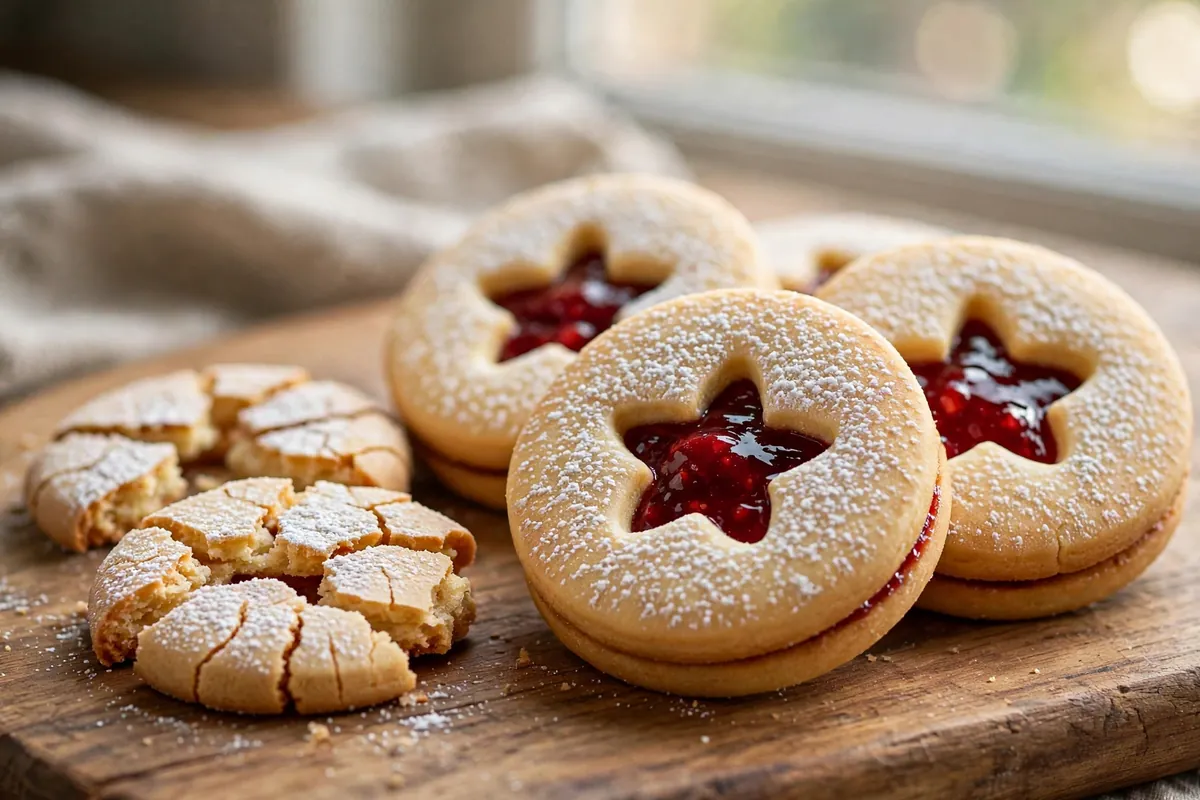
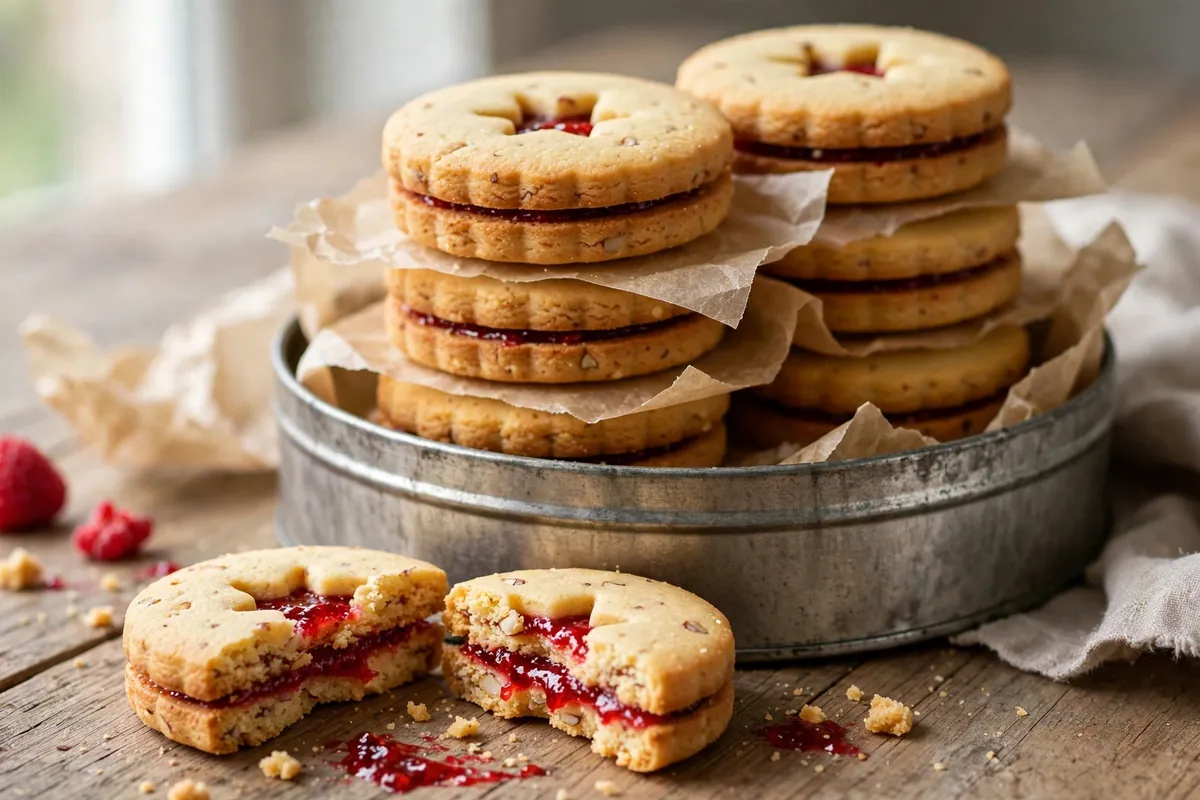
    finished linzer sandwich cookies stacked in a tin with parchment layers, one broken open showing the jam layer
    finished linzer sandwich cookies stacked in a tin with parchment layers, one broken open showing the jam layer

    Frequently asked questions

    Are cracked linzer cookies safe to eat?
    Completely. Cracks are a texture and appearance issue, never a safety one. Broken linzer pieces are excellent crumbled over ice cream or folded into whipped cream — the hazelnut flavor doesn’t care about the shape.

    Can I fix linzer dough that’s already cracking as I roll it?
    Yes, if you catch it early: gather it gently, press into a disc, chill 20 minutes, then let it temper 5–10 minutes before rolling again. Don’t keep fighting cracked dough — rest fixes what force can’t.

    Why did my linzers spread and lose the window shape?
    The dough was too warm going into the oven, or the butter was too soft when mixed. Chill cut shapes 15–20 minutes before baking and check your oven is a true 325°F (165°C). Sharp windows need cold dough and a fully preheated oven.

    How far ahead can I make linzer cookies?
    Bake the unfilled cookies up to a week ahead (airtight, room temperature) or freeze them up to 2 months. Assemble with jam within 24 hours of serving for the signature crisp-then-jammy contrast.

    Related troubleshooting: Why Did My Rugelach Unravel? · Fix Overbaked Cookies: When They’re Actually Still Good · Freeze Cookie Dough the Right Way

  • Why Did My Palmiers Unfurl? Puff Pastry Shaping Fixes

    Why Did My Palmiers Unfurl? Puff Pastry Shaping Fixes

    Palmiers look like the simplest pastry on earth — puff pastry, sugar, a double roll, a slice — and they punish casual shaping like nothing else in the pastry case. When the scrolls open in the oven, you get flat sugary shards instead of crisp caramelized hearts. Unfurling always comes down to the same physics: the butter melted before the steam could set the shape. Every fix below is about winning that race.

    Quick diagnosis: They went into the oven too warm — soft butter melts and releases the folds before steam puffs them into shape. Chill the shaped log 30 minutes (or sliced palmiers 20 minutes), roll both sides tightly to the center, press the seam, and bake hot at 400–425°F (200–220°C).

    My tested baseline: 1 sheet all-butter puff pastry (about 250g), thawed just until pliable but still cold. 100g granulated sugar on the work surface and over the pastry. Fold each long edge to the center, then fold the folded edges together like closing a book — the classic double scroll. Wrap and chill 30 minutes, slice ½-inch thick, press cut faces in sugar, bake at 400°F (200°C) for 12–15 minutes, flipping halfway.

    1. You skipped the chill — warm butter melts before steam sets the shape

    The master cause. Palmiers only survive if the butter layers are cold and firm hitting the oven: cold butter + hot oven = violent steam that puffs the layers rigid in seconds. Warm butter simply melts, the layers slide apart, and the scroll relaxes open before anything sets. Room-temperature shaping in a warm kitchen is enough to cause it.

    How to tell: Palmiers spread wide and flat within minutes; butter pooled on the tray; no puffing, just melting.

    The fix: Chill twice. After rolling, wrap the log tightly and refrigerate 30 minutes until firm. After slicing, chill the cut palmiers on the tray another 15–20 minutes (or freeze 10). They should go in cold to the touch. In a warm kitchen, work fast and return the log to the fridge between steps. (Same temperature race as Puff Pastry Not Puffing: Lamination Mistakes to Avoid.)

    2. Your folds were loose — a slack scroll has nothing to hold

    Palmiers need tension: each side rolls to the center and the two rolls press against each other, and that compression holds the shape while the butter is soft. Loosely rolled palmiers have no internal pressure — the moment the butter softens, the scroll springs open like a released coil.

    How to tell: The log felt soft and springy, not firm and compact; cross-sections show gaps between layers; slices looked like loose spirals, not tight scrolls.

    The fix: Roll firmly, pressing down slightly, and pack each side hard against the center — the two rolls should touch with no gap. After the final book-fold, press the log flat with your palms and roll once with the pin to seal. Slice with a sharp knife in one decisive cut; sawing drags the layers apart. Tight in, tight out.

    3. The sugar had nothing to grip — wrong sugar, or none pressed in

    Sugar is flavor and glue. Pressed into the dough, granulated crystals anchor the outer layers and caramelize into a crisp shell that locks the shape. Coarse or pearl sugar rolls off instead of embedding, and a bare surface gives the outer layer nothing to hold as it bakes.

    How to tell: Sugar scattered loose on the tray rather than fused to the pastry; pale soft exteriors instead of crisp caramelized ones.

    The fix: Plain granulated sugar — the right crystal size to embed. Scatter generously on the work surface before rolling, and press each cut face firmly into a plate of sugar before traying. That sugared face caramelizes first, like edible scaffolding. (Sugar’s structural role in laminated pastry: Kouign-Amann Troubleshooting: Leaked Butter and Burnt Sugar, Fixed.)

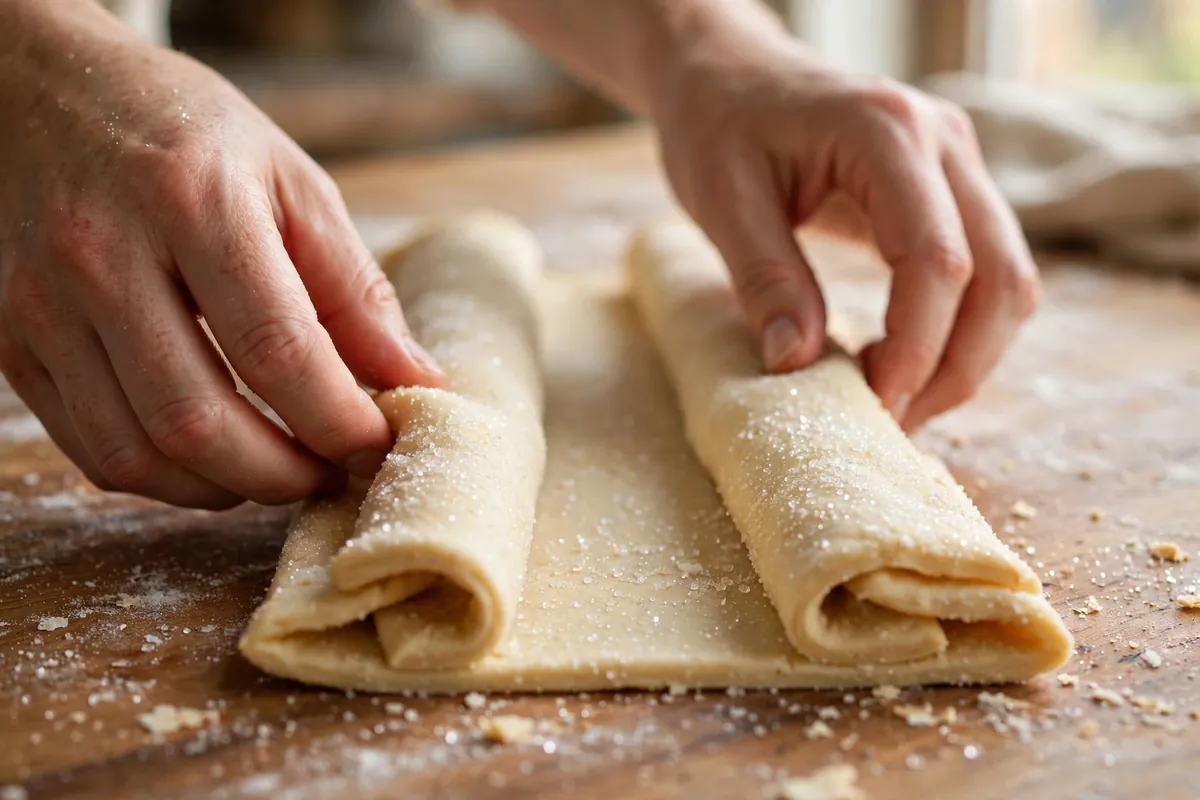
    hands rolling both sides of a sugar-covered puff pastry rectangle tightly toward the center
    hands rolling both sides of a sugar-covered puff pastry rectangle tightly toward the center

    4. The oven wasn’t hot enough — slow heat melts, fast heat sets

    Puff pastry needs a blast: at 400–425°F (200–220°C), water in the dough and butter flashes to steam instantly, puffing layers rigid before the butter fully melts. At 350°F (175°C), the butter melts first, layers never separate, and scrolls relax into greasy puddles. An underheated oven is the quiet accomplice to every other mistake.

    How to tell: Palmiers spread and stayed flat with no layering; pale after the full bake time; greasy rather than crisp.

    The fix: Verify a true 400°F (200°C) — 425°F (220°C) if your oven runs cool. Preheat fully, at least 15 minutes past the “ready” beep. Middle rack, light-colored tray; dark trays over-brown sugared bottoms before tops crisp. Don’t open the door for the first 8 minutes — the initial steam blast does the structural work.

    5. You sliced them wrong — thickness controls the outcome

    Too thin (¼ inch): not enough structure, they over-brown and shatter. Too thick (¾ inch+): the center stays raw while sugar burns, the uncooked middle can’t support the shape, and the palmier slumps open cooling. Half an inch is the sweet spot for a reason.

    How to tell: Thin slices burned at the edges while flat; thick slices with doughy pale centers that collapsed after baking.

    The fix: Chill the log firm, then slice exactly ½-inch thick — mark the log lightly first if your eye isn’t calibrated. Even slices bake evenly, and even baking keeps every palmier holding the same shape. Ragged, uneven slices reliably predict a mixed batch: some perfect, some flat.

    6. You didn’t flip them — one-sided caramelization unbalances the bake

    Palmiers bake in a pool of caramelizing sugar; the bottom browns far faster than the top. Without a flip, the bottom over-caramelizes and can stick while the top stays pale and soft — a lopsided palmier that flexes and opens as it cools.

    How to tell: Deep brown, almost bitter bottoms with pale soft tops; palmiers stuck to the tray.

    The fix: At the halfway mark (6–7 minutes), flip each with a thin spatula. The second side caramelizes in the remaining time for the signature even amber crunch on both faces. Work quickly and close the door — you’re borrowing heat, not donating it. Parchment under everything; caramelized sugar welds to bare metal.

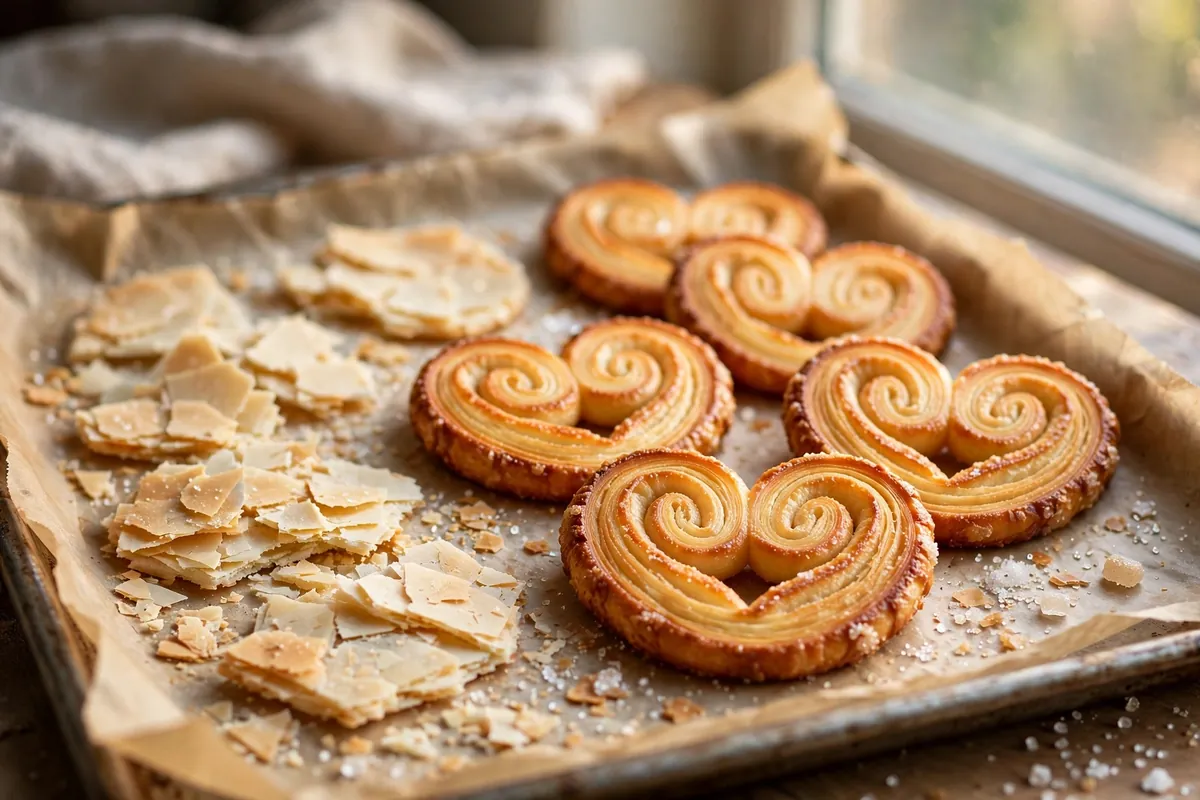
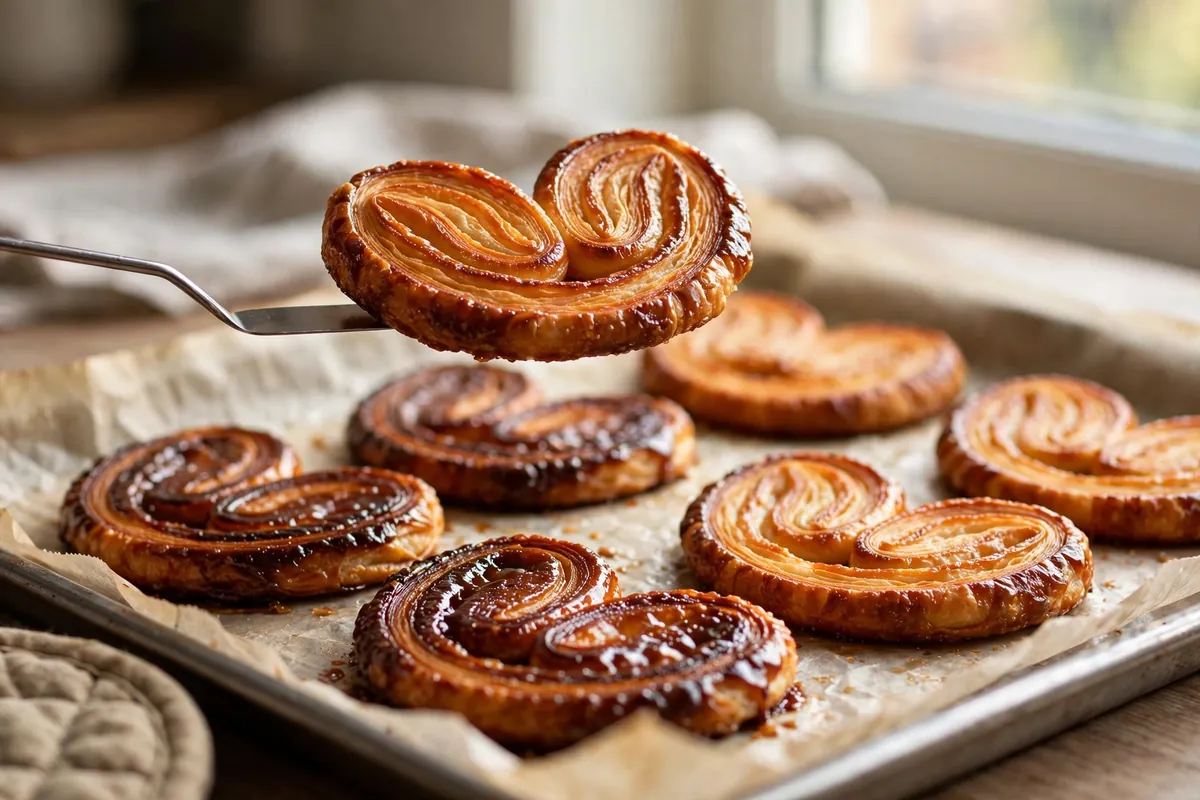
    a spatula flipping caramelized palmiers halfway through baking, both sides golden
    a spatula flipping caramelized palmiers halfway through baking, both sides golden

    Frequently asked questions

    Are unfurled palmiers safe to eat?
    Yes — they’re just flat. The flavor is identical: buttery, caramelized, crisp. Serve the shards as-is; nobody will know they were supposed to be hearts unless you tell them.

    Can I fix palmiers that already unfurled?
    Not the shape — once baked, the structure is set. But the shards are excellent crushed over ice cream, folded into whipped cream, or layered into a trifle. Waste nothing.

    Can I use store-bought puff pastry?
    Yes — most palmiers are made with it. All-butter pastry gives the best flavor and most reliable puff; oil-based pastry melts faster and unfurls more easily, so chill it extra well. Keep it cold until you unroll it.

    Why are my palmiers burnt on the bottom?
    Sugar + direct heat + dark tray. Light-colored sheet, always parchment, flip halfway. If your oven runs hot underneath, use the upper-middle rack. Pale gold is the target, not dark brown — burnt sugar tastes bitter.

    Can I freeze shaped palmiers?
    Yes — freeze sliced and sugared on a tray, then bag. Bake from frozen at 400°F (200°C), adding 2–3 minutes. They hold shape beautifully from frozen, going in at maximum cold.

    Related troubleshooting: Puff Pastry Not Puffing: Lamination Mistakes to Avoid · Why Did My Rugelach Unravel? Cream Cheese Dough Fixes · Kouign-Amann Troubleshooting: Leaked Butter and Burnt Sugar, Fixed

  • Puff Pastry Not Puffing: Lamination Mistakes to Avoid

    Puff Pastry Not Puffing: Lamination Mistakes to Avoid

    Quick diagnosis: Puff pastry rises on steam trapped between butter layers — no distinct layers, no lift. Flat puff comes down to butter at the wrong temperature (melted into the dough, or so cold it shattered), cut edges that got sealed shut, or an oven that wasn’t hot enough to flash water into steam. Check those three first; they account for nearly every failed puff.

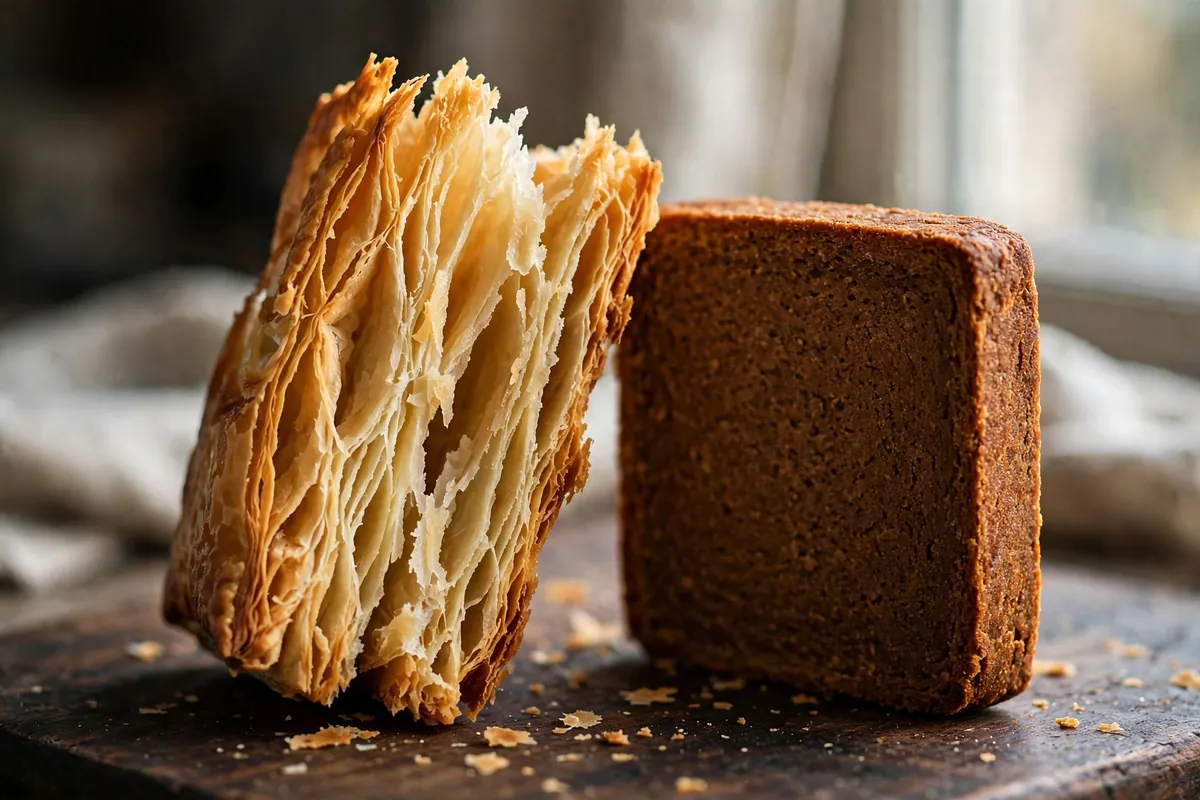
    cross-section of properly puffed pastry showing distinct flaky layers vs a flat dense slab

    Puff pastry is architecture: hundreds of alternating layers of dough and butter (a classic six-turn puff has 729 of them). In a hot oven, the water in the butter flashes to steam, and each steam pocket jacks its dough layer upward. The whole structure depends on those layers staying separate until the heat hits. Every mistake below is a way the layers got destroyed, glued, or never formed.

    1. The butter melted into the dough

    The cardinal sin of lamination. Butter and dough must stay as separate strata. If the butter gets warm, it absorbs into the surrounding dough — and absorbed butter can’t make steam pockets. You end up with what is essentially a rich shortcrust: tasty, but flat as a board.

    How to tell: The dough felt greasy or soft while rolling, butter visibly smeared instead of staying in a distinct sheet, or you could see buttery patches soaking through the dough surface.

    The fix: Keep everything cool and work in a cool kitchen. The butter block should be pliable but cold — around 60°F (16°C): bendable without cracking, but firm to the touch. If at any point the dough feels soft, greasy, or the butter starts peeking through, stop immediately and refrigerate 30 minutes. There is no penalty for chilling mid-process; there is a total penalty for pushing through warm. Use European-style butter (82%+ fat) if you can — it stays pliable at cooler temperatures than standard butter, giving you a wider working window.

    2. The butter was too cold and shattered

    The mirror image of cause #1, and just as fatal. Butter straight from the fridge is brittle — roll it and it cracks into shards that pierce straight through the dough layers instead of rolling out into a continuous sheet. Shattered butter means broken, discontinuous layers, which means weak, uneven lift.

    How to tell: You heard or felt cracking while rolling the butter block in, or you can see distinct yellow chunks and cracks through the dough rather than smooth marbled layers.

    The fix: Temper the butter block first: pound it with a rolling pin between parchment sheets until it’s the same cool-pliable state as the dough — bendable, not brittle, not soft. The butter and the dough (détrempe) must be the same consistency when they meet; if one is firmer than the other, the firmer one wins and the layers lose. This temperature matching is the single most important skill in lamination, and it applies to pie crust too (see Pie Crust Shrinking in the Oven).

    butter block at correct pliable state — bending slightly without cracking — next to dough of matching firmness

    3. The edges got sealed shut

    Puff rises because steam escapes upward between the layers, pushing them apart. If the cut edges are pressed, pinched, or crimped together, the layers are glued shut at the perimeter — steam can’t lift what it can’t get between. This is why a carelessly cut vol-au-vent rises in the middle and stays welded at the rim.

    How to tell: The center puffed but the edges stayed flat and dense, or the whole piece rose unevenly with one sealed side.

    The fix: Cut with a sharp knife or cutter in one firm downward motion — no sawing, no dragging, which smears the layers together. Never pinch or crimp puff pastry edges the way you would a pie. And keep egg wash off the cut sides: brush only the top surface, because wash running down the edges glues the layers exactly where they need to separate.

    4. Not enough resting between turns

    Each fold (turn) develops gluten and warms the butter. Roll the next turn immediately and you’re working tense, elastic dough with softening butter — the layers smear instead of staying distinct, and the dough fights back, springing out of shape. Resting re-firms the butter and relaxes the gluten.

    How to tell: The dough resisted rolling, shrank back between passes, or felt soft and greasy by the third turn.

    The fix: Rest 30–60 minutes refrigerated between turns, wrapped airtight so the surface doesn’t dry. Mark each turn with a fingertip indent so you don’t lose count. The standard build is six single turns; fewer gives coarse, bready layers, while past seven or eight the layers get so thin they merge back together — more is not better.

    5. The oven wasn’t hot enough

    Steam needs violence. Water flashes to steam explosively only at high heat; in a moderate oven, the butter simply melts and soaks outward before enough steam pressure builds to lift anything. Puff pastry in a 350°F oven is just expensive shortbread.

    How to tell: The pastry looks greasy and flat with butter visibly leaked onto the tray, rather than risen and dry-layered.

    The fix: Bake at 400–425°F (200–220°C), fully preheated — give it 15–20 minutes past the beep. The initial blast is everything: it flash-converts water to steam while the structure is still flexible enough to rise. Don’t open the door for the first 15 minutes; the temperature drop collapses partially-lifted layers. This is the same hot-start principle that sets pie crusts and cookie edges (see Why Do My Cookies Spread Flat?).

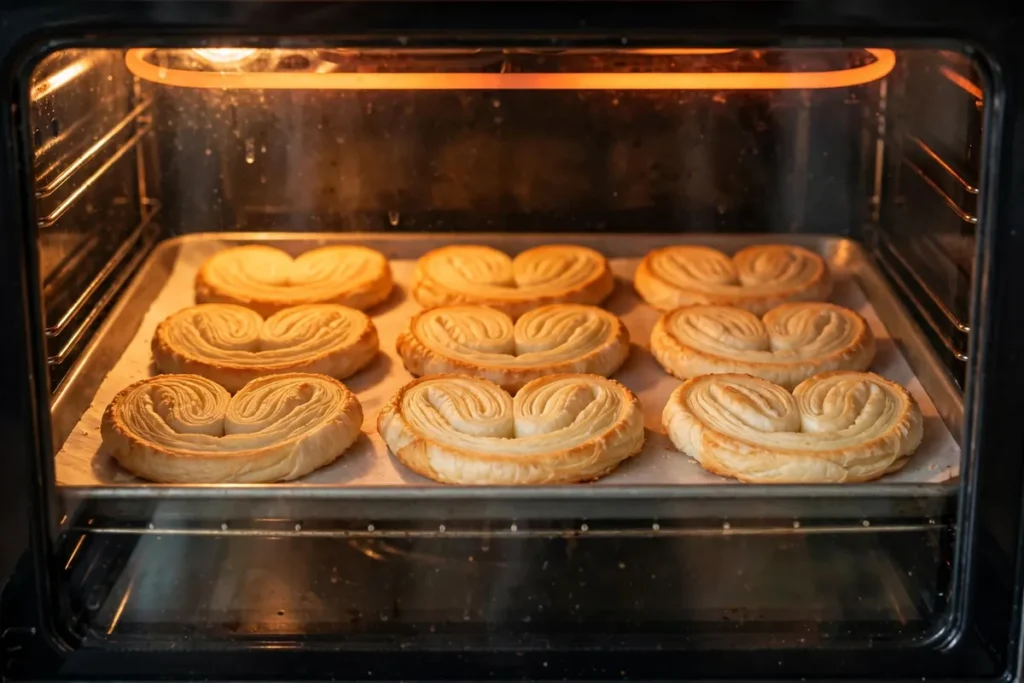
    tray of palmiers mid-bake through the oven window — visibly risen and separated layers

    6. Store-bought pastry was mishandled

    Most home puff failures involve commercial pastry, and the mistakes happen before baking: thawed at room temperature until limp, re-rolled aggressively (destroying the factory lamination), or left sitting out while the oven preheated.

    How to tell: The pastry was soft, sticky, or floppy when it went into the oven.

    The fix: Thaw overnight in the fridge, never on the counter — you want it just pliable enough to unfold. Handle it minimally: unfold, cut, and bake. If you must re-roll to thin it, one light pass only. And keep the shaped pieces refrigerated until the moment they go into the fully preheated oven; cold pastry hitting hot air is the entire mechanism.

    FAQ

    Is flat puff pastry safe to eat?
    Yes — it’s fully baked dough and butter, just without the lift. It will taste rich and buttery, closer to a cracker or shortbread. The failure is textural, not a safety issue. Repurpose it: flat puff makes excellent tart bases and cheese straws where height doesn’t matter.

    Can I re-bake puff pastry to make it puff?
    No — once the butter has melted out and the structure has set, the steam mechanism is spent. Puff is a one-shot process. The rescue is repurposing (see above), not re-baking.

    Why did my puff pastry leak butter all over the tray?
    Butter leaked because it melted before steam pressure could trap it — the classic signature of too-cool oven or butter that was already too warm going in. A little weeping is normal; a pooled lake means revisit causes #1 and #5.

    How many layers does puff pastry actually have?
    A standard six-turn single-fold puff has 729 layers (3^6). Blitz/rough puff, where butter is folded in chunks rather than as a sheet, has far fewer but still puffs respectably — it’s the honest shortcut I recommend to beginners before attempting classic puff.

    Can I make puff pastry without a stand mixer?
    Absolutely — the dough (détrempe) is just flour, water, salt, and a little butter, mixed by hand in minutes. Lamination is all rolling pin work. No special equipment is needed beyond a rolling pin, parchment, and patience between turns.

    Does humidity affect puff pastry?
    Yes, on two fronts: humid air softens butter faster (work colder, chill more often), and flour absorbs ambient moisture, which can make the détrempe sticky. On very humid days, hold back a tablespoon of water from the dough and add only if needed.

    Related troubleshooting: Pie Crust Shrinking in the Oven · Why Do My Cookies Spread Flat? · Soggy Bottom Pie: How to Get a Crisp Base Every Time

  • Soggy Bottom Pie: How to Get a Crisp Base Every Time

    Soggy Bottom Pie: How to Get a Crisp Base Every Time

    Quick diagnosis: A soggy bottom means the lower crust never got hot enough, fast enough. The fix order is: blind-bake the shell, bake on a preheated steel or stone on the oven’s bottom third, and thicken wet fillings before they go in. Those three together never fail — skip any one and the bottom stays pale.

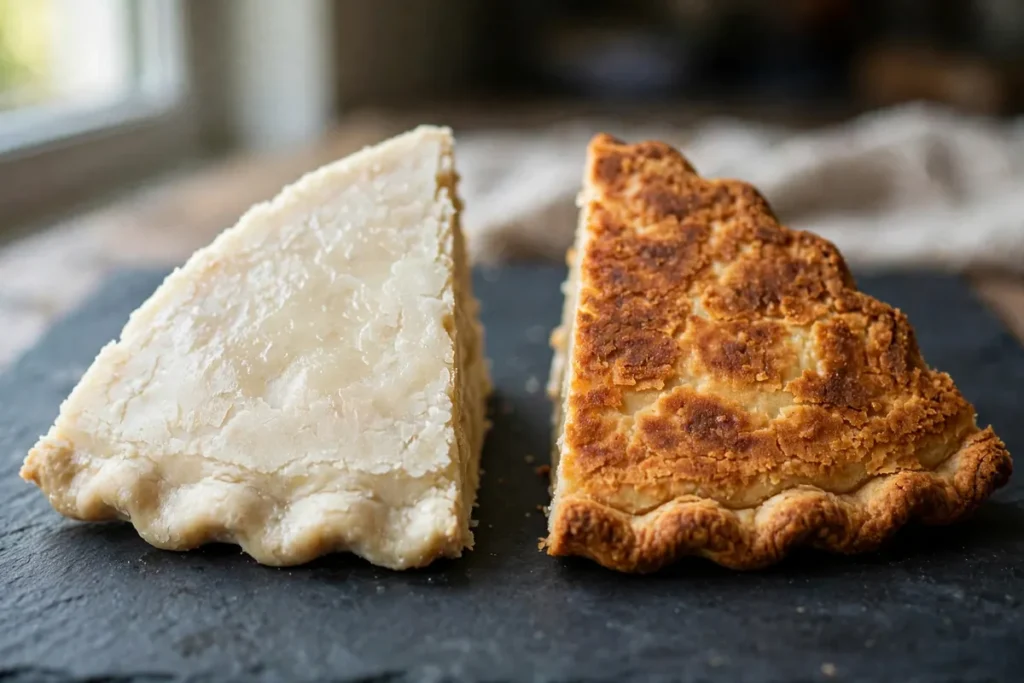
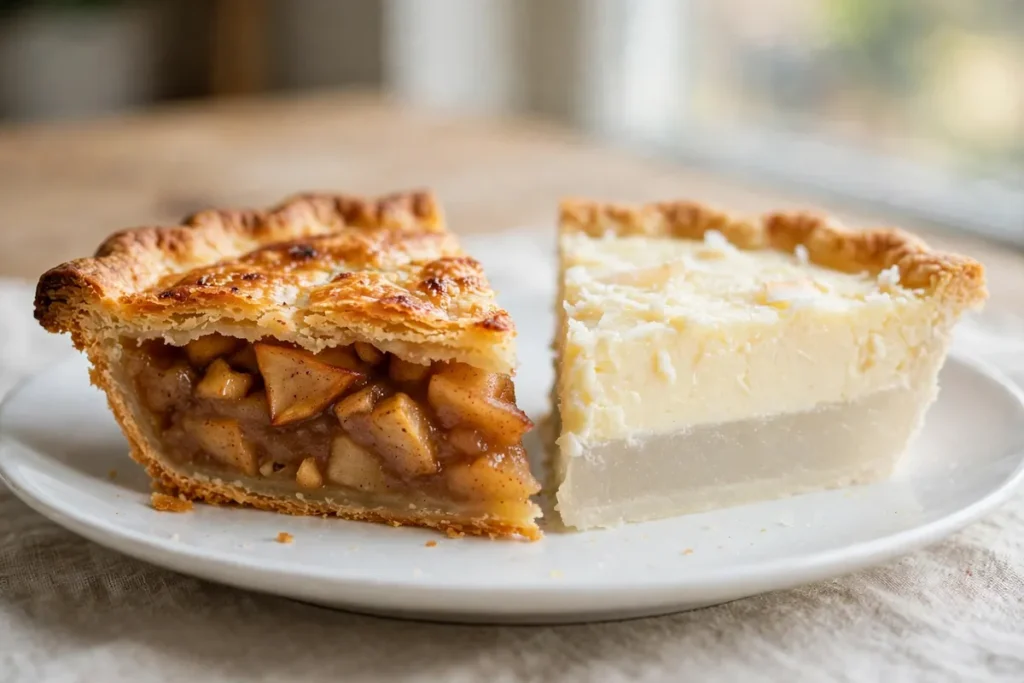
    underside of two pie slices — one with a pale soggy bottom, one golden and crisp

    The top of a pie lives in the oven’s hot air. The bottom lives pressed against a pan, insulated by filling, with steam rising from below. It’s the hardest part of the pie to bake — and the filling is actively working against it, releasing juice as it heats. Getting a crisp base means attacking from both sides: drive more heat into the bottom, and put less free liquid against it.

    1. The shell wasn’t blind-baked

    For any wet filling — custard, pumpkin, fruit — an unbaked raw shell has almost no chance. The filling’s moisture soaks the raw dough before the oven heat can set it, and from that point the bottom is steaming, not baking. Blind baking (pre-baking the empty shell) sets the crust’s structure first, so it meets the filling as a barrier, not a sponge.

    How to tell: The filling recipe said “pour into unbaked pie shell” and the bottom came out gummy while the top browned perfectly.

    The fix: For wet fillings, blind-bake the chilled shell at 400°F (200°C) — 15–20 minutes with pie weights, then 5–10 minutes unweighted until the bottom looks dry and just starting to color. For custard pies, a full blind bake (bottom completely set and lightly golden) is the standard; the filled pie then only needs enough oven time to set the custard. (Blind-baking technique in detail: Pie Crust Shrinking in the Oven.)

    2. Nothing hot was under the pan

    Oven air heats the top; the bottom needs conduction — direct contact with something hot. A pie set on a room-temperature tray on the middle rack gets gentle, indirect bottom heat. That’s not enough to crisp pastry through a layer of wet filling.

    How to tell: The bottom is uniformly pale rather than patchy — a heat problem, not a filling problem.

    The fix: Preheat a baking steel, pizza stone, or heavy inverted sheet pan on the oven’s bottom third for a full 45 minutes, and bake the pie directly on it. The stored heat blasts the bottom crust the moment the pan lands. When I switched from a middle-rack tray to a preheated steel, bottom browning went from nonexistent to deep golden on the same recipe. Metal pie pans beat glass here too — metal conducts heat to the bottom faster, while glass insulates slightly.

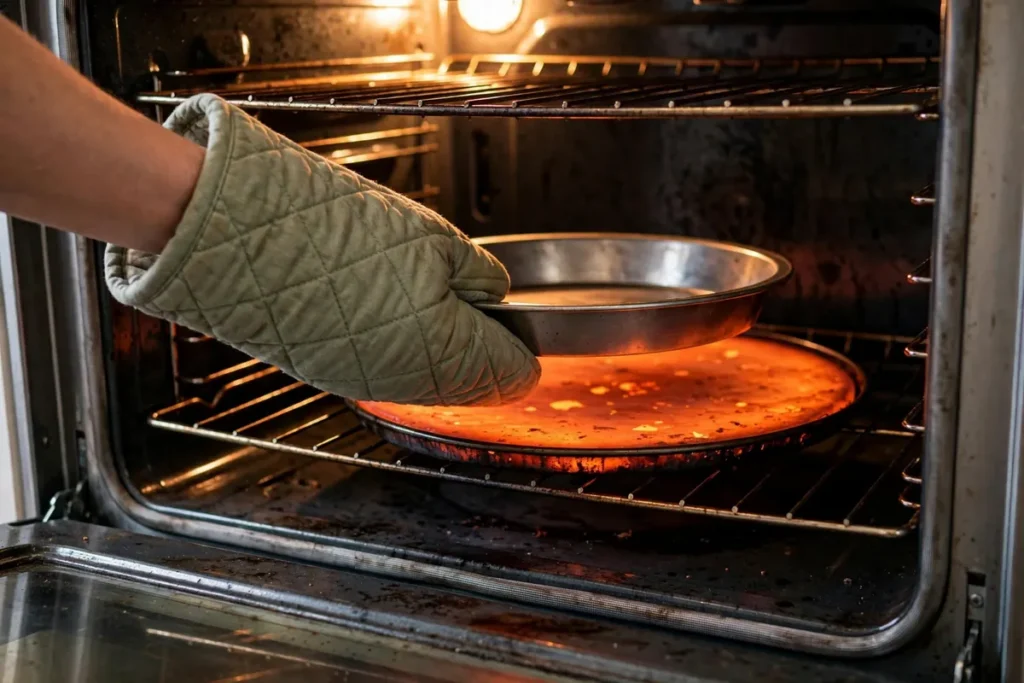
    pie going onto a preheated baking steel on the oven's lower rack, with oven mitt visible

    3. The filling released too much free juice

    Fruit fillings can be half water by weight. As the pie heats, cell walls break and juice floods out — far more liquid than the bottom crust can handle, especially before thickeners activate. A filling that tastes perfect raw can drown the base.

    How to tell: There’s a visible pool of liquid under the fruit, or the slice weeps juice onto the plate after cutting.

    The fix: Macerate and drain. Toss sliced fruit with the sugar and let it sit 30–60 minutes, then drain off the exuded juice — you’ll be shocked how much there is. Reduce that juice in a saucepan to a syrup and add it back (concentrated flavor, minimal water), then thicken: 2–3 tablespoons of cornstarch per 9-inch fruit pie, tossed with the fruit. The filling must reach a full bubble in the center — 212°F (100°C) — for starch thickeners to activate; a filling that never bubbled never thickened, no matter how much cornstarch you used.

    4. The bottom wasn’t sealed

    Even a blind-baked shell is porous. Hot filling finds every microscopic gap. An egg wash seal — brushed on and briefly set with heat — waterproofs the base the way varnish seals wood.

    How to tell: Sogginess is worst directly under the wettest part of the filling, in patches rather than uniformly — liquid penetrating, not just underbaking.

    The fix: After blind baking, brush the hot bottom with beaten egg white and return to the oven 3–5 minutes until the wash looks dry and glossy. For fruit pies, a thin dusting of fine breadcrumbs or ground almonds under the filling also works — they absorb stray juice and vanish into the finished slice. I use the egg-white seal on every custard pie without exception.

    5. The top crust trapped the steam

    Steam has to escape. A sealed double crust with no vents turns the pie into a pressure cooker — moisture condenses on the underside of the top crust and rains back down onto the filling and bottom. Lattice tops exist partly for this reason.

    How to tell: The top crust is puffy and pale underneath, with visible condensation, while the filling looks soupy.

    The fix: Cut generous vents — at least four 1-inch slashes, or go lattice. Vents should go all the way through the top crust, opened slightly so they don’t seal shut in the oven. For single-crust pies this isn’t a factor, which is one reason custard and single-crust fruit pies are more forgiving on bottoms.

    cross-section of a pie slice showing distinct crisp bottom crust layers vs a gummy indistinct one

    6. The pie was sliced too soon (or cooled wrong)

    A pie continues to set as it cools — starches firm up, juices redistribute. Slice a fruit pie hot and the still-fluid filling floods the cut faces, making even a well-baked bottom eat soggy. And cooling flat on the counter traps steam underneath the pan.

    How to tell: The bottom looked fine out of the oven but turned gummy by serving time, or slices wept on the plate.

    The fix: Cool fruit pies on a wire rack (airflow underneath carries steam away) for at least 3–4 hours — yes, really; the filling needs that long to fully set. Custard pies need 2 hours at room temperature then refrigeration. The wait is structural, not optional. I know it’s hard. It’s still structural.

    FAQ

    Is a soggy bottom safe to eat?
    Yes — it’s a texture defect, not a safety issue, as long as the pie reached proper temperatures (fruit fillings bubbling, custards set). The one exception is a raw-flour concern: if the bottom crust is truly raw and doughy rather than just soft, give it more oven time rather than serving it.

    Can I fix a soggy bottom after baking?
    Partially. Return the pie (or individual slices) to a hot oven — 375°F (190°C) on a preheated steel — for 10–15 minutes to drive off moisture and re-crisp the base. It won’t match a properly blind-baked bottom, but it meaningfully improves a disappointing one. This rescue works once; don’t re-bake repeatedly.

    Do I need a special pan to avoid soggy bottoms?
    No, but pan choice helps. Light-colored metal pans give the best bottom browning through conduction. Glass works but browns bottoms more slowly — if you use glass, add 5 minutes and drop to the bottom rack. Dark nonstick browns fast but can overdo the edges; shield with foil if needed.

    Should I use cornstarch, flour, or tapioca to thicken?
    Cornstarch gives the clearest, glossiest set — 2–3 tablespoons per 9-inch pie. Flour (¼ cup) works but clouds the juices. Instant tapioca (3 tablespoons) is excellent and never gets gummy, but needs the full bubble to activate. All three fail identically if the filling never reaches 212°F (100°C) in the center.

    Why is my pumpkin pie bottom soggy but the top perfect?
    Custard fillings are the worst offenders: they’re essentially liquid when they go in, and they insulate the bottom while the top sets quickly. Pumpkin pie demands a fully blind-baked shell — no exceptions — plus the preheated steel underneath. It’s the highest-difficulty bottom in pie baking.

    Can I blind-bake with the filling already planned the same day?
    Yes — blind baking adds about 30 minutes, and the shell can cool while you make the filling. The shell must be at least warm (not fridge-cold) when filling goes in, or the cold pastry will shock the filling’s timing. Room-temperature shell, filling in, straight into the hot oven.

    Related troubleshooting: Pie Crust Shrinking in the Oven · Puff Pastry Not Puffing: Lamination Mistakes to Avoid · Why Did My Cake Sink in the Middle?

  • Pie Crust Shrinking in the Oven — Gluten and Resting Fixes

    Pie Crust Shrinking in the Oven — Gluten and Resting Fixes

    Quick diagnosis: Shrinking is gluten snapping back like a rubber band. It comes from three things in order: dough that was overworked, dough that wasn’t rested, and dough that was stretched — not eased — into the pan. Rest the dough a full hour, chill the shaped shell 20 minutes before baking, and never stretch it to fit. That trio fixes nearly every shrinking crust.

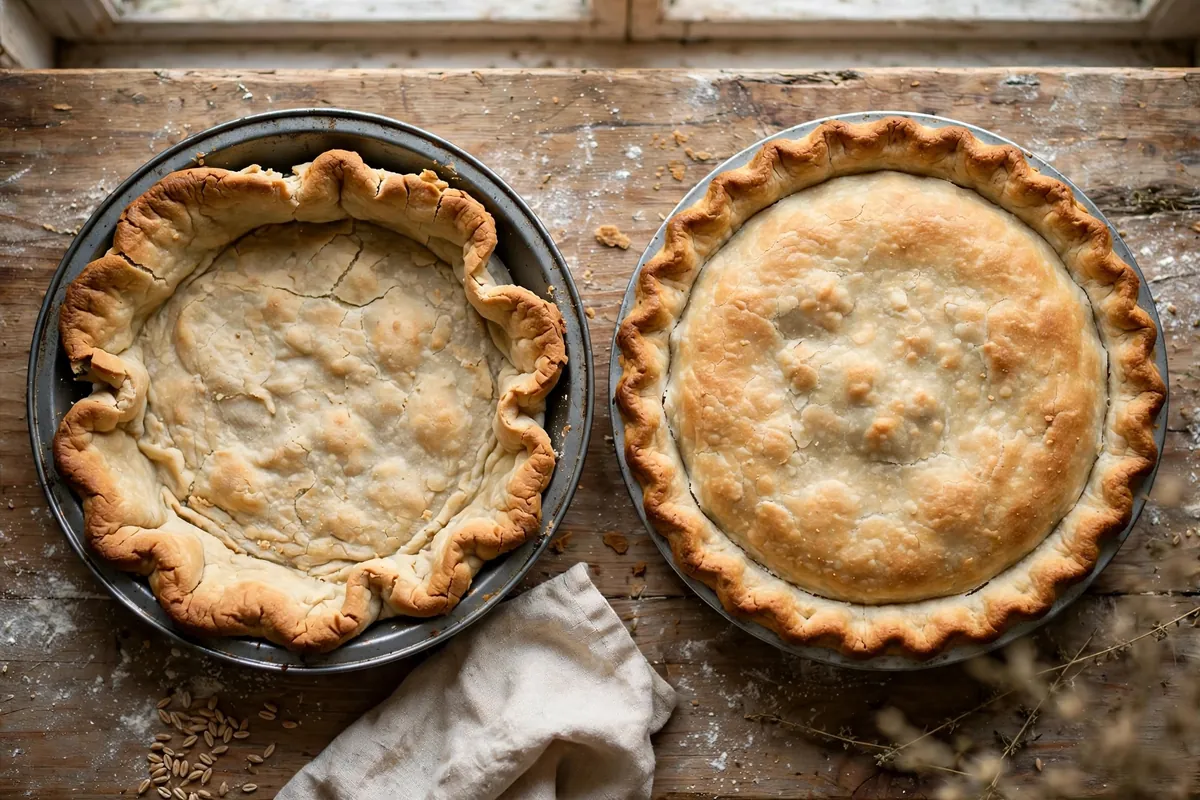
    a shrunken blind-baked shell pulled away from the pan sides next to a properly fitted shell

    Pie dough has a memory. Every minute of handling develops gluten — the elastic protein network that also makes bread chewy — and gluten’s whole job is to spring back to its original shape. Roll it, stretch it, then heat it, and it contracts exactly the way a stretched rubber band does when released. The fixes are all about relaxing that network before it ever sees the oven.

    1. The dough was overworked

    Gluten develops with handling: every fold, press, and re-roll builds more elasticity. A dough that’s been kneaded like bread, rolled three times to “get it right,” or pressed aggressively into every flute has a gluten network strong enough to visibly retract in the heat.

    How to tell: The dough fought you — it kept springing back while rolling, shrank as you lifted it, or felt elastic and bouncy rather than supple. Tough, leathery baked texture alongside the shrink confirms it.

    The fix: Handle it as little as possible. Cut the fat in with a pastry blender or your fingertips, add ice water a tablespoon at a time, and stop the moment it holds together when squeezed. Use the fraisage technique for stubborn bits: smear small sections across the counter with the heel of your hand once or twice — it combines without kneading. When I timed myself, my best crusts came together in under 90 seconds of actual handling.

    2. The dough wasn’t rested

    Resting lets gluten relax and flour fully hydrate. An unrested dough goes into the pan tense, like a flexed muscle, and the oven heat is what finally lets it release — by contracting. This is the single most skipped step in home pie-making.

    How to tell: You mixed, rolled, and filled in one continuous session with no waiting. The dough may also have cracked at the edges while rolling (under-hydrated flour alongside tense gluten).

    The fix: Rest twice. First, wrap the mixed dough and refrigerate at least 1 hour (overnight is ideal — flavor improves too). Second, after shaping the shell in the pan, chill it 20–30 minutes before baking. That second chill is the one most recipes underplay; in my testing it cut shrinkage roughly in half on its own, because the gluten relaxes in its final shape.

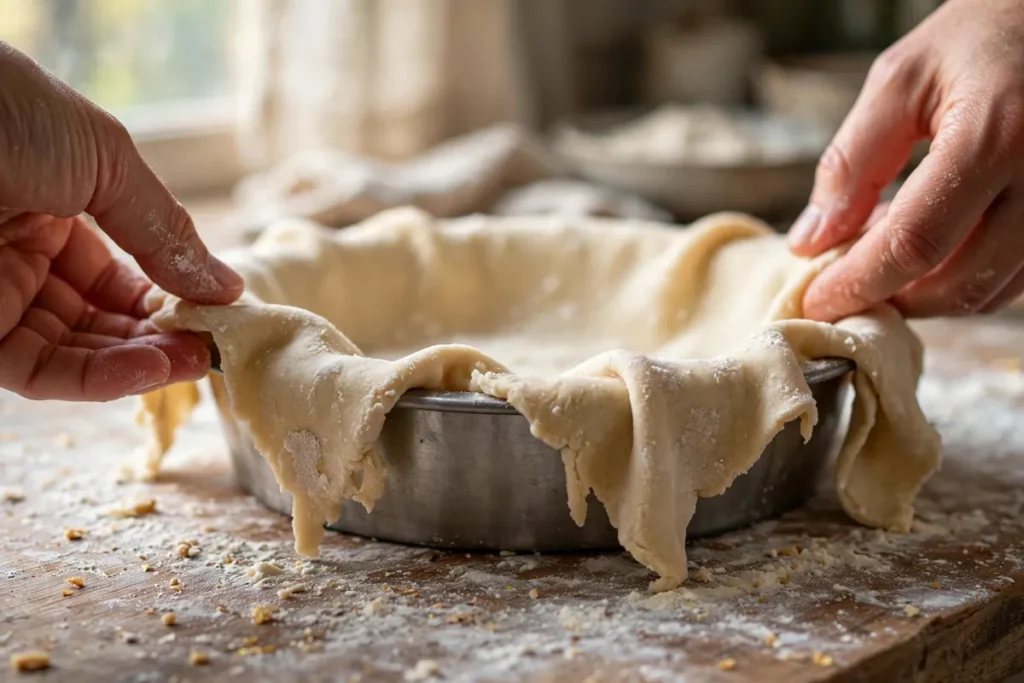
    hands easing — not stretching — pie dough into a pan, with visible slack around the edges

    3. The dough was stretched into the pan

    This is the mechanical cause, and it compounds the gluten problem. When you pull dough to reach the pan’s edges, you’re pre-loading it like a stretched rubber band. Heat releases the tension, and the dough snaps back toward the center — sides slump, the rim drops, and fluting disappears.

    How to tell: The sides slumped most where you tugged hardest, and decorative crimping melted into a smooth low rim.

    The fix: Roll the dough 2 inches wider than the pan all around, then lift and ease it in — let it settle under its own weight, nudging gently, never pulling. Leave a full 1-inch overhang; trim only after blind baking (or fold the overhang under for a thick edge before crimping). Excess dough is your insurance: it gives the crust somewhere to contract without pulling away from the pan.

    4. The fat got too warm

    Warm fat melts into the flour instead of staying in distinct pea-sized pieces, and melted-into dough behaves more like a cracker dough — it also means you probably over-handled it trying to compensate for the greasy texture, which loops back to cause #1. Cold fat is structural: those solid pieces create the flaky layers and the dough stays relaxed.

    How to tell: The dough felt greasy or soft at room temperature, butter visibly smeared rather than staying in chunks, and the baked crust was tough rather than flaky.

    The fix: Keep everything cold — freeze the cubed butter 15 minutes before starting, use ice water (with actual cubes in it), and if the kitchen is warm, chill the flour too. You should see distinct butter pieces the size of peas throughout the mixed dough. If the dough softens while you work, stop and refrigerate 15 minutes; there’s no penalty for pausing.

    5. The oven wasn’t hot enough at the start

    Pastry needs a blast of initial heat to set its structure before the fat fully melts and the gluten starts contracting. A lukewarm oven lets the dough sit in the danger zone — soft, melty, and free to shrink — for far too long.

    How to tell: The crust looks pale and slumped rather than golden and defined; it took longer than expected to show any color.

    The fix: Blind-bake at 400–425°F (200–220°C), fully preheated. The hot start sets the exterior fast, locking the shape before contraction can take hold. Verify with an oven thermometer — this is the same 15–25°F cool-oven problem that ruins cookies (see Why Do My Cookies Spread Flat?).

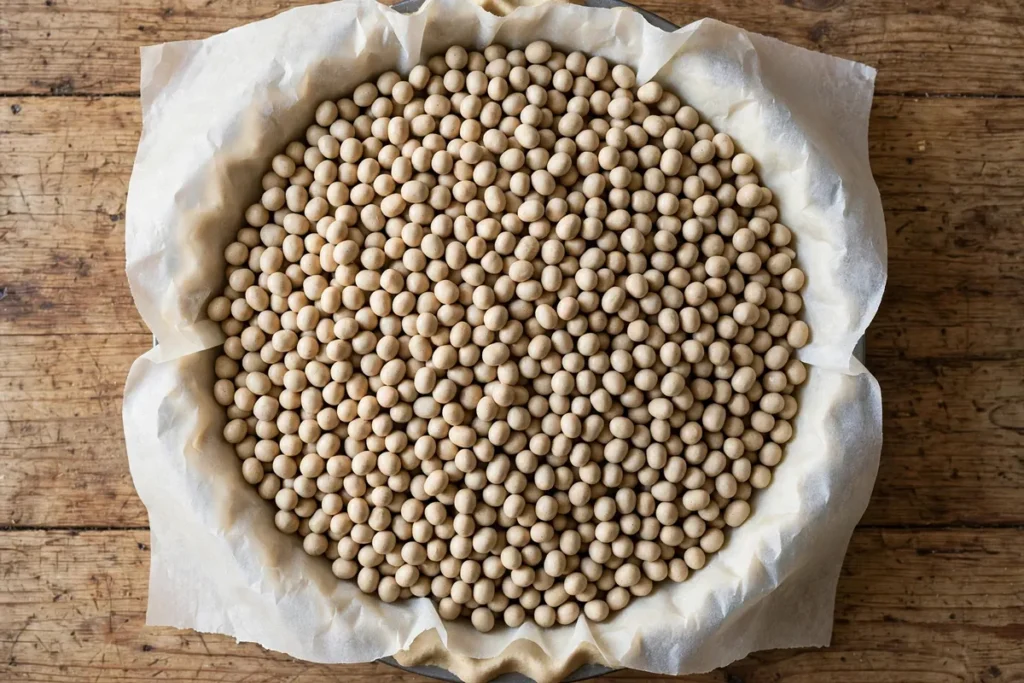
    pie weights (ceramic beans) filling a parchment-lined shell, ready for the oven

    6. No pie weights (for blind-baked shells)

    Weights don’t stop gluten contraction directly, but they pin the dough against the pan while the structure sets — physically preventing the slump while causes #1–5 are being fixed at the source. An unweighted shell has nothing holding it in place during the critical first minutes.

    How to tell: The bottom puffed up and the sides slid down into it — classic unweighted blind bake.

    The fix: Line the chilled shell with parchment and fill completely to the rim with pie weights, dried beans, or even sugar (granulated sugar as a weight is my favorite trick — it toasts lightly and is reusable). Bake 15–20 minutes until the edges set, then remove weights and bake 5–10 minutes more to brown the bottom.

    FAQ

    Can I still use a shrunken pie shell?
    Usually yes. If it shrank but held together, fill it anyway — custard and cream fillings hide a multitude of sins, and it will taste fine. Only start over if the sides collapsed so far that filling would overflow. Shrinkage is cosmetic far more often than structural.

    Is it safe to eat pie dough that was left out during resting?
    Countertop resting is fine for the short shaping rests (20–30 minutes). But the long hydrating rest must be refrigerated — dough with butter sitting out for hours is a food-safety risk. When in doubt, the fridge is always the right call.

    Can I fix shrinkage after the crust is baked?
    No — once baked, the shape is permanent. Prevention is the entire game here, which is why the double rest (dough + shaped shell) matters so much. Build it into your timeline: pie day starts the night before.

    Does vodka really make better pie crust?
    It helps with tenderness, not shrinkage directly. Replacing half the water with cold vodka adds liquid for easy rolling but develops less gluten (gluten needs water, and vodka is only 60% water). It’s a legitimate trick for tender crusts — just keep it ice cold and don’t expect it to fix an overworked dough.

    Why did my fluted edge disappear?
    The fluting was stretched thin during crimping, then contracted in the heat. Fix: make the edge thick — fold the overhang under itself before crimping so the rim is double-layered — and chill the shaped shell well. A thick, cold edge holds its decoration.

    Should I trim the overhang before or after baking?
    After, for blind-baked shells. Trimming before baking removes the insurance policy — the excess gives the crust room to contract without pulling away from the pan. For double-crust pies, trim and crimp before baking since the top crust anchors the edge.

    Related troubleshooting: Soggy Bottom Pie: How to Get a Crisp Base Every Time · Puff Pastry Not Puffing: Lamination Mistakes to Avoid · Why Do My Cookies Spread Flat?

  • Éclair Filling Troubleshooting: Runny Pastry Cream

    Éclair Filling Troubleshooting: Runny Pastry Cream

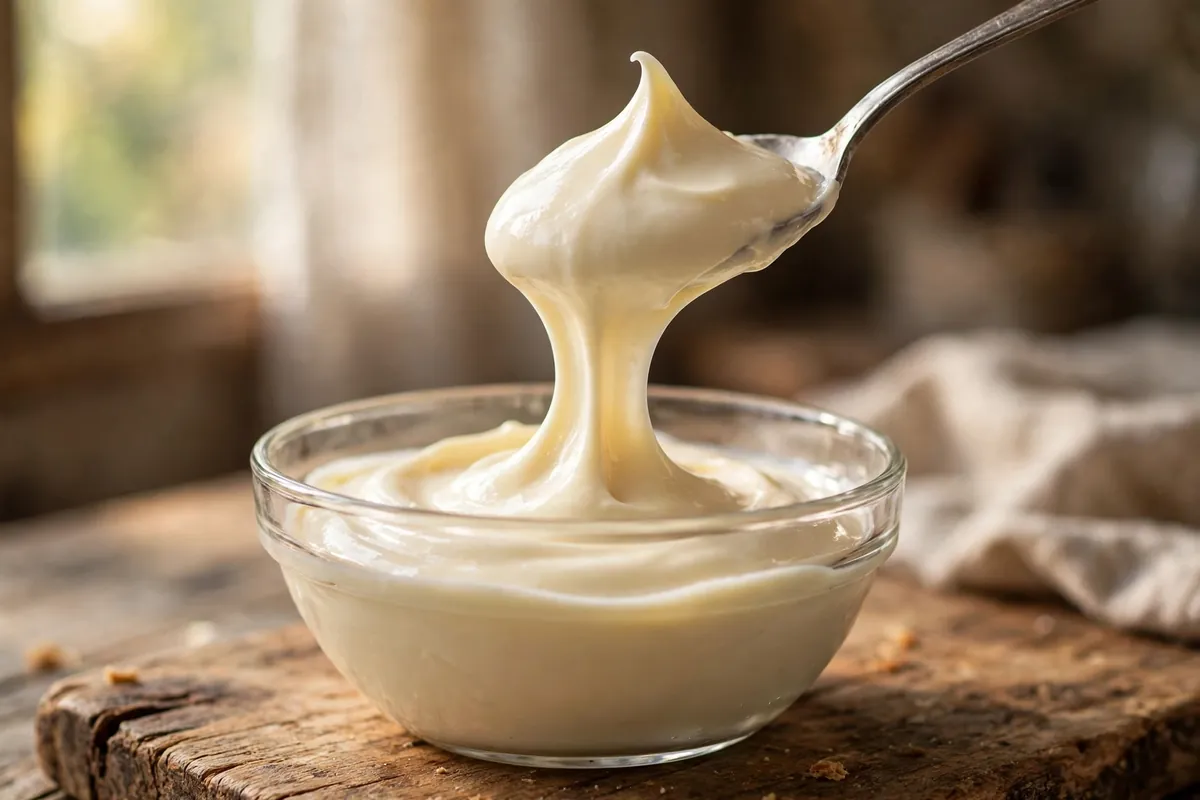
    Runny pastry cream is a starch problem, not luck. Starch granules swell and gelatinize in boiling milk — undercook by a minute, short the starch, or fill warm shells, and you get soup in a pastry. (If your shells themselves deflated, that’s a different failure — see Why Did My Éclairs Collapse?. This guide is about the filling.)

    Quick diagnosis: You didn’t boil the cream long enough for the starch to fully gelatinize (most common). Fix: once it thickens, keep it at a full boil, whisking constantly, for a full 1–2 minutes — then chill it completely with plastic wrap on the surface before it goes anywhere near a shell.

    My tested baseline: 500ml whole milk, 4 large egg yolks, 100g sugar, 30g cornstarch, 1 teaspoon vanilla, 50g cold butter. Whisk yolks, sugar, and cornstarch to a smooth paste; temper with hot milk; return to the heat and boil 2 minutes whisking constantly; off heat, whisk in butter; press plastic wrap directly onto the surface; chill 4+ hours.

    1. You didn’t boil it long enough — the starch never finished its job

    The cream thickens approaching a boil, tricking bakers into pulling it early. But cornstarch needs a sustained boil — 1–2 minutes at 212°F (100°C) — to fully gelatinize. Pulled early, the starch is half-swollen: thick in the pot, soup as it cools. I use a timer now; “it looks thick” has lied to me before.

    How to tell: The cream was thick when hot but thinned as it cooled; it never quite holds a piped shape; it weeps liquid after a few hours in the fridge.

    The fix: Once the cream visibly thickens and starts bubbling, keep whisking at a full boil for 1–2 minutes — big lazy bubbles, constant whisking so it doesn’t scorch. It will look almost too thick, like wallpaper paste. That’s correct; it loosens slightly as it cools and firms fully when chilled.

    2. Not enough starch — the ratio was too lean

    The standard is 30g cornstarch per 500ml milk (about 3 tablespoons). A tablespoon per 2 cups makes pouring custard — fine for trifle, useless for éclairs. Flour versions need ~40g per 500ml, since flour thickens less than pure starch.

    How to tell: You followed the recipe exactly and it still never got thicker than heavy cream; the recipe’s starch quantity looks small compared to the milk.

    The fix: Use the 30g-per-500ml standard. If your recipe is leaner and you don’t want to remake it, whisk 1 tablespoon of cornstarch into 2 tablespoons of cold milk, whisk that slurry into the hot cream, and boil 2 minutes — a rescue that works on an already-made thin batch. Re-chill completely afterward.

    3. You filled the éclairs while the cream was warm

    Even perfect cream flows above ~100°F (38°C) — the starch network only locks as it cools. Pipe warm cream into shells and it soaks the choux walls, turning them soggy while the filling never sets. This is the filling-side twin of the soggy-bottom pie problem: moisture migrating where it shouldn’t.

    How to tell: The éclairs were fine at first but soggy within hours; the shells feel damp inside; the cream never firmed even after a night in the fridge.

    The fix: Chill the pastry cream completely — minimum 4 hours, surface covered with plastic wrap pressed directly on to prevent a skin — then whisk it smooth before piping. Fill éclairs no more than 2–4 hours before serving; filled éclairs are at their peak the day they’re filled and decline after 24 hours as moisture migrates.

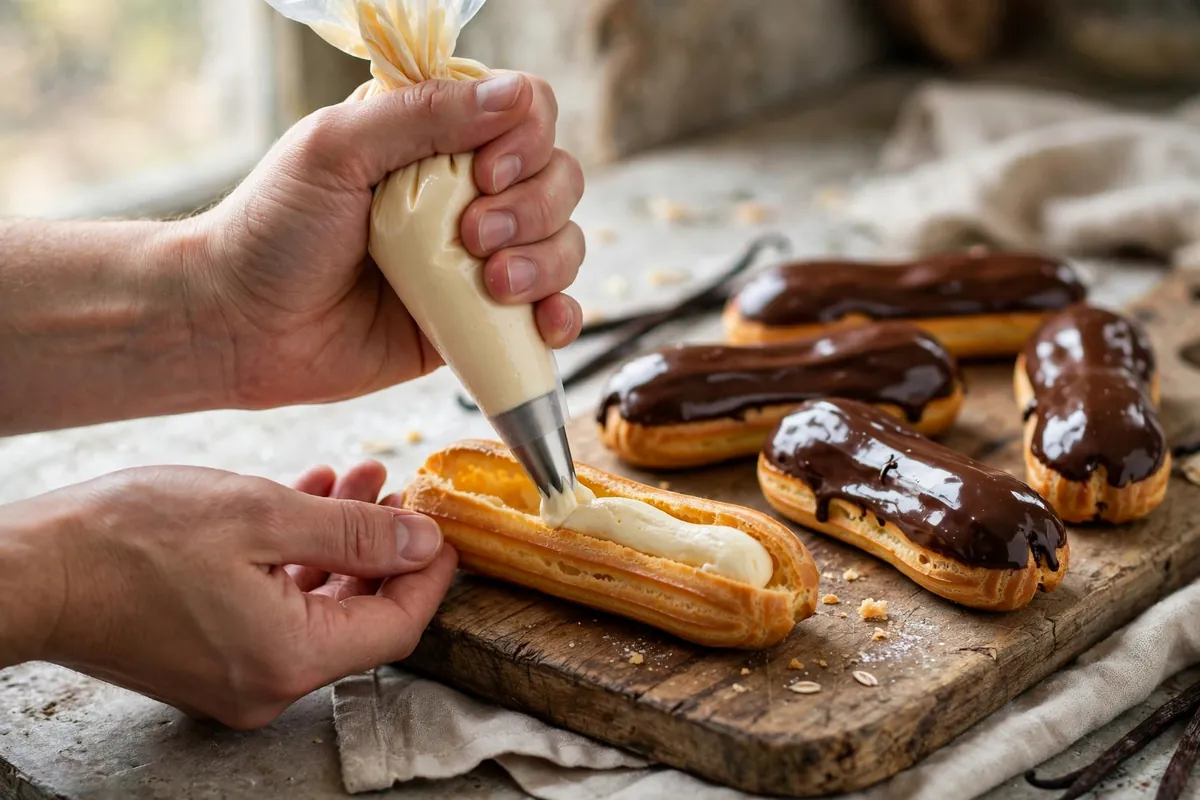
    hands piping chilled pastry cream into the side of a crisp golden éclair shell using a piping bag with a small tip
    hands piping chilled pastry cream into the side of a crisp golden éclair shell using a piping bag with a small tip

    4. The butter went in too early — or the cream got thinned after cooking

    Butter must go into cream that’s off the heat and below 140°F (60°C). Whisked into boiling-hot cream, the butterfat melts into free oil instead of emulsifying — slick and loose. And never “loosen” thick cream with milk; whisking alone restores pipeability.

    How to tell: The cream looked glossy and thick, then turned shiny-loose after the butter went in; or you added liquid to make it “easier to pipe.”

    The fix: Take the cream off the heat, wait 2–3 minutes, then whisk in 50g of cold butter cut in cubes until fully incorporated. To restore chilled cream to piping consistency, whisk it vigorously by hand for 30 seconds — never add liquid. Properly made cream always looks lumpy straight from the fridge and always smooths out with whisking.

    5. The shells were damp inside — the filling never stood a chance

    Perfect cream still weeps in a wet shell. Under-baked éclairs have eggy interiors that steam after baking; pipe into that damp cavity and moisture thins the cream from outside in. The filling takes the blame for the shell’s crime.

    How to tell: The cream is fine in the bowl but runny only inside the éclairs; shell interiors look moist or eggy rather than dry and hollow.

    The fix: Bake shells until deeply golden and firm — then dock each one with a skewer and return them to the turned-off oven with the door cracked for 10 minutes to dry the interiors completely. A properly baked éclair sounds hollow when tapped and feels light. If you’re unsure, the shells are done when they stop “singing” (that faint hissing of escaping steam).

    6. You used low-fat milk — fat is structure

    Whole milk’s fat stabilizes the starch gel and gives body. Skim or 1% sets softer and weeps sooner — not fatal alone, but combined with a short boil or lean starch, it’s the nudge into runny.

    How to tell: The recipe was followed and the boil was long, but the cream still sets softer than expected; low-fat milk was used.

    The fix: Use whole milk. If you’re committed to lower-fat milk, increase the cornstarch to 35g per 500ml and extend the boil to the full 2 minutes to compensate.

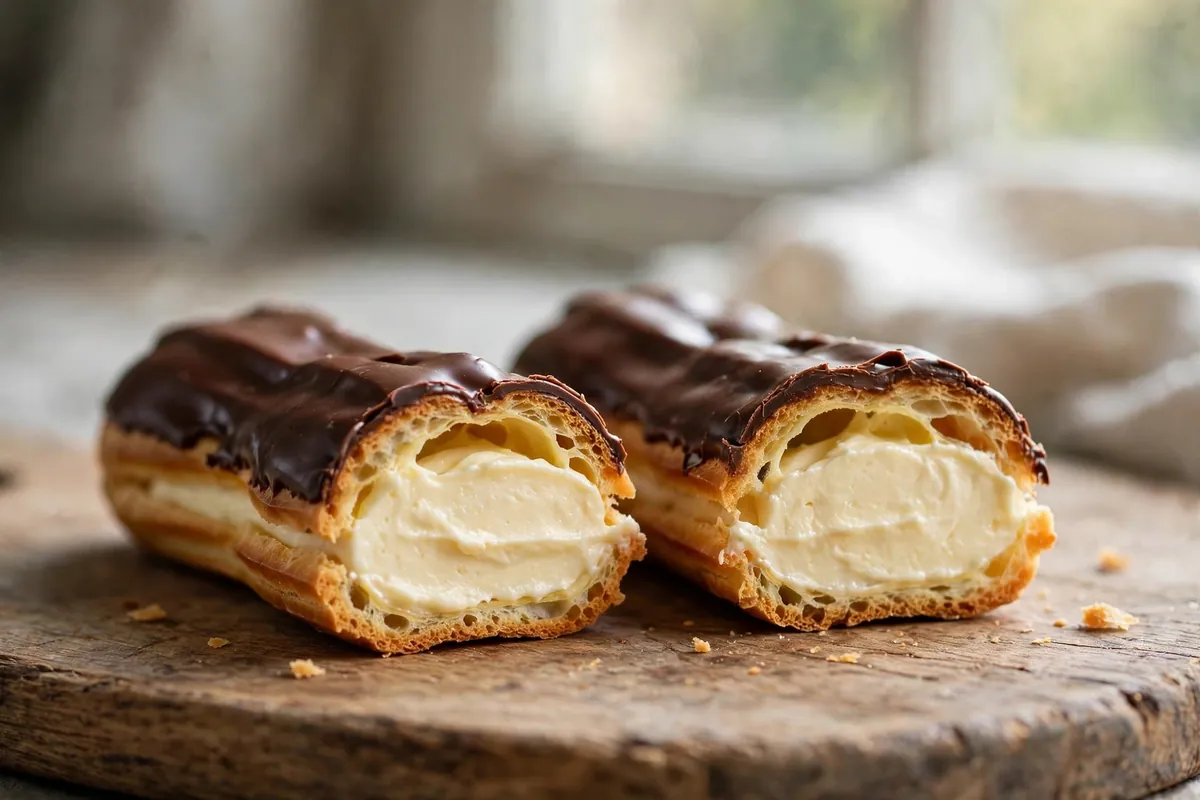
    an éclair cut in half lengthwise showing a thick even layer of vanilla pastry cream inside a crisp hollow shell
    an éclair cut in half lengthwise showing a thick even layer of vanilla pastry cream inside a crisp hollow shell

    FAQ

    Is runny pastry cream safe to eat?
    Yes, if boiled and refrigerated promptly. It’s perishable — refrigerate and use within 2–3 days; discard after 2 hours at room temperature.

    Can I fix runny pastry cream after it’s made?
    Yes — whisk in a slurry (1 tablespoon cornstarch + 2 tablespoons cold milk per 500ml), boil 2 minutes whisking constantly, re-chill with plastic wrap on the surface. Rescues nine of ten thin batches.

    Why does my pastry cream get lumpy?
    The eggs scrambled — milk added too hot, or unstirred on the heat. Temper gradually, whisk constantly, and sieve the finished cream while hot.

    Can I make pastry cream ahead?
    Absolutely — it’s better made ahead. It keeps 2–3 days refrigerated with plastic wrap pressed on the surface. Whisk vigorously before using; it always looks broken straight from the fridge and always comes back.

    How far ahead can I fill éclairs?
    Fill 2–4 hours before serving for peak crispness. Filled éclairs keep 24 hours refrigerated but soften steadily — the shells absorb moisture from the cream no matter how well you bake them.

    Can I freeze pastry cream?
    Technically yes, but the starch gel breaks on thawing — the exact problem you’re avoiding. Freeze filled éclairs instead (a month max); thaw uncovered so condensation doesn’t sog the shells.

    Related troubleshooting: Why Did My Éclairs Collapse? · How to Fix Split Custard · Fixing Curdled Ganache

  • Why Are My Cookies Cakey Instead of Chewy? (Flour and Leavening)

    Why Are My Cookies Cakey Instead of Chewy? (Flour and Leavening)

    Why Are My Cookies Cakey Instead of Chewy? (Flour and Leavening)

    Quick diagnosis: Cakey cookies almost always come from too much air and structure: extra egg, baking powder instead of soda, over-creamed butter, or too much flour. Chew comes from the opposite — melted butter, brown sugar, minimal leavening, and yolks instead of whole eggs. Audit your recipe against causes #1 and #2 first; they decide the texture before the dough ever reaches the oven.

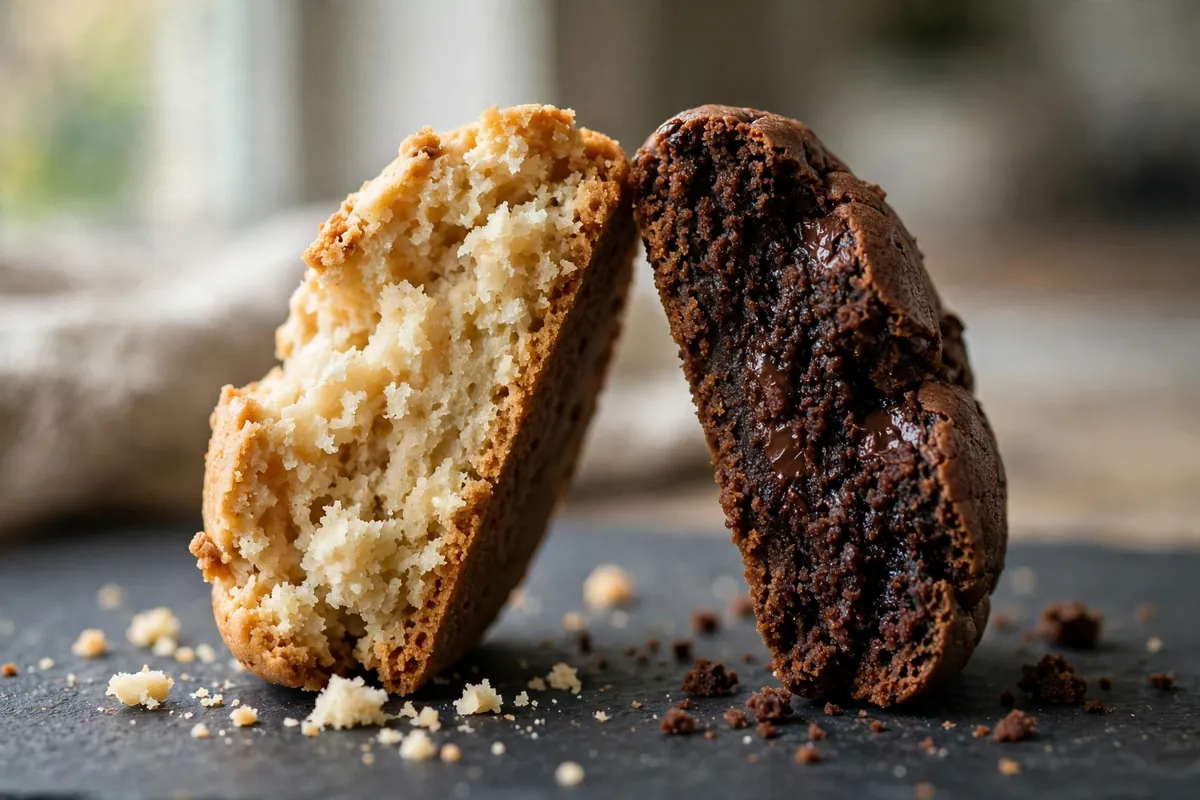
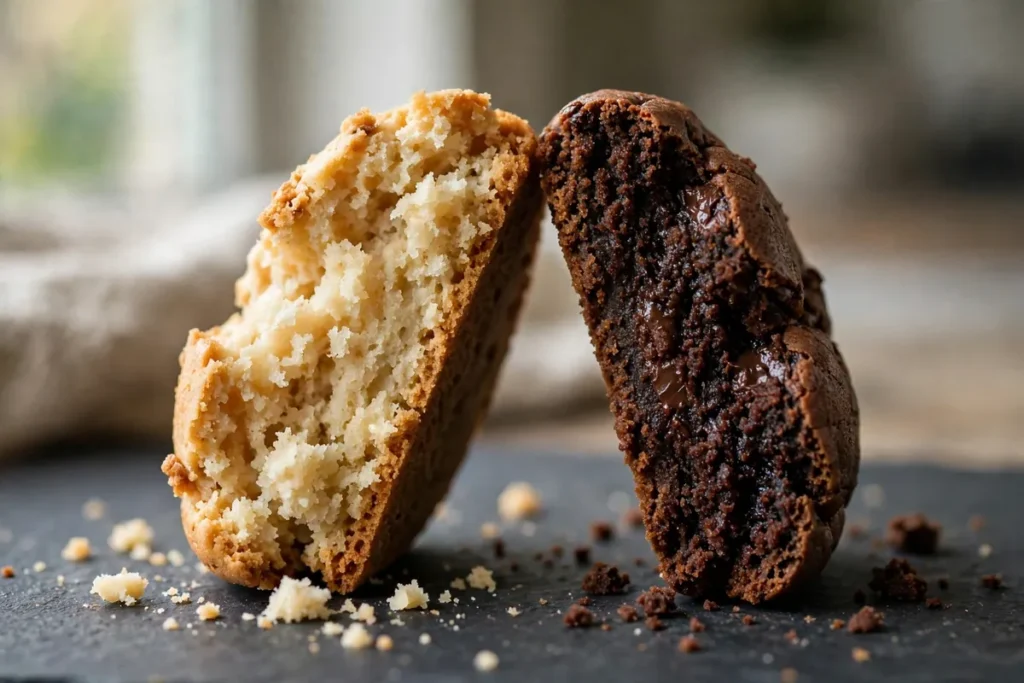
    Cakey cookie crumb beside chewy cookie crumb, cross-section
    cross-section comparison — a cakey cookie’s fluffy pale interior next to a chewy cookie’s dense, bendy interior

    Chew and cake are opposite architectures. A chewy cookie is dense: sugars melted into a tight, flexible matrix with minimal lift. A cakey cookie is aerated: leavening and creamed fat pumped it full of tiny air pockets like a little cake. Your recipe chose one architecture at the mixing bowl — here’s how to read which one it built, and how to rebuild it chewy.

    1. Too much egg (especially egg white)

    Egg is the single biggest texture lever in a cookie. Whites are mostly water and protein — they set into structure, which is exactly what makes cake cakey. A recipe with two whole eggs where one would do, or an extra white “for binding,” builds cake structure. Yolks do the opposite: fat and emulsifiers enrich without aerating, which is why chewy-cookie recipes often call for an extra yolk and no extra white.

    How to tell: Count the eggs against the flour. More than one whole egg per ~2 cups of flour pushes cakey; two full eggs in a standard batch is a red flag.

    The fix: Drop to one whole egg plus one extra yolk per standard batch (about 2¼ cups flour). The yolk adds richness and chew; ditching the extra white removes the cake scaffolding. When I converted a cakey family recipe this way, the texture flipped from muffin-like to properly bendy.

    2. Baking powder instead of (or on top of) baking soda

    Baking powder contains its own acid, so it reacts twice — once when wet, once when hot — puffing the dough upward into a soft, domed, cake-like structure. Baking soda needs external acid (brown sugar, for instance) and reacts once, spreading the dough outward instead of lifting it. A recipe built on powder, or powder plus soda, is engineered for cakey.

    How to tell: Check the leavening line. Baking powder as the only leavener, or a full teaspoon of powder alongside soda, means lift-first architecture.

    The fix: For chew, use baking soda alone — typically 1 teaspoon per 2¼ cups flour, leveled. Expect flatter, denser cookies with crisp edges. (If your problem is the reverse — cookies spreading too thin — that’s a different lever; see Why Do My Cookies Spread Flat?.)

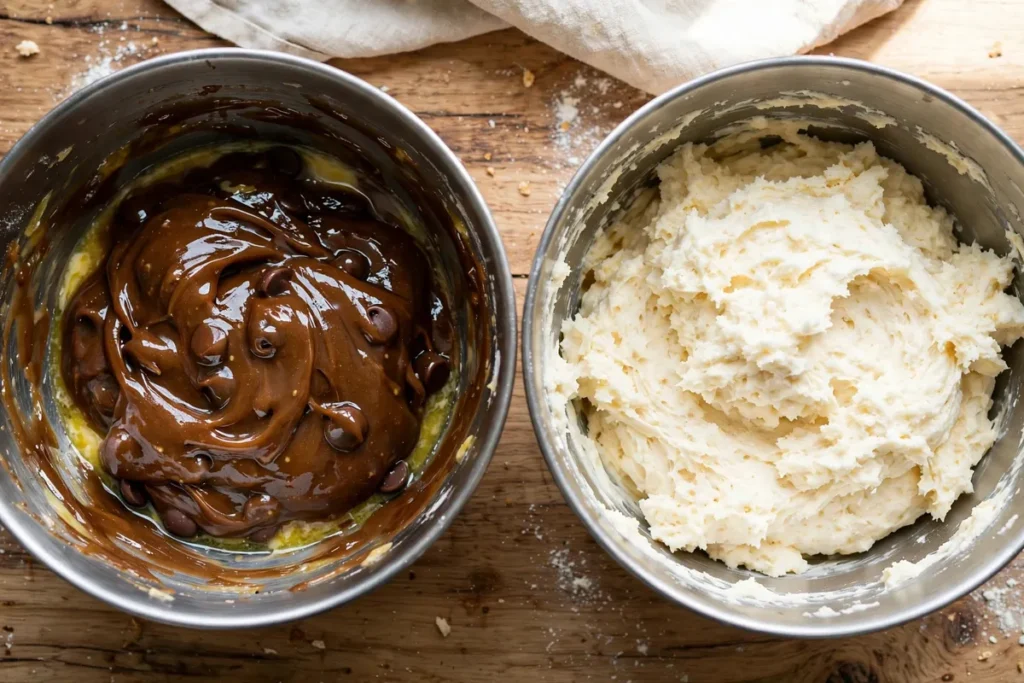
    Melted butter dough beside creamed butter dough in bowls
    two dough balls side by side — one mixed with melted butter (glossy, slack) and one with creamed butter (pale, fluffy)

    3. The butter was creamed too long

    Creaming beats air into butter and sugar — wonderful for cake, counterproductive for chew. Three to five minutes of creaming builds a foam that bakes into an aerated crumb. Chewy cookies want the opposite: fat that coats flour rather than aerating it.

    How to tell: Did you cream until “light and fluffy” and pale? That instruction builds cake texture by design.

    The fix: For chewy cookies, use melted (then slightly cooled) butter and mix just until combined — 30–60 seconds past the flour disappearing. Melted butter can’t hold beaten-in air, so the crumb stays dense. This one change, keeping everything else identical, takes a batch from cakey to chewy in a single bake.

    4. Too much flour

    Excess flour absorbs the moisture that would otherwise keep the cookie pliable, and the extra starch sets into a dry, fluffy crumb. It’s the same scooping error that plagues bread — a packed cup can run 150g against the standard 120g — and in cookies the penalty is cakey dryness instead of chew.

    How to tell: The dough felt stiff and dry, the baked cookies look pale and floury, and they crumble rather than bend.

    The fix: Weigh flour at 120g per cup. And consider swapping a portion of all-purpose for bread flour — its higher protein (12–14%) develops more gluten chew. Replacing half the AP flour with bread flour is the classic bakery trick for a seriously chewy center.

    5. Too much white sugar, not enough brown

    White sugar crystallizes as it cools, giving a crisp, snappy texture. Brown sugar’s molasses is hygroscopic — it grabs and holds moisture — which keeps the center soft and bendy for days. An all-white-sugar cookie can never be truly chewy; the chemistry won’t allow it.

    How to tell: The recipe uses all white sugar, or white dominates the mix.

    The fix: Make brown sugar the majority — a 2:1 brown-to-white ratio is my starting point for chew. Dark brown (more molasses) chews even more than light. This pairs with cause #3: melted butter plus mostly-brown sugar is the canonical chewy-cookie formula.

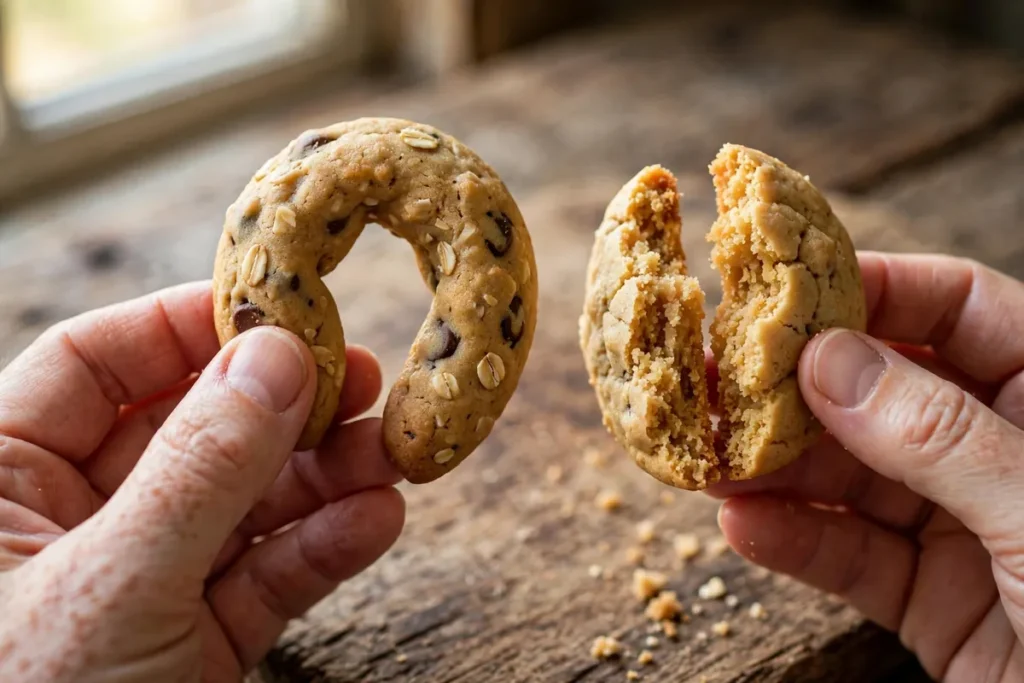
    Cookie bend test — chewy cookie bending without breaking
    bend test — a chewy cookie bent between fingers without breaking vs a cakey cookie snapped in half

    6. Baked too long

    Chew lives in slight underdoneness. A cookie baked until uniformly firm has driven off the moisture that makes chew possible. Chewy cookies should look just barely set in the center when they leave the oven — pale, soft, almost underdone — and finish setting on the hot tray.

    How to tell: Centers were fully firm and golden when you pulled the tray; cookies cooled hard rather than settling soft.

    The fix: Pull when the edges are set and golden but the centers still look soft and slightly puffy, usually 1–2 minutes before the recipe’s maximum time. They’ll collapse slightly and set into chew as they cool. I pull at 10 minutes for a recipe that says 10–12, every time.

    The chew formula, summarized

    If you want one recipe to memorize: melted butter, mostly brown sugar, one egg plus one yolk, baking soda only, bread-flour blend, pulled early. Every element pushes the same direction — density over aeration. Invert any two of them and you’re back in cake territory, which is fine if that’s what you want; just know you’re choosing it.

    FAQ

    Are cakey cookies a mistake, or just a style?
    Just a style — there’s nothing wrong with a soft, fluffy cookie, and plenty of beloved recipes are deliberately cakey. It only counts as a problem if you wanted chewy and got cake. Match the technique to the texture you actually want.

    Can I make cakey cookies chewy after baking?
    No — texture is set during the bake. But slightly stale cakey cookies can be revived: 8–10 seconds in the microwave softens them, and storing with a slice of bread overnight lends moisture. For the next batch, apply the fixes above.

    Is it safe to eat slightly underbaked cookies?
    Yes for standard drop cookies — the Centers for Disease Control’s concern is raw flour and raw egg, and a cookie that’s set at the edges but soft in the center has well exceeded safe temperatures throughout. What you must avoid is eating raw dough, which never reaches those temperatures.

    Why do my cookies taste fine but feel dry and bready?
    That’s the flour-and-egg-white combination from causes #1 and #4: too much structure, not enough fat and sugar moisture. Cut the extra white, weigh your flour, and shift toward brown sugar — dryness and cakiness usually leave together.

    Does resting the dough help chewiness?
    Yes, noticeably. An overnight rest hydrates the flour fully and deepens flavor (butterscotch notes develop). Resting also firms the dough, which controls spread — so you get the chew without the pancake. It’s the rare step that improves everything at once.

    Can I use all bread flour for maximum chew?
    You can, but 100% bread flour can turn tough rather than chewy — there’s a line between bendy and rubbery. A 50/50 blend with all-purpose is the sweet spot I recommend; go higher only if you’ve tested your recipe there.

    Related troubleshooting: Why Do My Cookies Spread Flat? · Why Is My Cake Dry? · Why Did My Cupcakes Overflow?

  • Why Did My Whoopie Pies Spread? Batter and Pan Fixes

    Why Did My Whoopie Pies Spread? Batter and Pan Fixes

    A whoopie pie should be a plump, domed, cake-like round — thick enough to sandwich filling without collapsing. When the batter spreads, you get thin, lacy-edged discs that crack when lifted and can’t hold filling. The trap: whoopie batter looks like cookie dough’s cousin, but it’s chemically a little cake and follows cake rules. Spreading comes down to warm batter, too much leavening, mismeasured flour, or skipped chilling.

    Quick diagnosis: Your whoopie pies spread because the batter was too warm, the leavening was overmeasured, or the flour was undermeasured. Chill the scooped batter 15–20 minutes before baking, measure leavening level (not heaped), spoon-and-level your flour, and bake at 350°F (175°C) — the mounds should hold their shape going into the oven.

    My tested baseline (chocolate): 250g (2 cups) flour, 60g (¾ cup) Dutch-process cocoa, 1¼ teaspoons baking soda, ¾ teaspoon salt; 115g (½ cup) butter at cool room temperature, 200g (1 cup) brown sugar, 100g (½ cup) granulated sugar; 1 large egg plus 1 yolk, 2 teaspoons vanilla; 240ml (1 cup) buttermilk. Cream butter and sugars 3 minutes, beat in eggs and vanilla, add dries in three additions alternating with buttermilk, mixing gently. Scoop with a medium cookie scoop (about 3 tablespoons), chill the tray 15–20 minutes, bake at 350°F (175°C) for 10–12 minutes, until tops spring back when touched.

    1. Your batter was too warm — fat melts before structure sets

    The #1 cause, and it starts before the oven is hot. If the creamed butter is warm — over-creamed, mixed in a hot kitchen, butter left out for hours — the batter goes in half-melted. Fat liquefies in the first minutes of baking, the batter flows outward before flour and eggs set a structure, and you get pancakes instead of domes.

    How to tell: Scooped mounds slumped on the tray before baking; batter felt soft and greasy rather than thick and scoopable; baked rounds have thin, lacy edges.

    The fix: Chill the scooped tray 15–20 minutes — mounds should feel firm and hold shape going into the oven. Use butter at cool room temperature (65°F / 18°C — dents, doesn’t smear) and cream no more than 3 minutes. In a warm kitchen, chill the mixing bowl 10 minutes before starting. (Same fat-temperature logic as Why Do My Cookies Spread Flat? Butter, Sugar, and Chill Time.)

    2. Too much leavening — baking soda is a spreader, not just a lifter

    Excess baking soda raises batter pH, which weakens structure and lets the batter flow. An extra half-teaspoon — a heaped spoon instead of level — turns domed cakes into flat discs, and leaves a soapy, metallic aftertaste as its calling card. Whoopie batter is especially sensitive: small, rich portions with a high sugar ratio.

    How to tell: Rounds spread wide with a soapy or metallic taste; coarse, fragile texture rather than fine and cakey; the soda was measured with a dinner spoon or heaped.

    The fix: Level measuring spoons, scraped with a knife — 1¼ teaspoons baking soda, no more. Don’t “add extra for lift”; here, extra soda is extra spread. If your soda is older than 6 months, replace it instead of adding more — dead soda doesn’t lift, and extra quantity just adds soapiness.

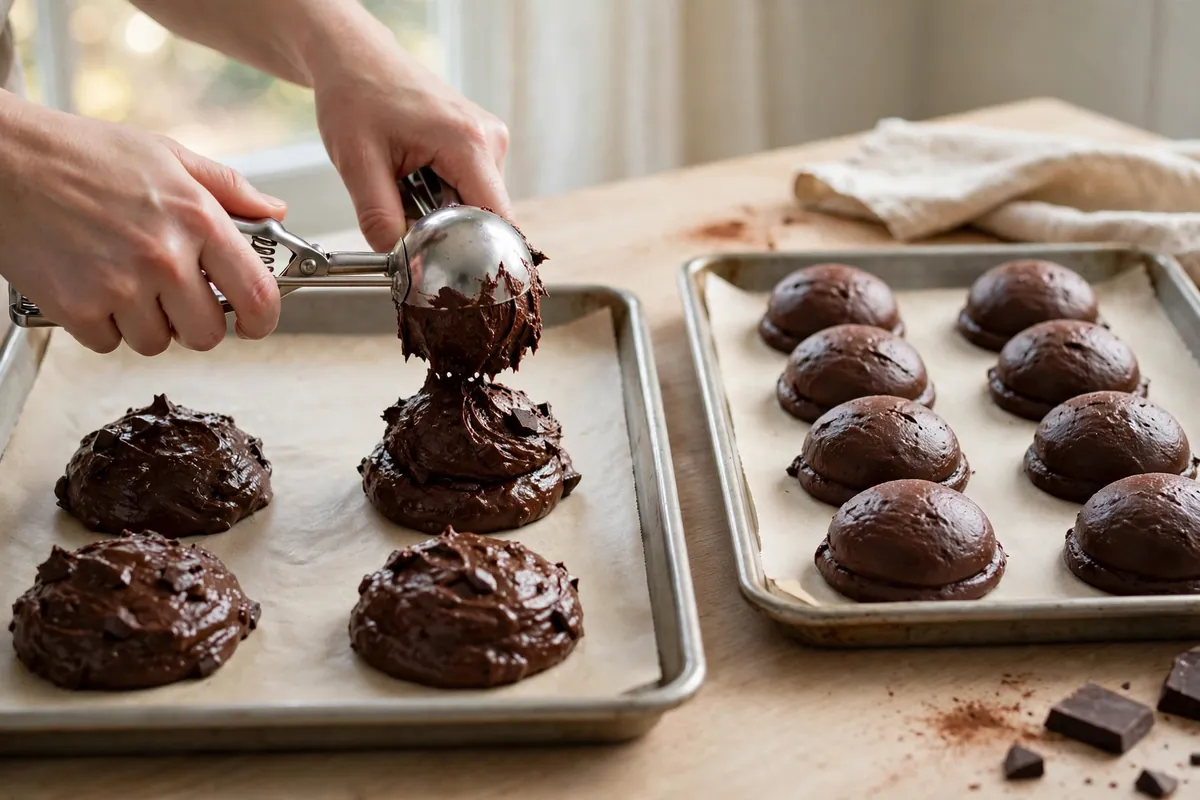
    hands scooping whoopie batter onto a parchment-lined tray, mounds holding shape
    hands scooping whoopie batter onto a parchment-lined tray, mounds holding shape

    3. Not enough flour — the structure never had a chance

    Whoopie batter walks a tightrope: enough flour for cakey structure, little enough to stay tender. Undermeasure — the classic scooped-cup error packs 20–30% less than intended — and there’s no scaffolding to contain melting fat and sugar. The most common cause, in my experience, for bakers who “followed the recipe exactly” with volume measures.

    How to tell: Batter looked thin or pourable rather than thick and scoopable; flour measured by scooping the cup from the bag; baked rounds tender to the point of fragility.

    The fix: Weigh the flour — 250g — or spoon into the cup and level. Already mixed a thin batter? Fold in flour a tablespoon at a time until a scooped mound holds its shape a full minute on the tray. Two to four tablespoons usually does it; more turns the texture dry.

    4. Too much sugar or the wrong sugar — sugar liquefies in the oven

    Sugar melts before flour sets, and a sugar-heavy batter spreads aggressively — especially all white sugar, which melts cleaner than brown. Brown sugar’s molasses adds moisture too, so the total load and the white-to-brown ratio both matter.

    How to tell: Thin, caramelized, candy-like edges with fine centers; the recipe was very high in sugar relative to flour.

    The fix: Keep sugar near the baseline — about 300g total to 250g flour, at least half of it brown sugar. Don’t slash sugar to fix spread, though: below about 250g the cakes go dry and bland. Fix temperature and flour first; sugar is a fine-tuning dial.

    whoopie pie cakes on a tray mid-bake viewed through the oven door
    whoopie pie cakes on a tray mid-bake viewed through the oven door

    5. The pan and spacing worked against you — hot, dark, or crowded

    A dark, thin sheet superheats the bottoms, melting fat before tops set — the batter spreads from below. Crowded mounds merge into one giant whoopie. And a tray still warm from the previous batch starts the next round already melting.

    How to tell: Over-browned bottoms with underdone tops; the second batch spread more than the first; mounds placed 1 inch apart merged.

    The fix: Heavy, light-colored half-sheet pan, parchment-lined. Space mounds 2 inches apart — room to grow up, not out. Cool the tray completely between batches. With only a dark nonstick sheet, drop to 325°F (165°C) and add 2 minutes. (More on pan material: Glass vs Metal vs Dark Pans: What Changes in Your Bake.)

    Frequently asked questions

    Can I fix whoopie pies that already spread flat?
    As cakes, no — but sandwich two flats with extra filling for a thinner whoopie, or crumble them over ice cream, where the crisp texture is an asset. Next batch: chill the scooped tray. That’s the highest-leverage fix.

    Are whoopie pies cookies or cake?
    Chemically, little cakes: cake-like ratios of fat, sugar, eggs, and liquid, leavened for tenderness. That’s why cookie instincts (“warm dough is fine”) betray you. Treat the batter like cake batter that happens to be scooped.

    Why did my whoopie pies crack on top?
    Usually too-hot oven — the exterior set before the interior finished expanding. Can also mean too much leavening (see #2). Fine cracks are traditional; deep fissures mean dropping 25°F (about 15°C). (Same mechanism as Why Did My Cake Dome and Crack on Top?.)

    Can I make whoopie batter ahead?
    Yes — mixed batter keeps 24 hours refrigerated, and chilled-from-mixed batter spreads less. Scoop straight from the fridge and add 1–2 minutes. Don’t freeze batter; freeze baked unfilled cakes up to a month, parchment between layers.

    Why are my whoopie pies dry instead of cakey?
    Overbaked — 2 minutes too long dries these small cakes. Pull when tops spring back but still look slightly soft; they firm as they cool. And weigh the flour: too much flour is the other classic route to dryness.

    What’s the best filling that won’t make them soggy?
    Stiff fillings: ermine frosting, Swiss meringue buttercream, or marshmallow-buttercream hybrid. Plain whipped cream weeps into the cakes within an hour — fine for immediate serving, bad for a party platter. Fill no more than 4 hours ahead unless the filling is very stable.

    Related troubleshooting: Why Do My Cookies Spread Flat? Butter, Sugar, and Chill Time · Kouign-Amann Troubleshooting: Leaked Butter, Burnt Sugar · Why Is My Banana Cake Gummy? Mixing and Moisture Fixes