Category: Cookies & Pastry

  • Why Is My Pie Filling Runny? Thickeners Compared (Flour vs Cornstarch vs Tapioca)

    Why Is My Pie Filling Runny? Thickeners Compared (Flour vs Cornstarch vs Tapioca)

    You baked the perfect crust, the kitchen smells incredible, you cut the first slice — and fruit soup floods the plate. I’ve served that pie. Runny filling is a thickener problem, a cooling problem, or both — and once you understand how the three common thickeners actually work, the problem doesn’t come back.

    Quick diagnosis: Runny filling comes down to two things in nearly every case: the wrong thickener (or too little of it) for the fruit, and slicing before the pie cooled completely. If you used flour with very juicy berries and cut the pie warm, start with fixes #1 and #5.

    Fruit releases juice as it bakes. A thickener’s job is to trap that juice in a gel. No thickener, wrong thickener, or too little — and physics wins.

    1. You used the wrong thickener for the fruit

    Not all thickeners behave the same, and fruit isn’t interchangeable. Here’s the honest comparison from years of testing:

    All-purpose flour — 2–3 tablespoons per 9-inch pie. The old-fashioned choice. Pros: always on hand, stable under long bakes. Cons: thickens opaquely — the filling looks cloudy — and needs a full, hot bake to cook out its raw taste. Best for: apple and pear pies, where the filling is naturally less juicy and opacity doesn’t matter.

    Cornstarch — 2–4 tablespoons per 9-inch pie (higher end for very juicy fruit). Pros: sets into a clear, glossy gel; twice the thickening power of flour by volume. Cons: can thin out under very long, hot bakes or with highly acidic fruit, and needs a full boil inside the pie to activate. Best for: berry and cherry pies baked hot and fully.

    Quick-cooking tapioca — 2–3 tablespoons per 9-inch pie, ground finer if the pearls are large. Pros: the best of both — clear gel like cornstarch, stable like flour, no starchy taste. Cons: the pearls need about 15 minutes of rest with the fruit before baking to hydrate. Best for: the juiciest pies — fresh berry, rhubarb, peach — where you want a clear set that holds for days.

    My default: tapioca for juicy fruit, flour for apples. Cornstarch when I want that glossy look and I’m sure of a hot, full bake.

    How to tell: Match your fruit to the list. Juicy berries thickened with flour, or any pie thickened with cornstarch that came out pale — that’s your answer.

    2. You didn’t use enough thickener

    Thickener amounts aren’t suggestions — they’re calibrated to the fruit’s juice. The mistake I see most: using the apple-pie amount of thickener in a berry pie. Berries release dramatically more juice than apples, and stone fruit sits in between. A flat 2 tablespoons across all fruits under-thickens the wet ones every time.

    How to tell: The filling tastes right but flows — the flavor is there, the structure isn’t. That’s under-thickening, not a technique failure.

    The fix: Scale to the fruit. Per 9-inch pie with ~6 cups fruit: apples 2 tablespoons flour; peaches/plums 3 tablespoons tapioca or flour; berries/cherries 3–4 tablespoons tapioca or cornstarch. When in doubt, go one tablespoon heavier — slightly firm beats soupy. (For the crust side — juicy filling also attacks the base — see Soggy Bottom Pie.)
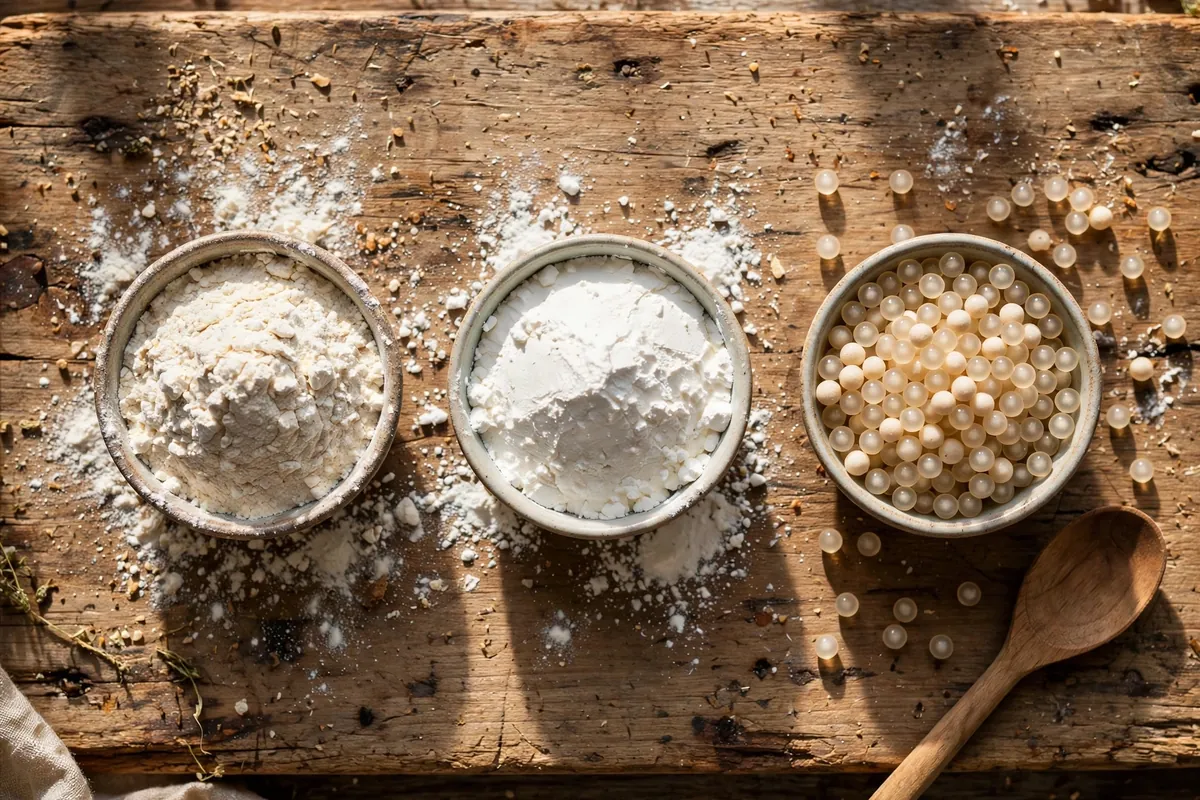
    three small bowls showing flour, cornstarch, and tapioca pearls side by side with a spoon
    three small bowls showing flour, cornstarch, and tapioca pearls side by side with a spoon

    3. The filling never got hot enough

    Thickeners activate at specific temperatures — starch granules swell and burst, trapping liquid, only when they get hot enough. Cornstarch needs a genuine boil: the filling must bubble visibly through the vents. A pie pulled when “the crust looks done” but the filling never bubbled has inactive thickener and a guaranteed flood.

    How to tell: The crust is golden but you never saw the filling bubble, or only the edges did. The juices look thin and watery rather than syrupy.

    The fix: Bake until the filling bubbles in the center — not just the edges — for several minutes. An instant-read thermometer through a vent reading 200°F (93°C) confirms it. Shield the crust edges with foil if they’re browning faster than the filling is bubbling.

    4. You didn’t pre-treat very juicy fruit

    Some fruit is simply too wet for thickener alone. Fresh berries, rhubarb, and ripe peaches can release a startling volume of juice — more than any reasonable amount of starch can trap without turning the filling gummy.

    How to tell: The fruit was very ripe, very fresh, or a known juice-bomb (raspberries, blackberries, rhubarb).

    The fix: Macerate. Toss the sliced fruit with the sugar and a pinch of salt 30–60 minutes before assembling. Drain off the pooled juice, simmer it until reduced by half into a syrup, cool, and pour it back over the fruit with your thickener. You keep all the flavor, lose the flood. This single technique fixed my raspberry pies permanently.

    5. You sliced it warm

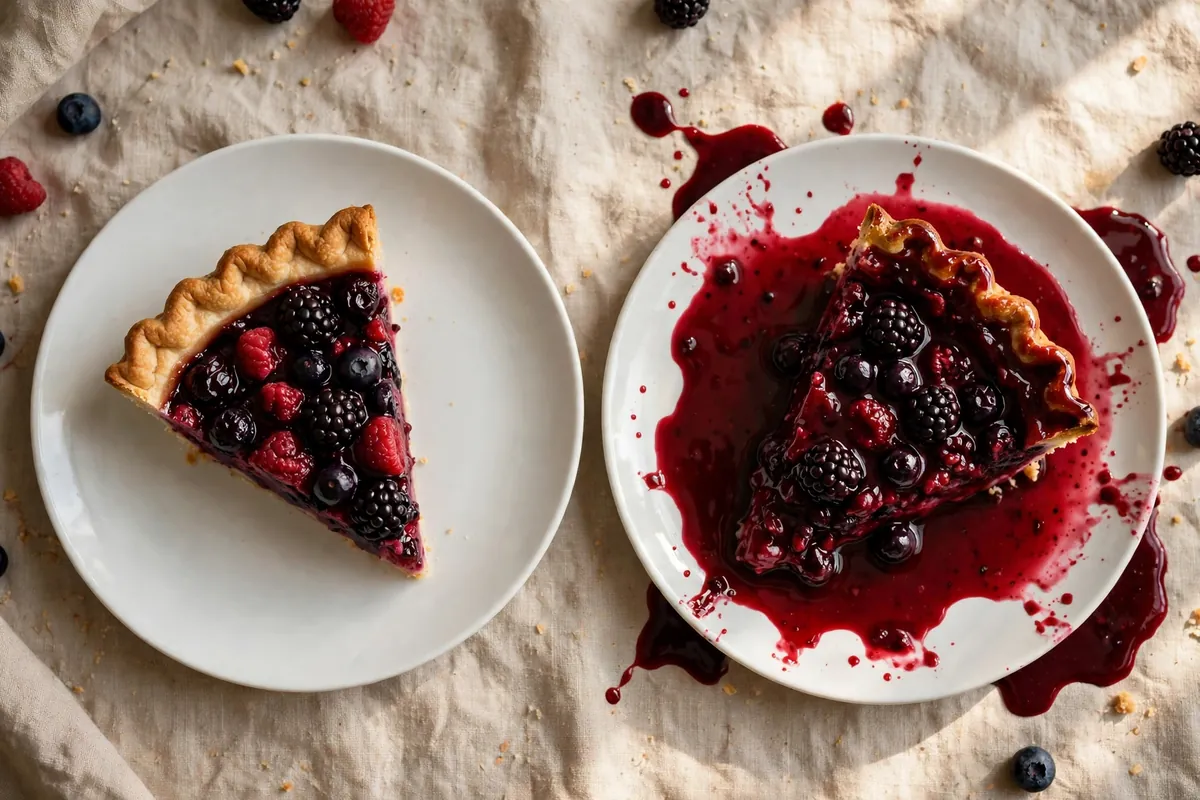
    This is the cruelest cause because the pie was actually fine. Fruit fillings thicken as they cool — pectin and starch gels firm up dramatically between oven-hot and room temperature. A pie sliced 30 minutes out of the oven will always look runnier than the same pie sliced at 3 hours. I know the wait is agony. It’s also non-negotiable.

    How to tell: The filling looked thick and bubbly in the oven, flowed when cut warm, and — telltale sign — the leftover pie the next day slices cleanly.

    The fix: Cool the pie on a rack a full 3–4 hours before slicing — 4 for berry pies. The filling needs to drop below about 100°F (38°C) for the gel to set. If you must serve warm pie, serve it in bowls as a rustic dessert and own it.
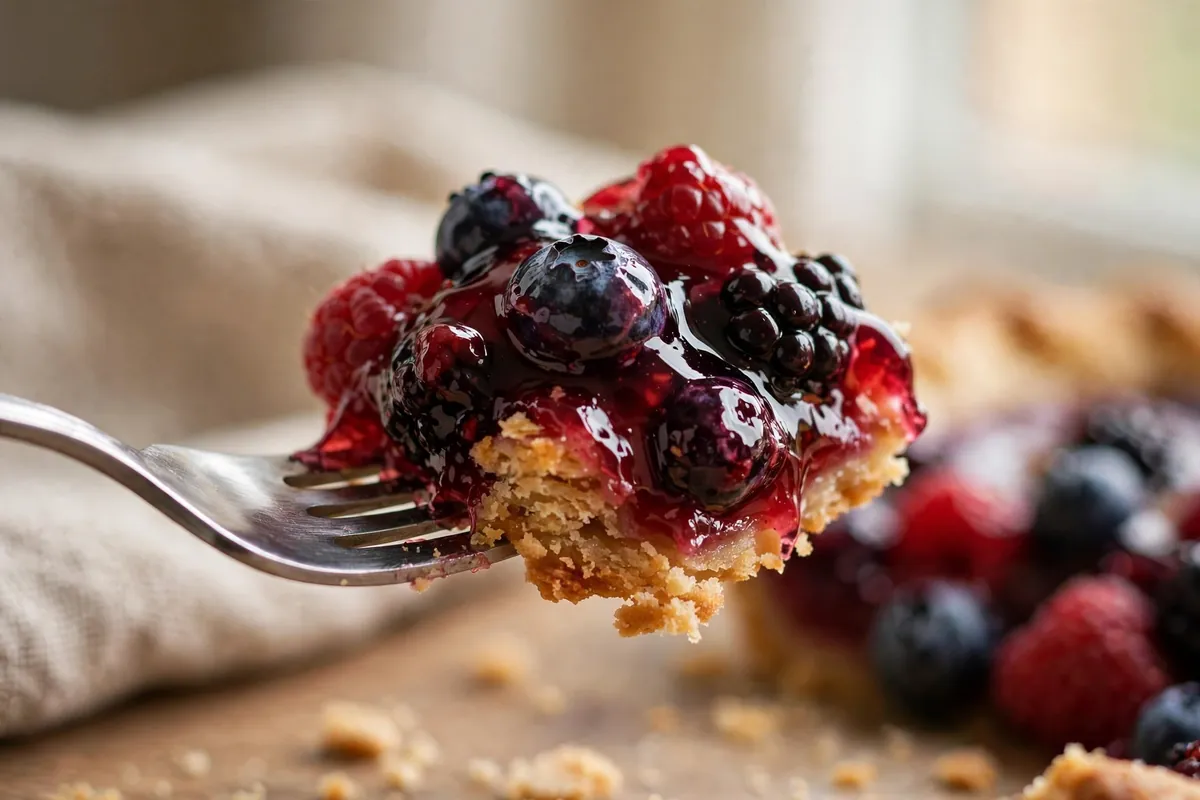
    a slice of berry pie on a fork showing the filling holding its gelled shape
    a slice of berry pie on a fork showing the filling holding its gelled shape
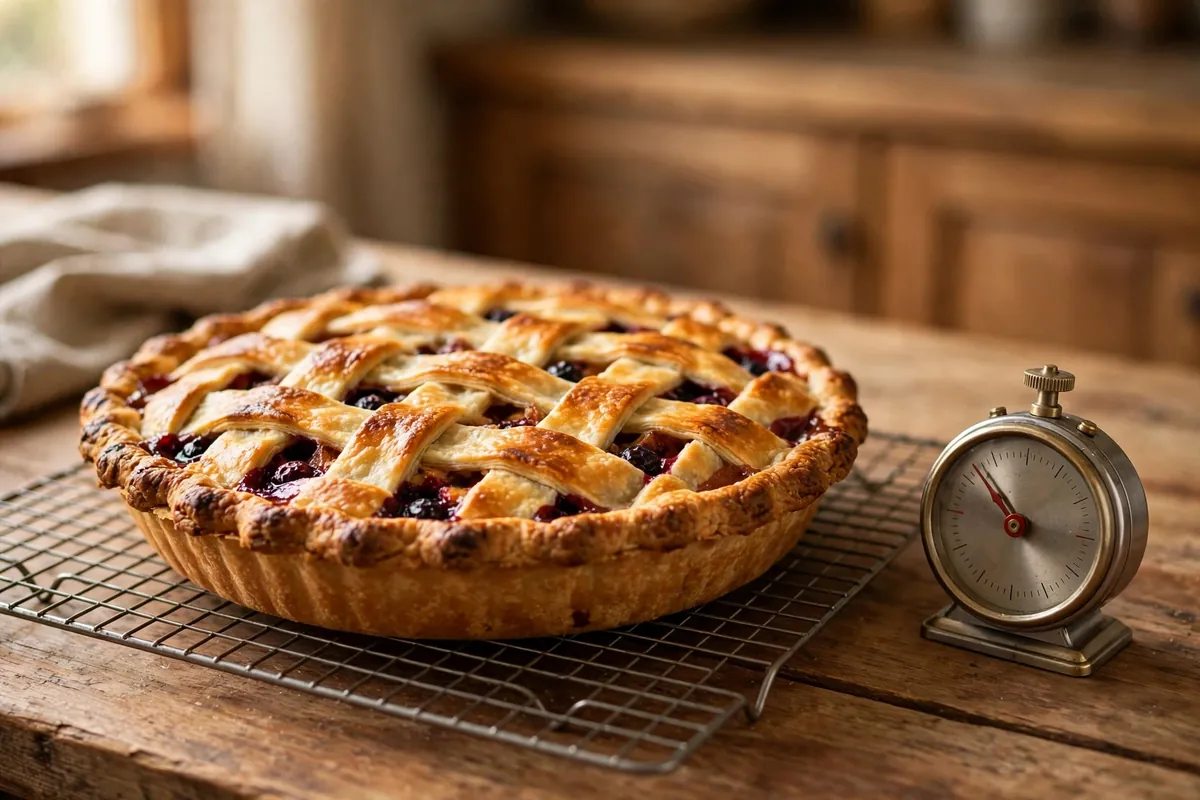
    a whole pie cooling on a wire rack with a visible "do not cut" sticky note, kitchen timer beside it
    a whole pie cooling on a wire rack with a visible "do not cut" sticky note, kitchen timer beside it

    6. Rescue: fixing today’s runny pie

    Already baked, already runny? Rebake: return the pie to a 375°F (190°C) oven until the filling bubbles — then cool fully this time. Stovetop: scoop the filling into a saucepan, whisk in a cornstarch slurry (1 tablespoon cornstarch + 2 tablespoons cold water per cup of filling), simmer 2 minutes until glossy, and reassemble — or serve it over ice cream as a compote.

    Frequently Asked Questions

    Which thickener is best for apple pie?
    Flour — 2–3 tablespoons. Apple filling is low-juice and opaque anyway, so flour’s cloudiness doesn’t matter, and its heat stability suits the long bake.

    Why did my berry pie turn out runny when I used cornstarch?
    Two culprits: the filling never reached a full boil (cornstarch needs active bubbling), or you used the apple-pie amount for berry-level juice. Next time: 3–4 tablespoons, bake until the center bubbles, cool 4 full hours.

    Can I use tapioca pearls straight from the jar?
    Roughly — but grind them first. Whole pearls can survive as gelatinous beads; a few pulses in a spice grinder gives you a powder that disappears while keeping tapioca’s holding power.

    Is runny pie filling safe to eat?
    Completely — it’s a texture problem, not a safety one. Undercooked flour thickener can taste pasty, but nothing in a baked fruit pie is unsafe.

    Can I fix a runny pie after it’s baked?
    Yes — rebake until the filling bubbles (activating the thickener properly), then cool the full 3–4 hours. Or scoop out the filling, thicken it on the stovetop with a cornstarch slurry, and reassemble. Both work; the stovetop method is faster.

    Does sugar make filling runnier?
    Sugar draws juice out of fruit, which is why juicy fruit needs the maceration pre-treatment. But don’t cut the sugar — it helps the gel set. Manage the juice; keep the sugar.

    Related troubleshooting: Soggy Bottom Pie · Pie Crust Shrinking in the Oven · Why Did My Cheesecake Crack?

  • Christmas Cookies: How to Keep Them Fresh for Weeks

    Christmas Cookies: How to Keep Them Fresh for Weeks

    Christmas cookie season starts in November and the eating goes through New Year’s — which means the cookies you bake in week one need to survive until week four. I’ve shipped tins of cookies across the country and kept platters going all December, and the system is simple once you know the one rule that governs everything. Here’s how to keep every type fresh.

    Quick plan: Sort by texture: crisp cookies (gingerbread, shortbread) go airtight at room temperature for 2–3 weeks. Soft cookies (frosted sugar cookies, molasses) go airtight with the bread-slice trick for 1–2 weeks. Never store crisp and soft together. Most doughs and most baked cookies freeze for 2–3 months — often the best plan of all.

    The golden rule: never mix crisp and soft

    Moisture migrates. Put a crisp gingerbread snap in a tin with soft frosted sugar cookies and within two days the snap is soggy and the sugar cookie is stale — they’ve traded moisture through the air. This single mistake ruins more Christmas cookies than any other storage error.

    The fix: One texture per container. Crisp with crisp, soft with soft, always. If you’re gifting mixed assortments, bag each type separately inside the gift tin.

    Crisp cookies: the easy keepers

    Gingerbread, shortbread, biscotti, snickerdoodles (the crisp kind) — these are the marathon runners of Christmas cookies. Low moisture is their preservative.

    Method: Cool completely (any residual warmth = condensation = sogginess), then pack in airtight tins or containers at room temperature. They’ll stay crisp and good for 2–3 weeks, sometimes longer. Metal tins beat plastic — they seal better and block light.

    How to tell they’re fading: They lose their snap and taste stale-soft. If caught early, 5 minutes in a 300°F (150°C) oven re-crisps most of them.

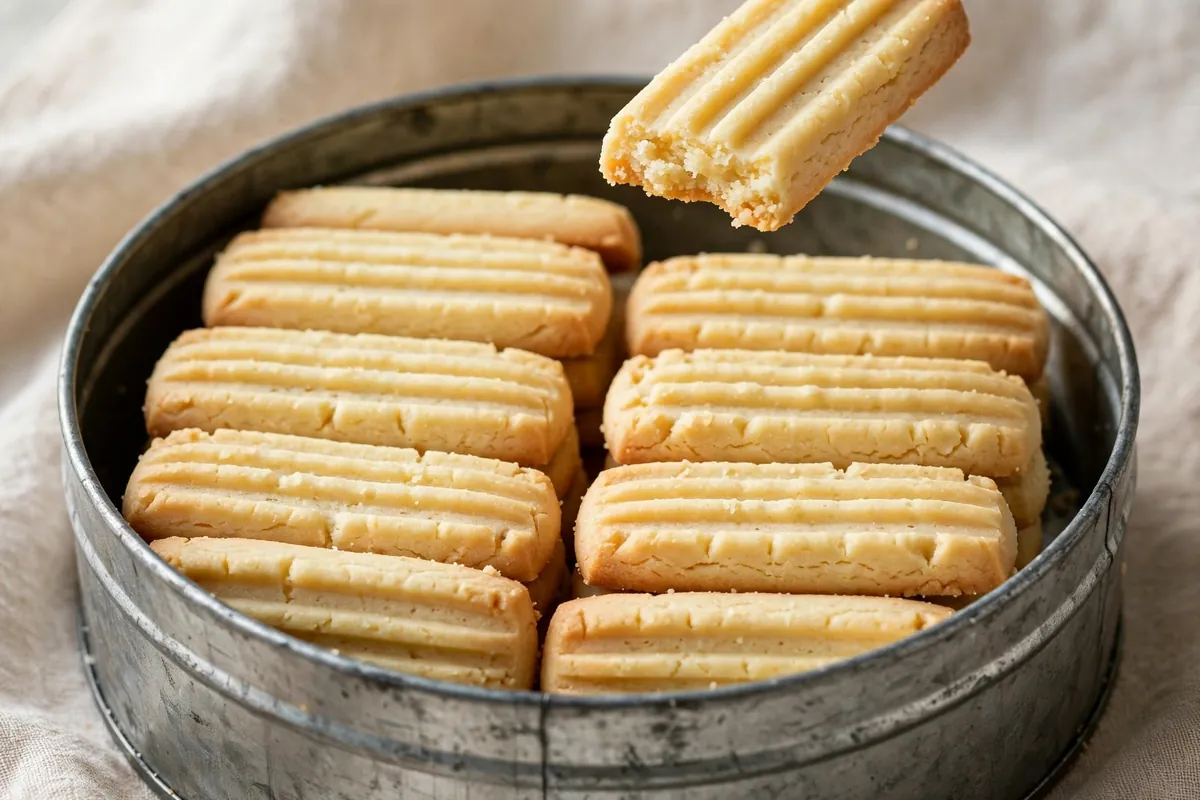
    shortbread fingers stacked in a metal tin
    shortbread fingers stacked in a metal tin

    Soft and chewy cookies: the bread-slice trick

    Frosted sugar cookies, molasses crinkles, soft gingerbread — these need their moisture kept in, the opposite problem.

    Method: Airtight container at room temperature, plus half a slice of plain sandwich bread tucked in. The bread — staler than the cookies — gives up its moisture to the surrounding air, and the cookies absorb it instead of drying out. Replace the bread slice every 2–3 days (it’ll go hard as it donates its moisture — that’s it working). Expect 1–2 weeks of freshness.

    Frosting note: Let royal icing dry a full 24 hours before stacking or storing — touching frosting smears, and trapped moisture under the icing softens it. Buttercream-frosted cookies store fine airtight for about a week.

    Freezing baked cookies: the 3-month plan

    Almost all Christmas cookies freeze beautifully for 2–3 months — this is how serious holiday bakers do it.

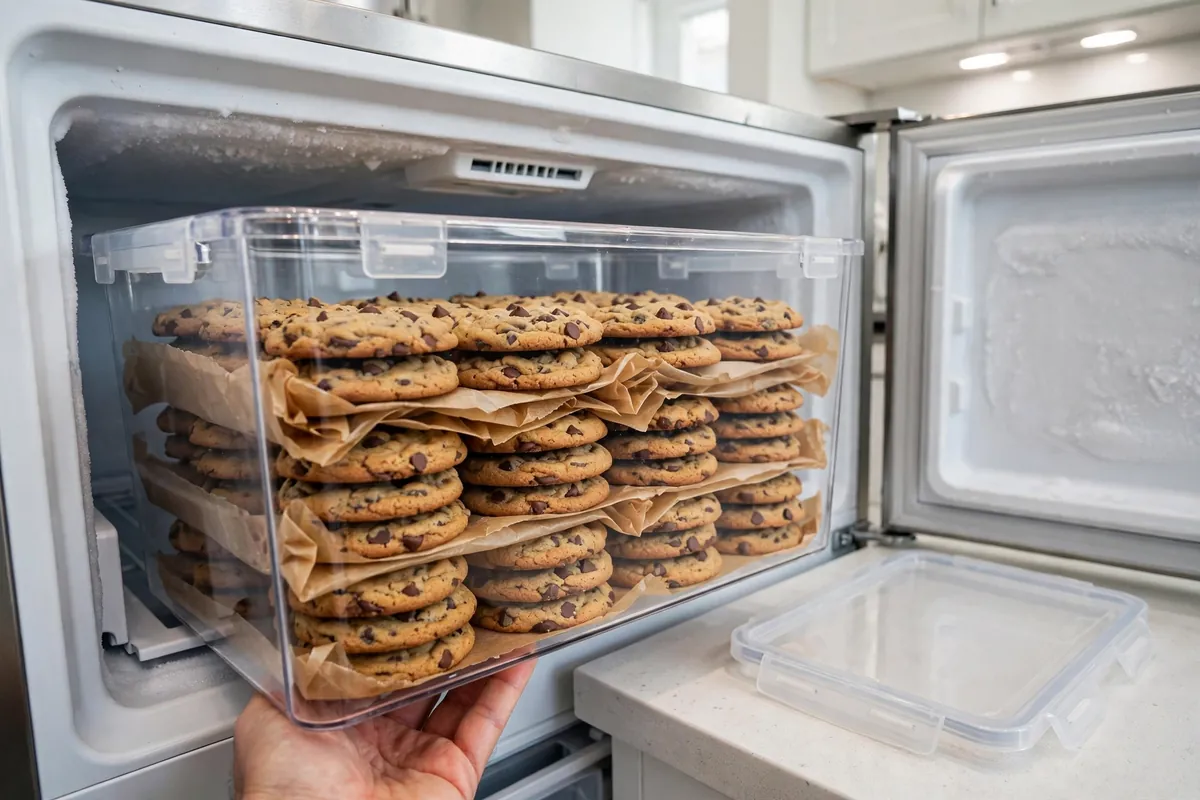
    Method: Cool completely. Layer in rigid airtight containers with parchment between layers (bags crush decorations). Freeze. Thaw unwrapped at room temperature — unwrapping before thawing prevents condensation from settling on the surface.

    The royal icing rule: Freeze undecorated when you can; decorate after thawing. Fully-dried royal icing does survive freezing, but any soft spots will weep. When in doubt, decorate fresh.

    parchment-layered cookies in a rigid container going into the freezer
    parchment-layered cookies in a rigid container going into the freezer

    Freezing dough: often the better move

    For many cookies, freezing the dough beats freezing the baked cookie — you get fresh-baked taste on demand all December.

    Drop cookies: Scoop dough balls, freeze solid on a tray, then bag. Bake straight from frozen, adding 1–2 minutes (see How to Freeze Cookie Dough).
    Slice-and-bake (shortbread, icebox cookies): Form logs, wrap tightly, freeze. Slice frozen and bake — the cold dough holds its shape perfectly.
    Cut-outs: Freeze the cut shapes on trays, then bag. Bake from frozen; they spread less, so edges stay sharp.

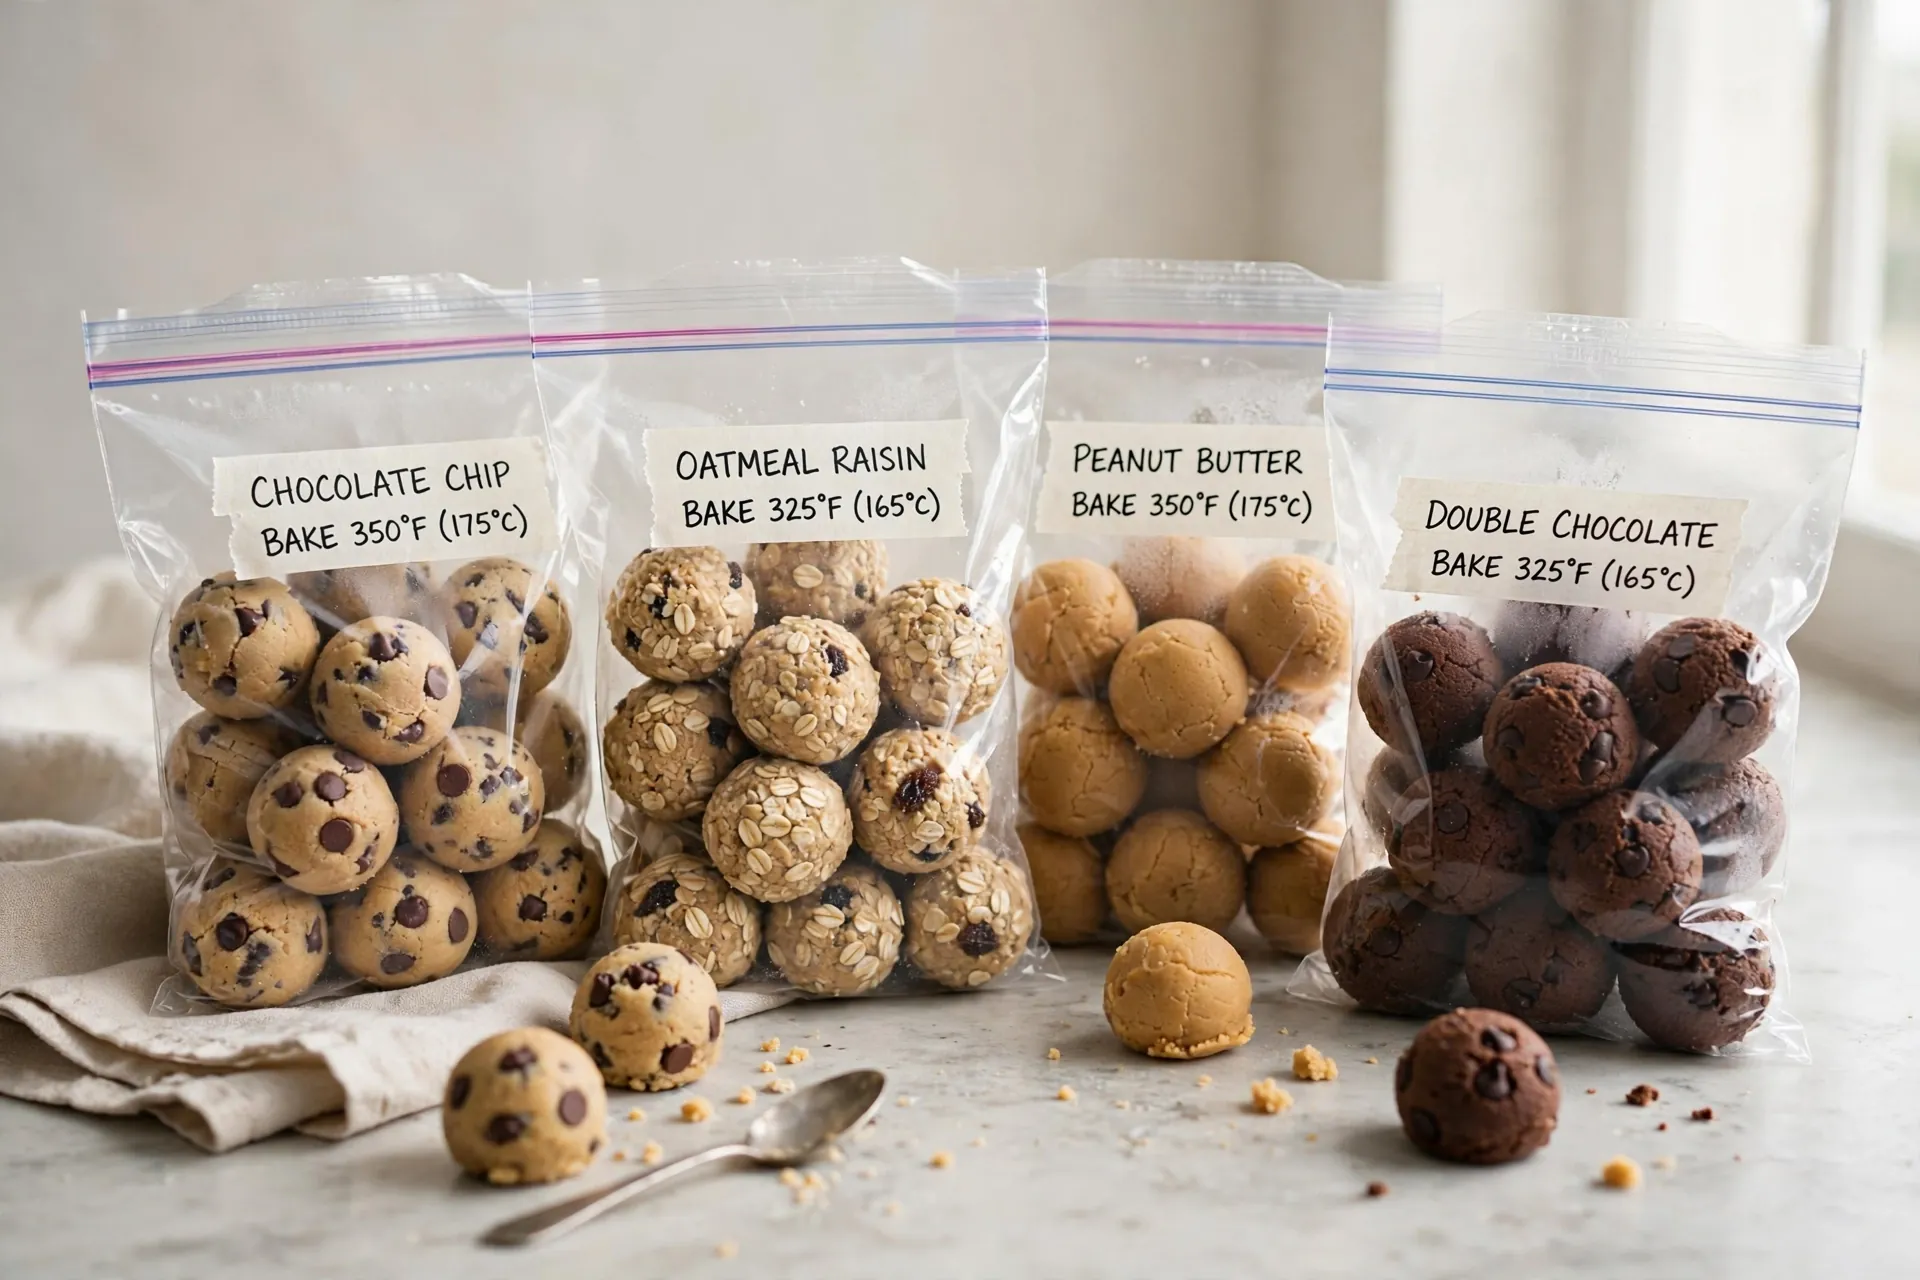
    Dough keeps 3 months frozen. Label everything with the bake temp and time — future-you in mid-December will not remember.

    Gifting and shipping: packing cookies to travel

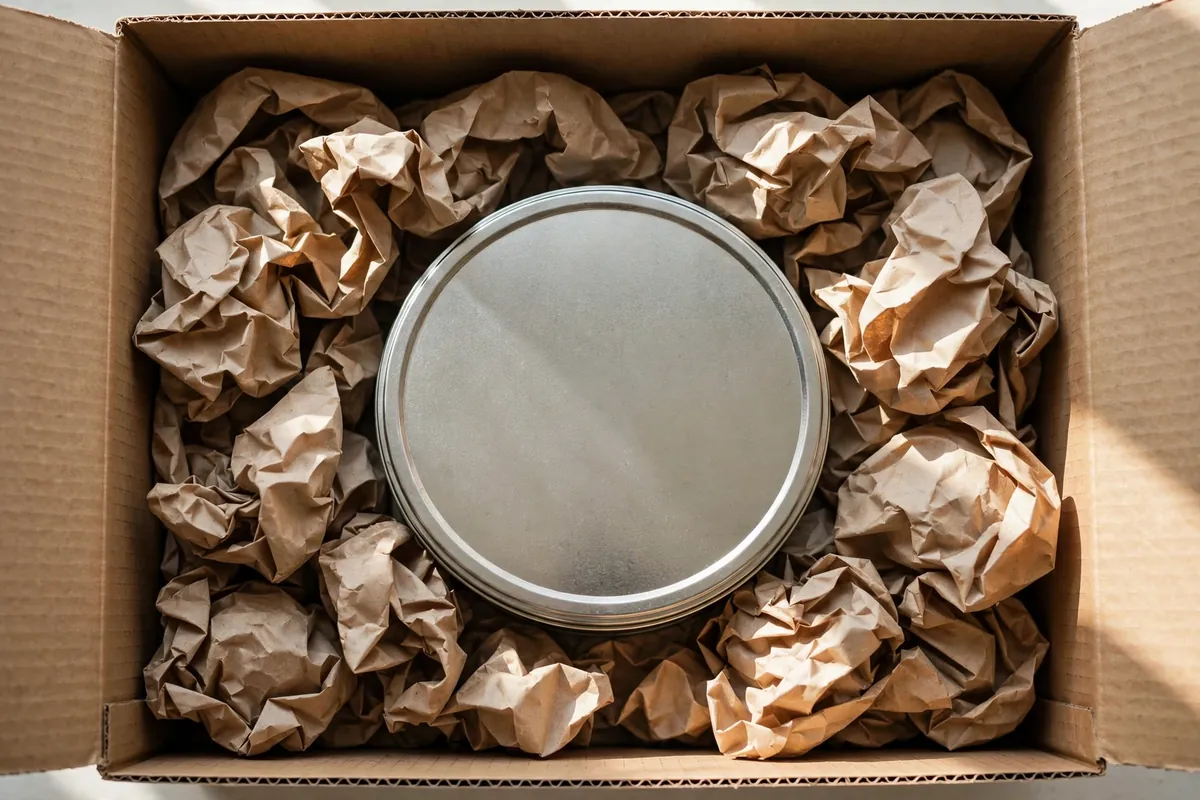
    If these cookies are leaving your kitchen, packing matters as much as baking. For hand-delivered tins, the parchment-layer system above is enough. For shipping: choose sturdy cookies (shortbread, biscotti, and gingerbread survive mail; delicate cut-outs and meringues don’t), pack tins inside a slightly larger box with crumpled paper buffering all six sides, and ship early in the week so they don’t sit in a warehouse over the weekend. Include a card with the bake date — recipients appreciate knowing the timeline, and it quietly signals that you planned this.

    cookie tin packed inside a shipping box with crumpled paper cushioning
    cookie tin packed inside a shipping box with crumpled paper cushioning

    What doesn’t keep well

    • Lace cookies and tuiles: beautiful, fragile, and humidity-sensitive. Days, not weeks — make them close to serving.
    • Anything with fresh fruit or cream fillings: days in the fridge, not weeks on the counter.
    • Meringue kisses: technically weeks in an airtight container in dry conditions, but one humid day ruins them. Winter-dry climates only.
    labeled freezer bags of cookie dough balls with bake temp written on each
    labeled freezer bags of cookie dough balls with bake temp written on each

    Frequently asked questions

    Can I freeze decorated sugar cookies?
    Yes, with a caveat: the royal icing must be bone-dry first (24 hours minimum), and you should freeze them in a single rigid layer. They’ll survive 2–3 months. But decorating after thawing gives a better result — freeze the baked blanks, decorate fresh.

    How long do gingerbread cookies really last?
    Crisp gingerbread: 3+ weeks airtight at room temperature. Soft frosted gingerbread people: 1–2 weeks with the bread-slice trick. The decoration doesn’t change the timeline — the texture does.

    Why did my crisp cookies go soft in storage?
    Three usual suspects: stored with soft cookies (moisture migration), packed before fully cool (trapped steam), or a humid kitchen with a loose lid. Re-crisp in a 300°F (150°C) oven for 5 minutes — it works surprisingly often.

    Is it safe to eat month-old cookies?
    If they were stored properly (airtight, cool, dry), yes — this is a quality question, not a safety one. Low-moisture baked goods don’t harbor bacteria; they just go stale. Trust your nose and texture: stale is disappointing, not dangerous. Anything with cream, custard, or fresh fruit follows fridge rules instead.

    Can I refresh stale cookies?
    Crisp types: 5 minutes at 300°F (150°C) restores snap. Soft types: 10 seconds in the microwave (seriously — it re-softens them). Neither trick works twice; it’s a one-time rescue.

    Related troubleshooting: How to Freeze Cookie Dough (and Bake It Straight From Frozen) · Why Do My Cookies Spread Flat? Butter, Sugar, and Chill Time