
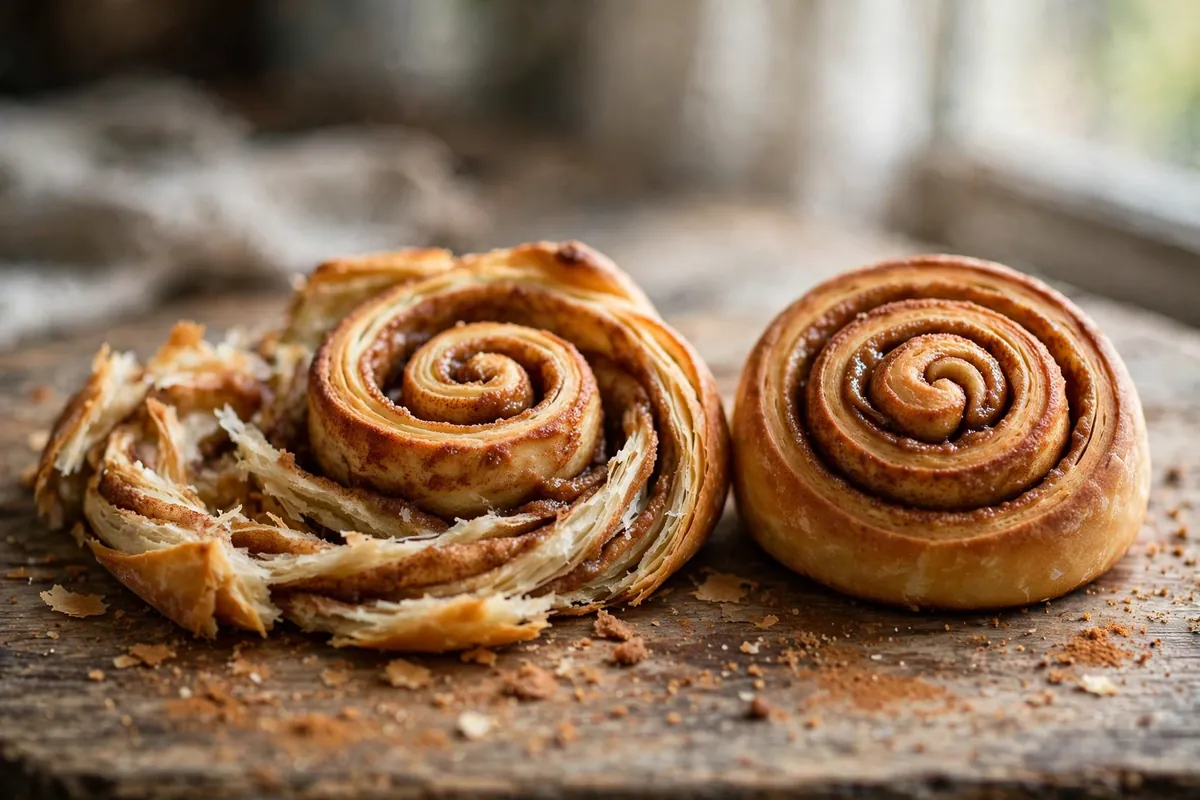
Opening the oven to find your cinnamon rolls sprung open like uncoiling party favors — the spiral gaping, filling oozing — is a special heartbreak. The fix is almost entirely in the shaping: unraveling is a mechanical failure, not a recipe failure. The spiral has to be rolled tight, sealed shut, and proofed correctly, and each of those steps has a specific technique.
Quick diagnosis: Unraveling comes down to loose rolling (cause #1) or a bad seam seal (cause #2) more than anything else. If the rolls opened during baking with the filling leaking out, you rolled too loosely. If they popped open at the seam specifically, the seal failed. Over-proofing (cause #3) makes both worse.
Why spirals unravel (the mechanics)
A cinnamon roll is a rolled sheet of enriched dough with a fat-sugar layer inside. During proofing and baking, the dough expands — and expanding dough pushes outward in every direction, including along the spiral. Three things resist it: roll tightness (tension holds layers together), the sealed seam (outer edge glued shut), and snug pan neighbors (adjacent rolls brace each other). Unraveling means at least one failed — work through them in order.
1. You rolled too loosely — the spiral had no tension
This is the number one cause. A proper cinnamon roll is rolled with firm, even tension — each turn of the spiral pulled snug against the last, like rolling a sleeping bag. Most home bakers roll gently, afraid of squeezing out the filling or tearing the dough, and the result is a loose spiral with air gaps between layers. Those gaps are where unraveling starts: expanding dough follows the path of least resistance, and a loose spiral gives it room to spring open.
How to tell: Wide gaps between spiral layers with filling leaked into them — the roll looks puffy and separated rather than compact.
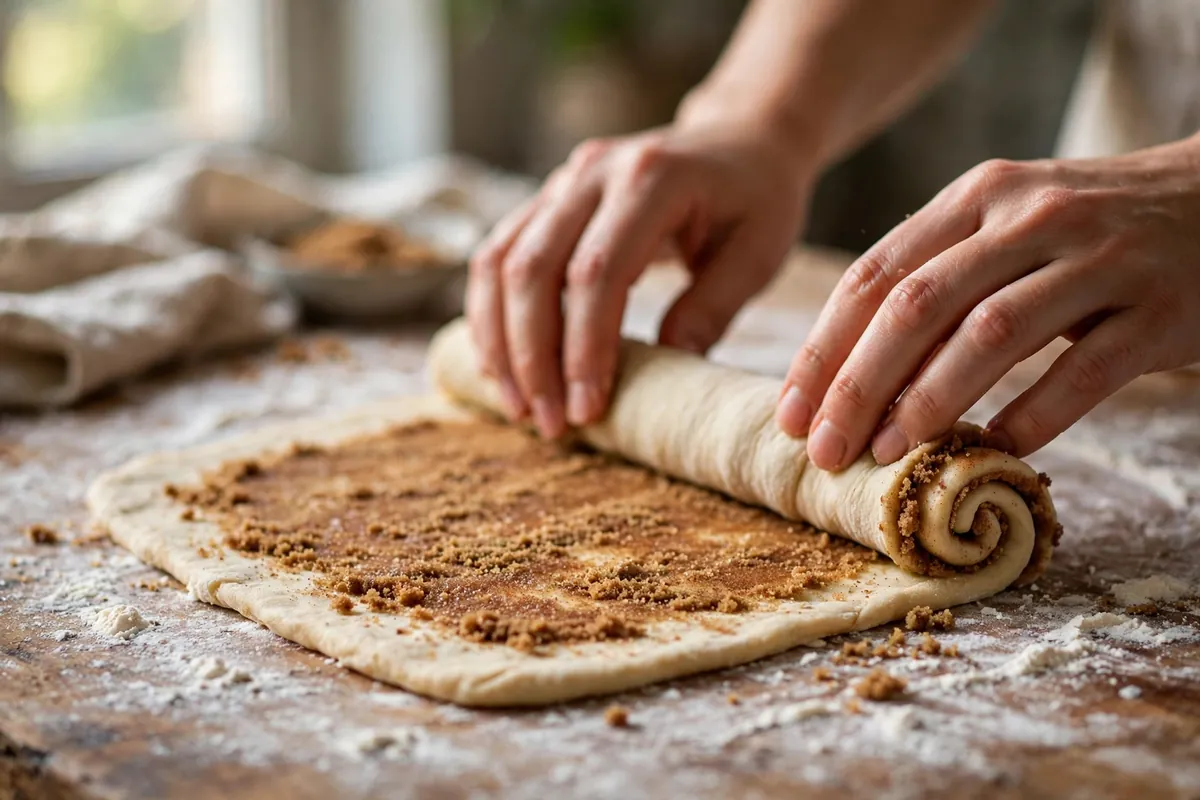
The fix: Roll with confidence. After spreading the filling (leaving a 1-inch / 2.5cm border clean along the far edge), start from the edge nearest you and roll away, pulling each turn taut against the roll — firm enough that you feel resistance, not so hard the dough tears. Tuck the roll toward you slightly with each turn to build tension. When I stopped being gentle and started rolling like I meant it, unraveling stopped. Enriched dough is stronger than you think.
2. The seam wasn’t sealed — the outer edge let go
Even a tightly rolled log will uncoil if the final edge isn’t glued down. Dough edges don’t stick to dough on their own — flour on the surface actively prevents sticking. An unsealed seam is a zipper waiting to be pulled, and oven spring pulls it.
How to tell: The rolls opened along one line — the outer seam — with the “flap” of the outer layer visibly lifted.
The fix: Seal deliberately. Brush the clean border with water or beaten egg, finish the roll, and press the seam firmly shut. Place every roll seam-side down — gravity becomes your backup seal. I use egg wash on the border for sweet rolls; it’s stickier than water and the seal survives even aggressive oven spring.
3. Over-proofed — the structure gave up before baking
Proofing matters as much as shaping. An over-proofed roll has exhausted its yeast energy and its gluten structure is stretched to the limit — in the oven, instead of a controlled spring, the weakened structure slumps and the layers separate. Over-proofed rolls also tend to be the ones that uncoil most dramatically, because the dough is at its most fragile exactly when oven spring hits hardest.
How to tell: The rolls looked huge and puffy going in — more than doubled, pillowy, fragile — and may have merged, then collapsed or separated in the heat.
The fix: Proof to about 1.5 times their original size, not doubled — roughly 45–60 minutes in a warm spot for most enriched doughs. Poke-test it: a slow, partial spring-back means ready; no spring-back means over-proofed — bake immediately and accept a flatter batch. Slightly under-proofed beats over-proofed: oven spring finishes the job. (Same principle behind collapsed enriched breads — see Why Didn’t My Bread Rise?.)
4. Too much filling — the roll couldn’t grip itself
There’s a filling sweet spot, and exceeding it causes unraveling two ways: the excess fat lubricates the layers so they slide instead of gripping, and the bulk of the filling physically prevents tight rolling. If your filling layer is a quarter-inch thick, no amount of rolling tension will hold it.
How to tell: Filling oozed out during rolling, the log felt slippery, and pools of melted cinnamon-sugar surround the baked rolls.
The fix: Measure the filling. For a standard 12-roll batch (dough rolled to roughly 12×16 inches / 30×40cm), use about 75g soft butter, 100g brown sugar, and 1 tablespoon cinnamon — a thin, even layer, not a thick schmear. Use soft butter, not melted — melted butter lubricates instead of gripping. And keep the sealing border clean; filling on it guarantees seal failure.
5. The pan was too big — no neighbors to brace against
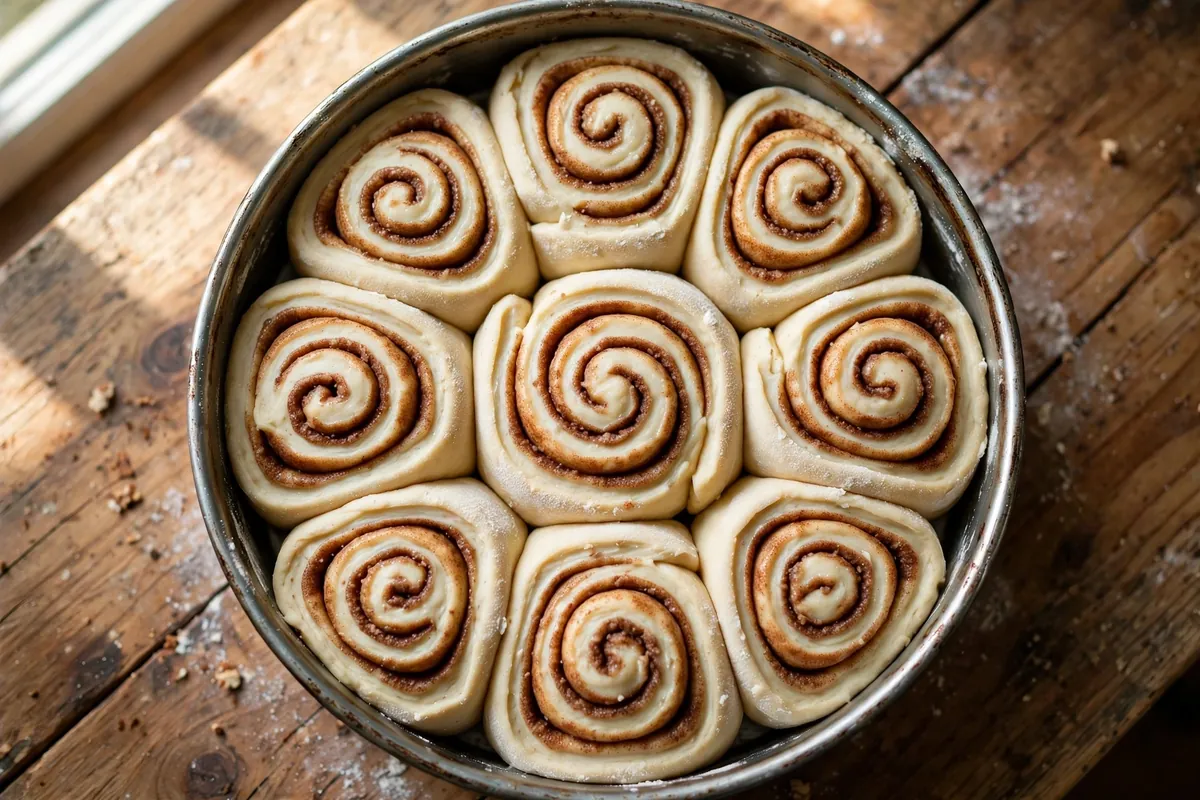
Cinnamon rolls are team players: packed snugly in the pan, each roll braces its neighbors, and that mutual support physically prevents uncoiling. Rolls baked with an inch of space between them have nothing holding them in — they’re free to spring open in every direction.
How to tell: Visible gaps between rolls in the pan, or space around each on a sheet tray — the rolls spread outward and unraveled into the empty space.
The fix: Pack them touching. A 9×13-inch (23×33cm) pan fits 12 standard rolls with the sides just kissing — that’s the arrangement that holds. They should look slightly crowded going in — they’ll proof into each other and bake as one connected pull-apart batch. That’s the design, not a flaw.
6. Slicing crushed the log — use floss, not a knife
A bonus failure that mimics unraveling: sawing the log with a knife compresses and drags the spiral, loosening layers before baking. The damaged spiral separates in the oven.
How to tell: The spiral looked distorted or squashed right after slicing, before proofing.
The fix: Slide unflavored dental floss under the log, cross the ends over the top, and pull — a clean cut with zero compression. It’s the professional bakery method and it takes ten seconds to learn. A sharp serrated knife with a single firm press (no sawing) is the backup option.
Frequently asked questions
Can I fix unraveled cinnamon rolls after baking?
Not structurally — but serve warm with extra glaze, which covers a multitude of sins. Nobody complains about a messy cinnamon roll that tastes right.
Why do my cinnamon rolls fall apart when I pick them up?
Underbaked centers or over-proofing. Center rolls need the full bake — check 190°F (88°C) in the middle; a paring knife into the center roll tells the truth.
Is it safe to eat underbaked cinnamon rolls?
Doughy centers should go back in the oven — raw enriched dough isn’t ideal. Fully baked but unraveled rolls are perfectly safe; it’s purely cosmetic.
Should the filling go edge to edge?
No — leave a 1-inch (2.5cm) clean border on the far edge for the seal, plus small side borders. Edge-to-edge filling guarantees leaks.
Can I prepare cinnamon rolls the night before?
Yes — assemble, slice, pan snugly, cover tightly, refrigerate overnight. Bake from the fridge with 10–15 extra minutes. The cold retard improves flavor. (Overnight method details: Make-Ahead Bread Dough.)
Why did my rolls rise in the oven and then collapse?
Over-proofed, or the oven wasn’t fully preheated — the weak structure couldn’t hold the spring. Proof less, preheat fully.
Related troubleshooting: Why Didn’t My Bread Rise? · Fix Over-Salted Dough · Make-Ahead Bread Dough