
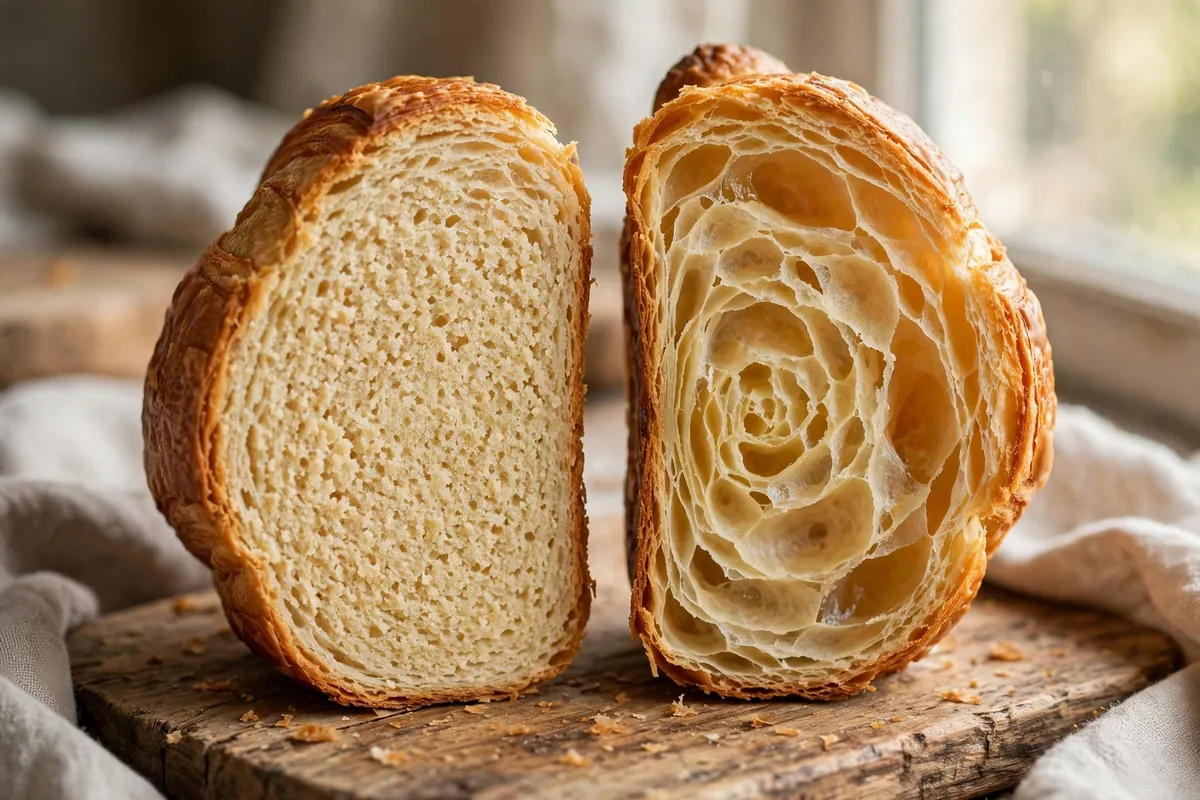
You did the folds. You waited through the rests. You shaped those crescents with real hope — and out of the oven came something closer to a dinner roll than a croissant. Dense, bready, no shattering layers, no honeycomb inside. The fix is almost always in the lamination: croissants are an engineering project, and dense crumb means the butter layers stopped being layers somewhere along the way.
Quick diagnosis: Dense croissants come down to butter temperature more than anything else. Butter that was too cold shattered into shards instead of sheeting into layers; butter that was too warm melted straight into the dough. If your butter cracked and broke during roll-out, start with cause #1. If the dough felt greasy and soft, start with cause #2.
A croissant is 27 (or more) alternating sheets of dough and butter. In a hot oven, water in the butter flashes to steam and each butter layer pries the dough sheets apart — that’s the flake. Density means those layers merged into one mass before the steam ever got its chance.
1. The butter was too cold — it shattered instead of sheeting
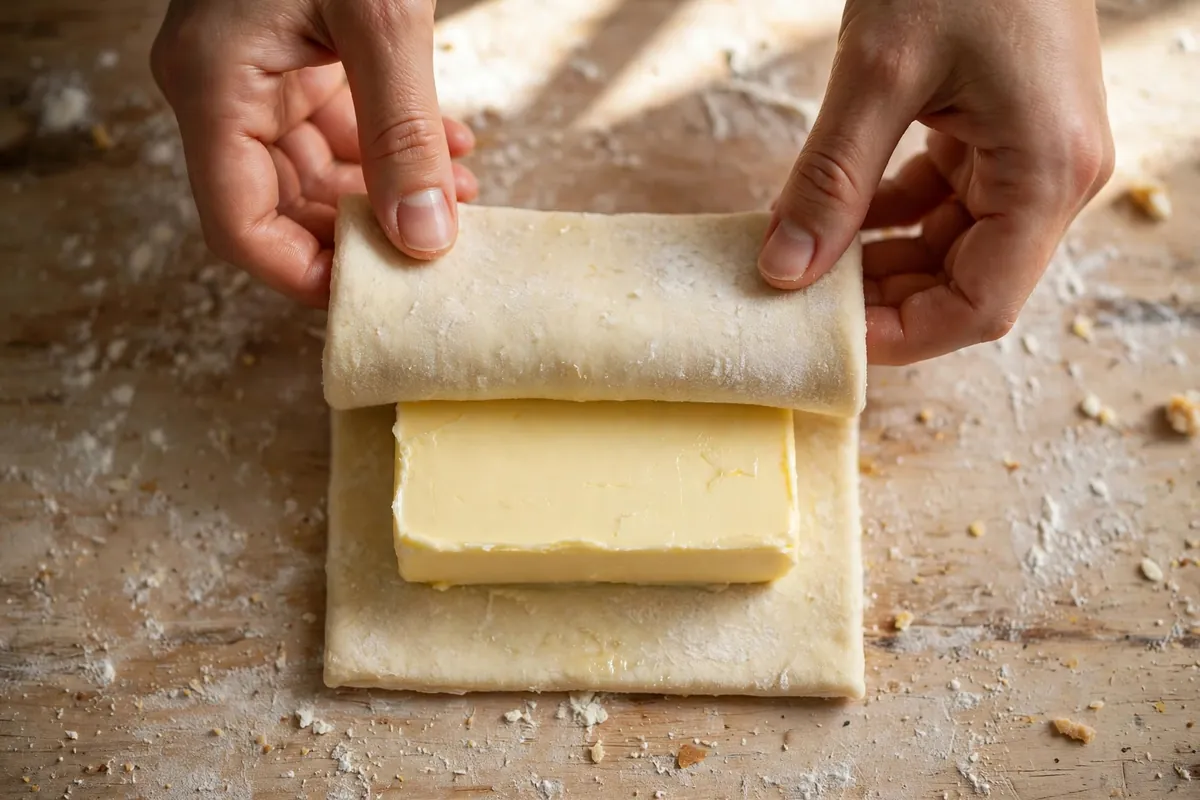
This is the number one killer, and it’s counterintuitive: you’d think cold butter is safe butter. But lamination needs the butter to roll out with the dough as one pliable sheet. Butter straight from the fridge (around 38°F / 3°C) is brittle — under the rolling pin it cracks into shards and chunks instead of spreading into a continuous layer. Those shards poke through the dough, the layers never form properly, and you get bready density.
How to tell: During the lock-in or the folds, you heard cracking, and you could see or feel hard lumps of butter through the dough. The dough surface looked lumpy rather than smooth.
The fix: Condition the butter block first. Take cold butter, place it between parchment, and beat it with a rolling pin until it’s pliable — it should bend without snapping, around 60°F (16°C), cool to the touch but flexible like modeling clay. It must match the dough’s consistency: if the dough is soft and the butter is a brick (or vice versa), they won’t roll together. Temper the butter block properly and the layer count visibly improves on the very next batch.
2. The butter melted into the dough — too warm at some stage
The mirror image. If the butter gets too warm at any point — during a fold, during shaping, during proofing — it melts and absorbs into the dough. Once butterfat soaks into the flour, there are no layers left to separate; you’ve made enriched bread dough, and enriched bread dough bakes up dense. This is the greasy-dough failure.
How to tell: The dough felt soft, slack, and greasy rather than firm and cool. Butter may have visibly oozed during rolling or proofing. The baked croissants taste rich but have no flake.
The fix: Keep everything cool between active steps. Rest the dough 30–60 minutes in the fridge between each turn — not the freezer (which sets the outside while the center stays warm), the fridge. If your kitchen is above 75°F (24°C), work in shorter bursts and chill more often. And proof at 75–80°F (24–27°C) max: warmer proofing melts the butter before the oven ever sees it. A proofing box or an oven with just the light on is ideal; a hot summer kitchen is croissant enemy number one.
3. You skipped (or shortened) the rests — the gluten fought back
Each fold stretches the gluten network. Roll again immediately and the gluten is still tense — it springs back, resists, and tears instead of extending smoothly. Torn dough means torn layers, and torn layers mean the butter squeezes out through the rips instead of staying in its sheet.
How to tell: The dough kept shrinking back as you rolled, fought you at every pass, or tore visibly. You may have rolled harder to compensate, which only made it worse.
The fix: Respect the rests: 30 minutes minimum in the fridge between turns, 60 is better. Three single (letter) folds is the standard home formula — that gives 27 layers, plenty. If the dough resists at any point, stop, wrap, chill 20 minutes, and come back. Patience here is structural, not optional. (The same gluten-tension principle ruins pie crusts — see Pie Crust Shrinking in the Oven.)
4. Under-proofed — the oven spring never happened
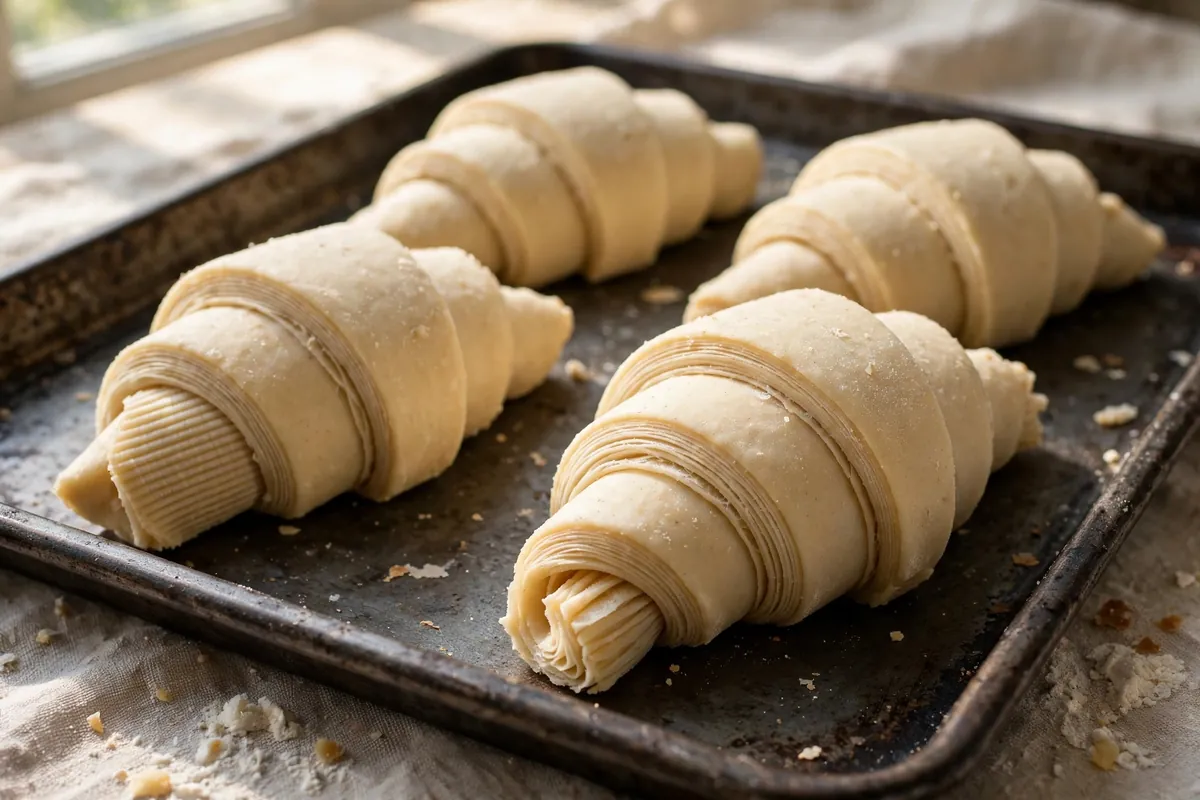
Croissants need a full final proof: 2–3 hours at 75–80°F (24–27°C), until the layers are visibly separated, the croissant jiggles like jelly when you nudge the tray, and the dough feels airy, not firm. Bake too early and the yeast hasn’t produced enough gas — the crumb sets dense before it ever opens up.
How to tell: The shaped croissants looked basically the same size going into the oven as when you shaped them. Properly proofed croissants are nearly doubled and the layer lines are visibly puffy and separated.
The fix: Proof by look and feel, not the clock. The jiggle test is the truth: nudge the baking sheet and the croissant should wobble like set custard. In a cool kitchen this can take 3+ hours — that’s normal. Don’t rush it with extra heat (see cause #2: warm proofing melts butter). If you’re unsure whether they’re ready, give them another 30 minutes; slightly over-proofed beats under-proofed for croissants.
5. The oven wasn’t hot enough
Lamination needs a blast of heat: 400–425°F (200–220°C) for the first 10–15 minutes. That initial shock does two things — it sets the outside structure fast, and it flash-converts the butter’s water to steam before the butterfat can melt out. A cool oven gives you slow melt instead of explosive steam: the butter oozes, the layers fuse, density results.
How to tell: The croissants took longer than expected, browned slowly and evenly rather than puffing dramatically in the first minutes, and butter pooled on the tray.
The fix: Preheat fully — a full 20 minutes past the beep — and verify with an oven thermometer. Most home ovens run 15–25°F cool. Bake at a true 400°F (200°C) minimum; start at 425°F (220°C) for 10 minutes, then drop to 375°F (190°C) to finish without over-browning. And never open the door in the first 15 minutes: the steam burst is doing the structural work.
6. Dull cuts sealed the layers shut
This one hides in plain sight. Croissant triangles must be cut with a sharp blade or pizza wheel. A dull knife drags and compresses the dough’s cut edges, pinching the 27 layers together along the sides. Sealed edges can’t separate — the interior steams, but the sides stay fused, and the crumb reads dense.
How to tell: The cut edges looked smeared or compressed rather than showing clean alternating stripes of dough and butter.
The fix: Sharpen up. A pizza wheel is ideal — one firm rolling cut, no sawing. You should see distinct stripes on every cut face.
7. Too much dusting flour worked into the dough
A little flour on the bench is necessary; a blizzard of it becomes part of the dough. Every fold picks up the bench flour, and by the third turn you’ve added measurably more flour — drier dough, tougher gluten, tighter crumb. It also dulls flavor.
How to tell: You floured heavily at every turn and the dough felt progressively drier and stiffer.
The fix: Flour the bench, not the dough — a whisper, brushed off before each fold. Use a pastry brush to sweep excess off the dough surface. If the dough is sticking, it’s usually too warm (back to cause #2), not under-floured.
Frequently asked questions
Can I fix dense croissants after baking?
Not really — density is structural, set during the bake. But they aren’t wasted: split and toast them, or turn them into bread pudding. Custard soaks into dense crumb beautifully.
Why is there no honeycomb inside, just solid crumb?
The layers merged before steaming — butter too warm at some stage (cause #2) or too few distinct layers from shattering (cause #1). No steam separation, no honeycomb.
Can I use all-purpose flour instead of bread flour for croissants?
Yes, with a trade-off. Bread flour (12–14% protein) holds layers well; all-purpose (10–12%) gives a more tender, delicate croissant. Either works — don’t use cake flour.
Is it safe to eat under-proofed croissants?
Yes — fully baked means fully safe. Under-proofed just means dense.
How do I know the butter is the right temperature?
The bend test: it should flex without cracking and feel cool but not hard — about 60°F (16°C). Press a finger in: it should give like firm clay, not shatter like cold butter or smear like soft butter.
Can I freeze croissants and bake later?
Yes — freeze after shaping, before proofing. Thaw overnight in the fridge, then proof at room temperature (it’ll take longer, 3–4 hours). Some bakeries do their entire production this way.
Related troubleshooting: Puff Pastry Not Puffing · Why Is My Bread Dense? · Why Didn’t My Bread Rise?