
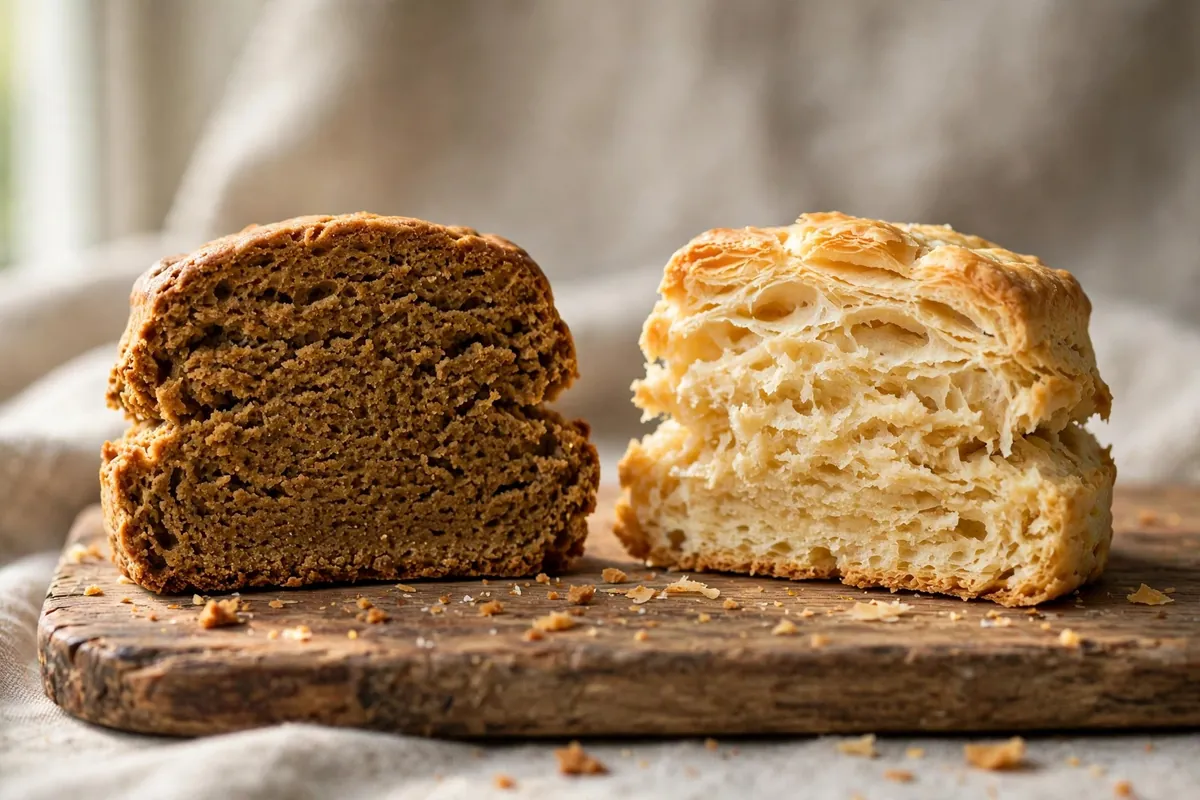
You wanted tall, tender, flaky scones. Instead you got hockey pucks — hard, dense, dry, demanding a full cup of tea just to get through. Hard scones are one of the most diagnosable failures in baking: toughness always comes from gluten development, moisture loss, or both, and each has a specific fingerprint.
Quick diagnosis: Hard scones are almost always overworked dough (cause #1) or overbaked (cause #2): tough and chewy means too much gluten; dry and crumbly-hard means too long in the oven.
A tender scone is a study in restraint. Unlike bread, where you develop gluten deliberately, scone dough wants barely any gluten at all. The flakiness comes from cold butter melting in a hot oven and leaving pockets behind. Every one of the five causes below is a place where that restraint broke down.
1. You overworked the dough — gluten did the damage
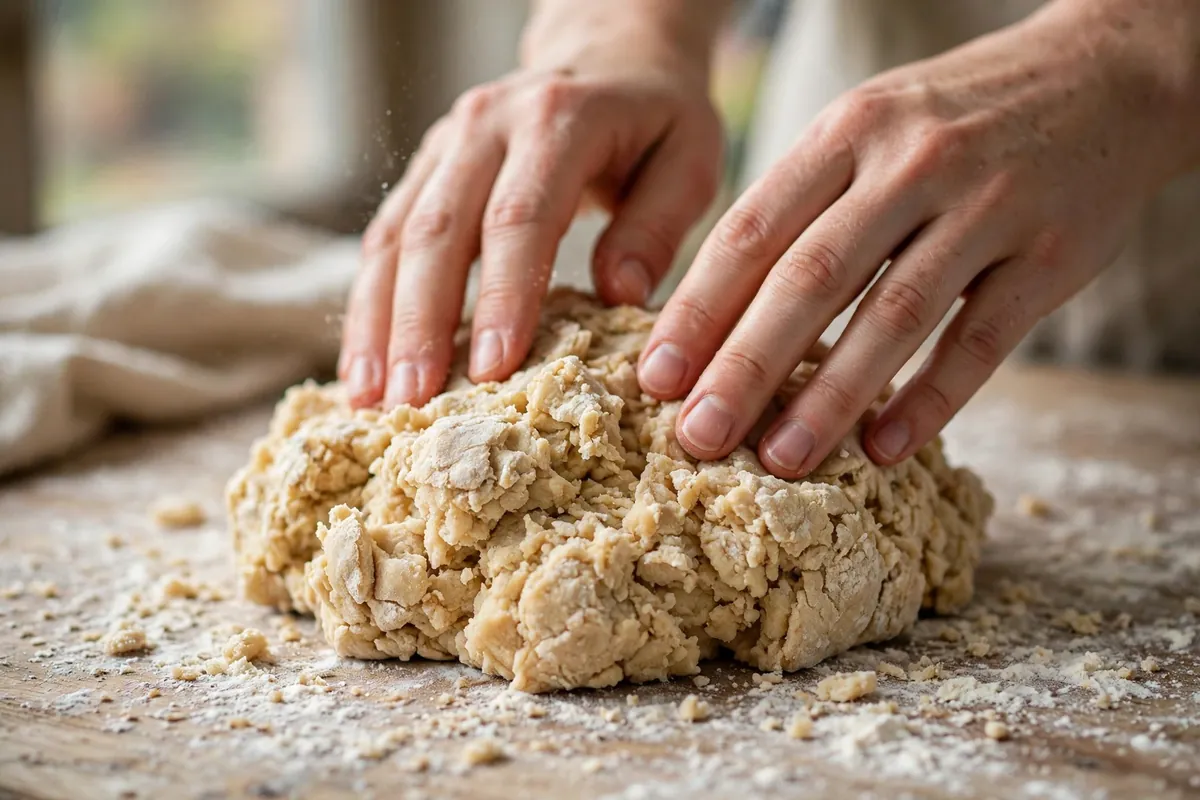
This is the number one cause, and it happens earlier than most bakers realize. Scone dough should come together in about 30 seconds of mixing — shaggy, rough, barely holding together, with visible dry patches you pat into submission rather than stir away. The moment you knead, stir vigorously, or re-roll scraps multiple times, you’re building the same gluten network that makes bread chewy. Chewy is wonderful in bread. It’s a death sentence in scones.
How to tell: The raw dough felt smooth and elastic rather than rough and shaggy. The baked scones are tough and chewy rather than crumbly — they bend or resist when you bite instead of breaking apart tenderly.
The fix: Mix until it just comes together, then stop. Use a light hand and a fork or your fingertips, never a mixer on high speed. Pat the dough out once — re-roll scraps exactly once and eat those warm, when tenderness matters less. Treat scone dough like it’s fragile and the texture improves overnight. (The same gluten-tension principle sinks pie crusts — see Pie Crust Shrinking in the Oven.)
2. They overbaked — even five minutes too long dries them out
Scones are small and lean, which means they go from done to dry fast. Five extra minutes that would barely matter on a loaf will turn scones to rocks. Most recipes say 15–20 minutes at 400–425°F (200–220°C), but ovens vary, and scones are done when they’re golden on top and the bottoms sound hollow when tapped — not when the timer says so.
How to tell: The scones are uniformly hard and dry all the way through, with dark bottoms and deeply colored tops — and they were in the oven 20+ minutes.
The fix: Start checking at 12 minutes. Pull them when the tops are golden and a toothpick comes out clean — the centers will feel slightly soft and set fully as they cool (carryover cooking is real in scones). Use an oven thermometer — most home ovens run 15–25°F off, and a hot oven is a scone killer. My sweet spot is 15 minutes at a true 400°F (200°C).
3. The butter was too warm — no flakes, no tenderness
Flaky scones need cold butter in pea-sized pieces distributed through the flour. In a hot oven, each butter piece melts and releases steam, prying the dough apart into layers. If the butter was soft or melted when it went in — warm kitchen, warm hands, butter left out too long — it just soaks into the flour. No pockets, no flakes, no tenderness. You get a dense, hard crumb instead.
How to tell: The dough felt soft and greasy rather than cool and firm, and the baked scones show a uniform tight crumb with no flaky layers.
The fix: Keep everything cold. Cut the butter into cubes and freeze them for 15 minutes before mixing. If your kitchen is above 75°F (24°C), chill the mixed dough for 20 minutes before cutting and baking. And work fast — warm hands melt butter. I grate frozen butter on a box grater straight into the flour now — it distributes evenly and stays cold.
4. Too much flour — measured by the cup, doomed by the scoop
This one is quiet but deadly. Scooping flour straight from the bag with a measuring cup packs it down and can add 30% more flour than the recipe intends. Extra flour means a drier dough, and dry dough bakes up hard no matter how gently you handle it.
How to tell: The dough felt dry and stiff, needed extra liquid to come together, or cracked badly when you patted it out. The baked scones are dry and floury-tasting.
The fix: Weigh your flour: a cup of all-purpose should be 120–125g, but scooped cups routinely hit 150g+. No scale? Spoon flour into the cup and level off — never scoop. This single change fixes more “hard scone” complaints than any technique tweak. (Flour measurement is the same silent killer in cookies — see Why Are My Cookies Cakey Instead of Chewy?.)
5. The leavening was dead — old baking powder can’t lift
Scones rely on chemical leavening for their rise — typically 1 tablespoon of baking powder per 2 cups (250g) of flour. Baking powder loses potency within 6–12 months of opening. Dead leavening means no lift, and no lift means a dense, hard puck instead of a tall tender scone.
How to tell: The scones barely rose — they spread outward instead of upward and stayed squat. Everything else about your technique was fine.
The fix: Test your baking powder: drop half a teaspoon into hot water. If it fizzes vigorously, it’s alive; if it barely bubbles, replace it. Write the opening date on the can. Measure accurately — too little gives no lift, too much leaves a bitter taste and can collapse the crumb.
The tender-scone formula that actually works
After all the failure analysis, here’s what I do now, every time: 250g all-purpose flour (spooned or weighed), 1 tablespoon fresh baking powder, 50g cold butter grated from frozen, 150ml cold heavy cream or buttermilk, one egg, 50g sugar for sweet scones. Mix dry, toss in butter, stir in liquids until just combined, pat once, cut straight down without twisting (twisting seals the edges and kills the rise), bake 14–15 minutes at 400°F (200°C).

Frequently asked questions
Can I fix hard scones after baking?
You can’t un-bake them, but split and toast them — heat softens the crumb — or warm them and serve with clotted cream and jam. Rock-hard ones make excellent bread-pudding base: cube and soak in custard.
Why are my scones hard on the outside but raw inside?
Your oven was too hot. The outside set and browned before the inside finished baking. Drop the temperature 25°F and bake a few minutes longer, and verify with an oven thermometer.
Should scone dough be wet or dry?
Slightly sticky and shaggy — wetter than you think. A dry, firm dough always bakes up hard; add liquid a tablespoon at a time until it just holds together.
Is it safe to eat underbaked scones?
Doughy, wet centers need more time — raw flour isn’t ideal. Fully baked but hard scones are perfectly safe; hardness is texture, not safety.
Can I make scones ahead and bake later?
Yes — freeze cut scones on a tray, then bag them; bake from frozen, adding 2–3 minutes. The cold butter gives better flakiness. (Same principle as Can I Freeze Cookie Dough?.)
Why do my scones spread instead of rising tall?
Warm butter or a twisted cutter. Keep the butter cold, cut straight down without twisting, and chill cut scones 15 minutes before baking.
Related troubleshooting: Pie Crust Shrinking in the Oven · Why Are My Cookies Cakey Instead of Chewy? · Why Did My Muffins Turn Out Tough?