Category: Cookies & Pastry

  • Churros Troubleshooting: Raw Inside, Greasy Outside

    Churros Troubleshooting: Raw Inside, Greasy Outside

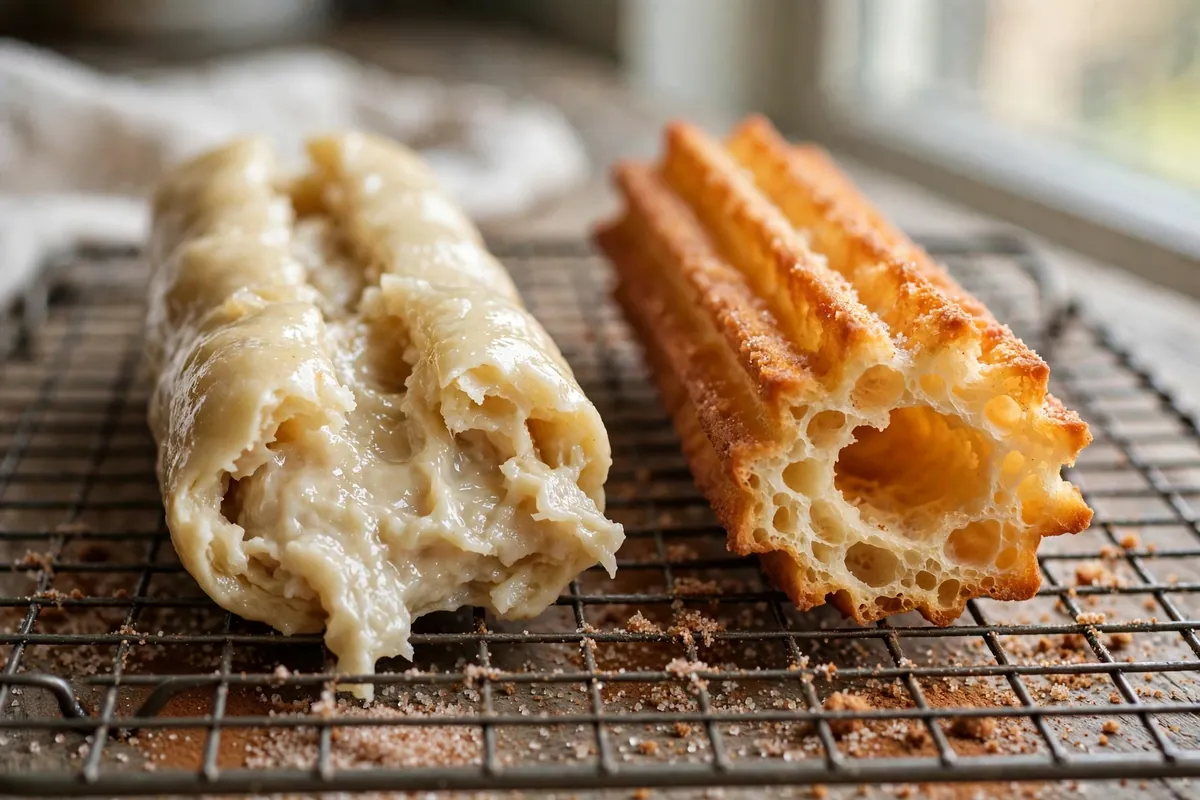
    Churros are fried choux pastry — the same dough as éclairs — and frying is less forgiving than baking. In hot oil, the outside goes from pale to burnt in about ninety seconds while the inside needs every one of those seconds. Raw-inside-greasy-outside is the signature of that race being lost, and it’s almost always the oil temperature.

    Quick diagnosis: Your oil was too cool — below 350°F (175°C), the dough soaks up oil before the crust sets, so it’s greasy outside and raw inside. Hold 350–375°F (175–190°C) with a thermometer, fry 3–4 at a time so the temperature doesn’t crash, and pipe no thicker than ½-inch with a star tip.

    My tested baseline: 1 cup (240ml) water, 100g butter, 1 tbsp sugar, ½ tsp salt — boiled together. Off heat, stir in 1 cup (125g) flour all at once and cook 2–3 minutes, stirring, until a film forms on the pan. Cool 5 minutes, beat in 3 eggs one at a time until the dough is smooth, glossy, and holds a V-shape off the spoon. Pipe 4-inch lengths through a ½-inch open star tip into 350–375°F (175–190°C) oil, 2–3 minutes per side. Drain on a wire rack, toss in cinnamon sugar while hot.

    1. The oil was too cool — the master cause of both symptoms

    This one mistake produces both halves of your problem simultaneously. Below about 350°F (175°C), the dough’s surface doesn’t set fast enough to seal, so oil seeps in (greasy outside) while gentle heat fails to drive through to the center before the outside is done (raw inside). It always comes from frying without a thermometer.

    How to tell: Churros took forever to brown, came out pale and heavy, left an oil slick on the plate, and the centers were doughy. The oil barely bubbled around the dough.

    The fix: Use a deep-fry thermometer clipped to the pot. Heat to 365°F (185°C) before the first batch; the cold dough drops it into the 350–375°F (175–190°C) working zone. Fry only 3–4 churros at a time; crowding crashes the temperature. (Temperature discipline is the whole game in fried pastry, same as Choux Pastry Collapse: Why Your Éclairs Fell.)

    2. The oil was too hot — burnt outside, raw inside

    The mirror image. Above 375°F (190°C), the exterior browns in under a minute — gorgeous, tempting, done-looking — while the center is still wet choux paste.

    How to tell: Deep brown or spotty-dark crusts in under 2 minutes total frying, with raw doughy centers; the oil smoked or the churros darkened almost immediately.

    The fix: Between batches, the oil reheats fast with no dough in it; always check the thermometer before the next drop, not after.

    3. You piped them too thick — the center can’t catch up

    Heat penetrates from the outside in, and doubling a churro’s thickness more than doubles the time the center needs. A ¾-inch churro in correct-temperature oil will still be raw inside when the outside is perfectly golden — the geometry defeats the temperature.

    How to tell: The crust color was perfect and the oil temperature verified, but centers were still doughy; churros looked fat and round rather than ridged.

    The fix: A ½-inch (1.3cm) open star tip — Ateco 847 or 827 are the standards.

    4. The dough was wrong — panade or egg errors

    Churro dough must be a proper choux: the flour cooked in the butter-water (the panade) until it forms a film on the pan, then enough egg to make it pipeable but firm. Too much egg makes a slack dough that spreads and fries up greasy; too little makes a stiff dough that cracks and stays dense inside.

    How to tell: Dough tasted floury or the centers were gummy even at correct oil temp and thickness (undercooked panade). Dough oozed flat off the tip instead of holding ridges (too much egg); dough cracked and wouldn’t pipe smoothly (too little egg).

    The fix: Cook the panade a full 2–3 minutes over medium heat, stirring constantly, until a thin film coats the pan bottom — that’s the visual cue the flour is cooked. Cool 5 minutes (hot panade scrambles the eggs), then beat eggs in one at a time, fully incorporating each. The finished dough should be smooth and glossy, fall from the spoon in a thick V that holds its shape, and pipe clean ridges that stand up.
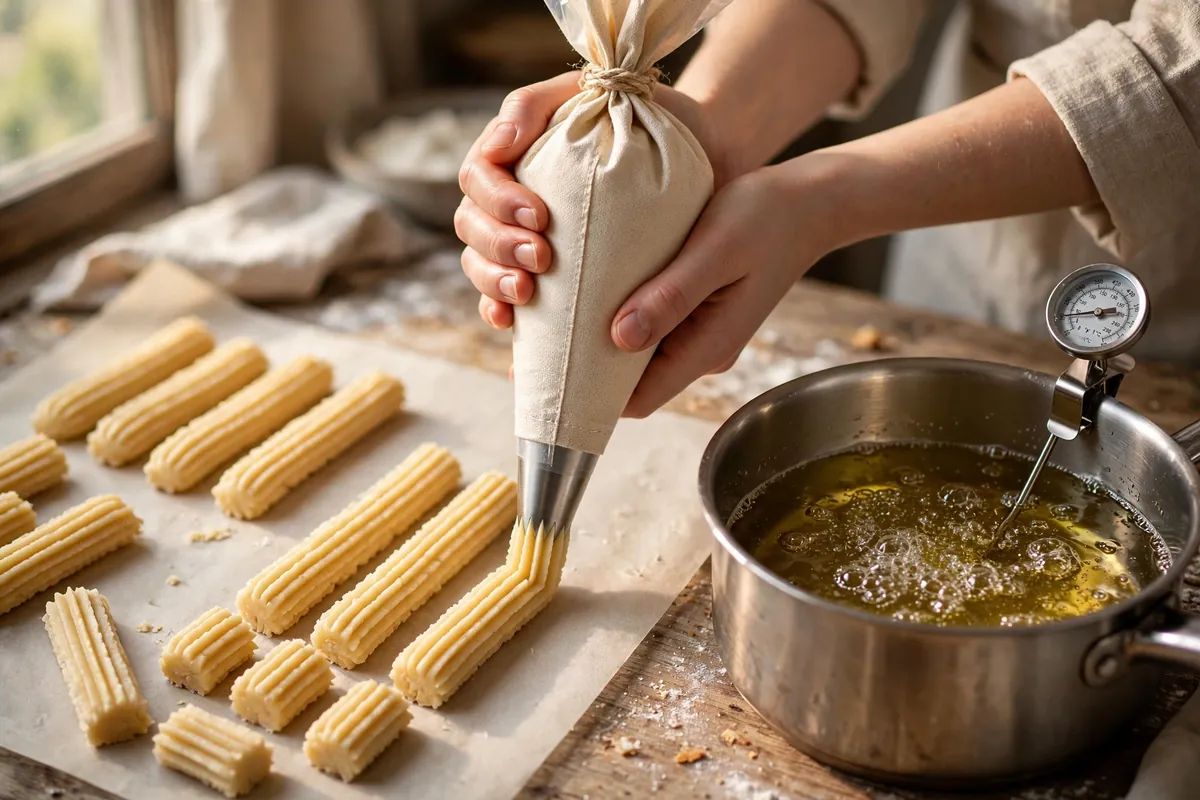
    hands piping ridged churro dough from a pastry bag with a star tip over a pot of oil
    hands piping ridged churro dough from a pastry bag with a star tip over a pot of oil

    5. You drained them wrong — the soggy finish

    Churros emerge from oil carrying surface oil and internal steam. Laid on paper towels, they sit in both: the towel traps steam underneath, and the surface oil has nowhere to go. Thirty seconds on paper is the difference between shattering crisp and disappointingly soft.

    How to tell: Churros were crisp coming out of the oil but softened within minutes; bottoms were oily; paper towels were saturated.

    The fix: Drain on a wire rack over a sheet pan so steam escapes and oil drips away. Toss in cinnamon sugar within a minute of draining, while the surface is still tacky — that’s what makes the sugar stick.

    6. You stored them — churros are a fresh-or-nothing pastry

    Churros stale faster than almost anything I make. Ambient humidity softens the crisp shell within an hour; never refrigerate them.

    How to tell: Leftover churros were chewy and soft the next day; reheating in the microwave made them rubbery.

    The fix: Fry only what you’ll eat within the hour. If you must hold them, keep fried churros uncovered at room temperature up to 2 hours — covering traps steam. Better plan: pipe the raw dough onto a parchment-lined tray, freeze the shapes solid, and fry from frozen (add 1–2 minutes) — frozen piped churros fry up nearly as well as fresh, and the dough holds a week in the freezer. The dough itself can be made a day ahead and refrigerated in the piping bag.
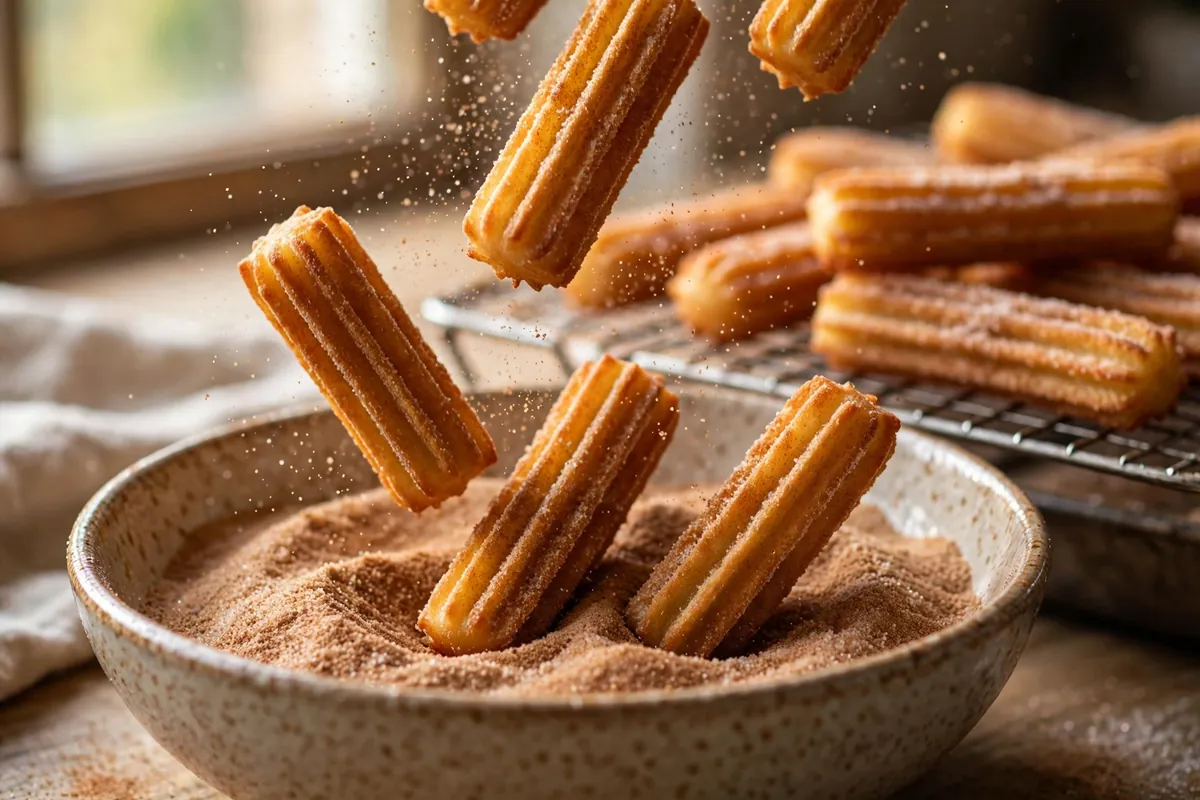
    freshly fried churros being tossed in cinnamon sugar in a shallow bowl, steam rising
    freshly fried churros being tossed in cinnamon sugar in a shallow bowl, steam rising

    Frequently asked questions

    Are raw-inside churros safe to eat?
    Mostly yes — the dough is just flour, butter, egg, and water, and the outside reached full frying temperature. But a truly raw, wet center is unpleasant and undercooked egg is best avoided. When in doubt, the fix is easy: split them and finish in a 375°F (190°C) oven for 5–8 minutes.

    Can I fix greasy churros after frying?
    Partially. A hot oven (400°F/200°C, 5 minutes on a rack) drives off surface oil and re-crisps them. It won’t fix a raw center, but it rescues the grease. Next batch, check the oil temperature — that’s the real fix.

    Can I bake churros instead of frying?
    You can, but they’re a different pastry — baked choux, closer to an éclair stick. Pipe onto parchment, bake at 400°F (200°C) for 20–25 minutes until deeply golden, brush with melted butter, and toss in cinnamon sugar. Good, but not churros.

    What oil is best for frying churros?
    A neutral oil with a high smoke point: vegetable, canola, or peanut. You’ll need enough for 2–3 inches of depth.

    Can I make the dough ahead?
    Yes — the choux dough keeps 24 hours refrigerated in a sealed piping bag, or pipe shapes and freeze up to a week. Fry from frozen, adding 1–2 minutes to the time. Don’t hold fried churros; fry to order.

    Related troubleshooting: Choux Pastry Collapse: Why Your Éclairs Fell · Puff Pastry Not Puffing: Lamination Mistakes · High-Altitude Baking Adjustments

  • Why Did My Madeleines Lose Their Hump? (Batter Rest, Cold Pan, Hot Oven)

    Why Did My Madeleines Lose Their Hump? (Batter Rest, Cold Pan, Hot Oven)

    The hump is the whole point of a madeleine — that proud dome on the back separating a madeleine from a vaguely shell-shaped sponge. Flat madeleines taste fine but look wrong, and every baker knows it. The encouraging part: the hump isn’t luck. It’s thermal-shock physics, and once you understand the mechanism it becomes repeatable.

    Quick diagnosis: No hump means no thermal shock — batter not cold enough, oven not hot enough, or both. Rest the batter at least 2 hours (overnight is better), chill the filled pan, bake at a true 425°F (220°C). Those three together produce the hump nearly every time.

    The hump science, in plain terms

    The hump is a race between the batter’s center rising and its edges setting. Cold batter hits a very hot oven: baking powder reacts violently and steam erupts — but the edges, touching hot metal, set almost immediately and lock. The center, insulated by surrounding batter, stays fluid longer and keeps rising with nowhere to go but up. Set edges plus still-rising center equals hump.

    Everything below widens that differential. Cold batter slows the center’s setting. A hot oven accelerates the edge’s setting. A cold pan adds a head start. Remove any one and the race evens out — flat madeleine.

    1. The batter wasn’t rested — the #1 hump killer

    Madeleine batter must rest refrigerated a minimum of 1–2 hours; overnight is genuinely better. The rest chills the batter thoroughly (thermal shock needs cold batter — 38°F/3°C, straight from the fridge, not “sat on the counter while the oven preheated”), hydrates the flour for a tender crumb, and thickens the batter so it holds shape in the shells.

    How to tell: You mixed and baked within the hour, or rested at room temperature. The batter was pourable-thin rather than thick and spoonable.

    The fix: Make the batter the night before and refrigerate covered. Portion it thick, cold, and scoopable. This single change produces more humps than every other fix combined, because most bakers underestimate how cold “cold batter” must be.

    2. The oven wasn’t hot enough

    Madeleines need an opening blast of 425°F (220°C) — that’s what sets the shell edges fast while the center climbs. At 350°F (175°C), a normal cake temperature, everything heats gently and evenly, the edges never get their head start, and no hump forms. Lukewarm ovens make flat madeleines, full stop.

    How to tell: You baked at 350–375°F, they took 12–15 minutes, and browned evenly all over rather than deeply on the ridged shell side.

    The fix: Preheat to a verified 425°F (220°C) — check with an oven thermometer, since most home ovens run cool and a “425°F” that’s really 400°F costs you the hump. Bake 8–10 minutes until edges are deep golden and humps set. Some bakers drop to 375°F (190°C) after 4 minutes to finish gently; either way, the opening blast must be genuinely hot. Don’t open the door early — the temperature drop collapses the race.

    3. The pan wasn’t cold (or wasn’t prepped right)

    The pan is the third leg of the tripod. A room-temperature pan starts warming the batter edges before the oven gets involved, narrowing the differential. The classic French technique freezes the buttered, floured pan while the oven preheats.

    How to tell: You buttered the pan at room temperature and filled immediately, or madeleines stuck and tore.

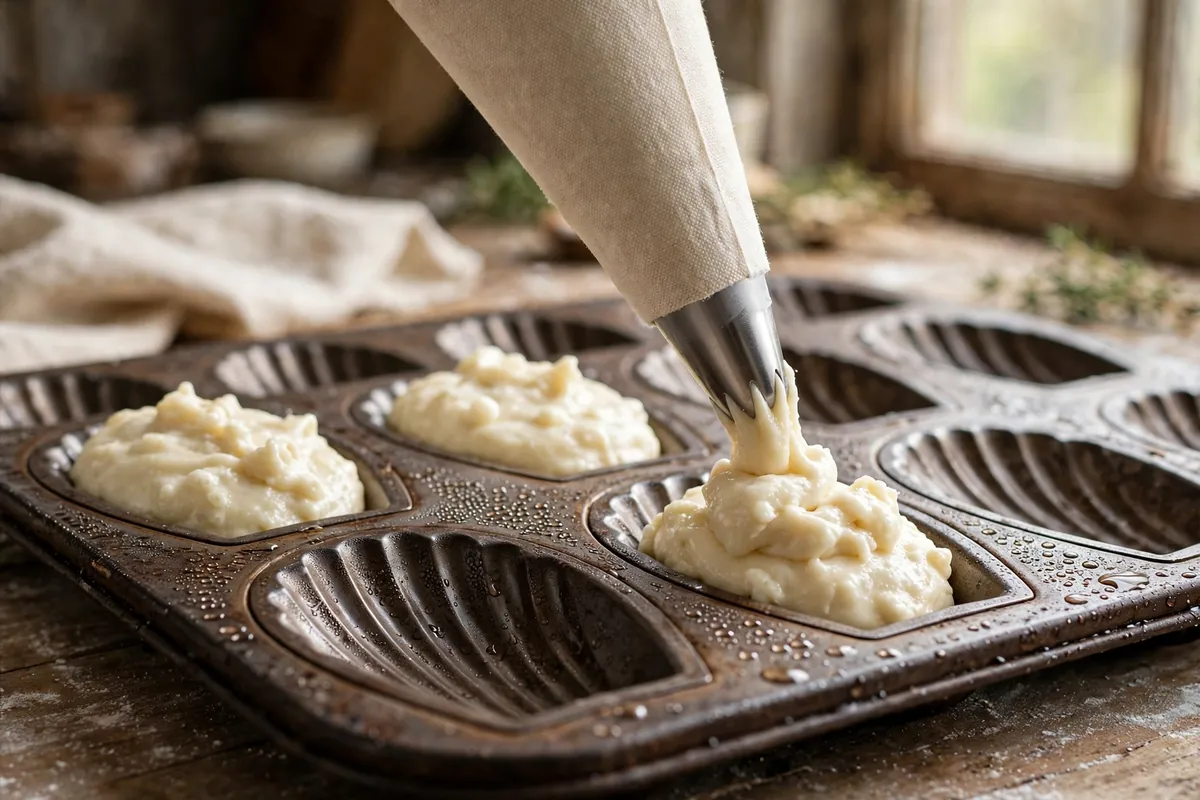
    The fix: Butter every shell with soft butter — a pastry brush reaches the ridges — dust with flour, tap out excess, freeze 15–20 minutes. Pipe the cold batter into the cold shells (fill ¾ full, never to the brim — overfilled shells spill over and the hump has no room) and get the pan into the hot oven immediately. Cold batter, cold pan, hot oven: the trinity. Traditional tinned steel transfers heat faster than nonstick and gives a slightly better hump.

    cold madeleine batter being piped into a chilled shell pan
    cold madeleine batter being piped into a chilled shell pan

    4. The baking powder was dead

    The hump is a leavening event, and leavening needs live leavener. Baking powder loses potency within 6–12 months of opening, faster in humid kitchens. Weak powder means weak oven spring, and weak oven spring means no hump regardless of temperature.

    How to tell: The powder is of unknown age, the madeleines are dense as well as flat, and other bakes have been flat lately too.

    The fix: Test it — a teaspoon in hot water should fizz vigorously; a lazy fizzle means replace. Write the opening date on the tin. Madeleines use about 1 teaspoon per 100g flour; don’t increase it to compensate for dead powder (metallic taste) — replace the powder instead.

    5. You overmixed — or added the butter too hot

    Overmixing develops gluten, and gluten is elastic: it resists the upward push forming the hump and toughens the famously tender crumb. Mix only until the flour disappears. Related: the classic beurre noisette (brown butter) must cool to lukewarm before folding in — hot butter deflates the whipped eggs and partially cooks the flour, both flattening the rise.

    How to tell: The batter was smooth and stretchy rather than thick and soft, or you poured in sizzling butter and watched the batter deflate.

    The fix: Fold with a spatula, minimal strokes, stop when no dry flour remains. Brown the butter for its signature nutty depth, then cool 10 minutes before folding in. Whip eggs and sugar to ribbon stage — thick, pale, falling in ribbons — since that trapped air is half the hump’s lift.

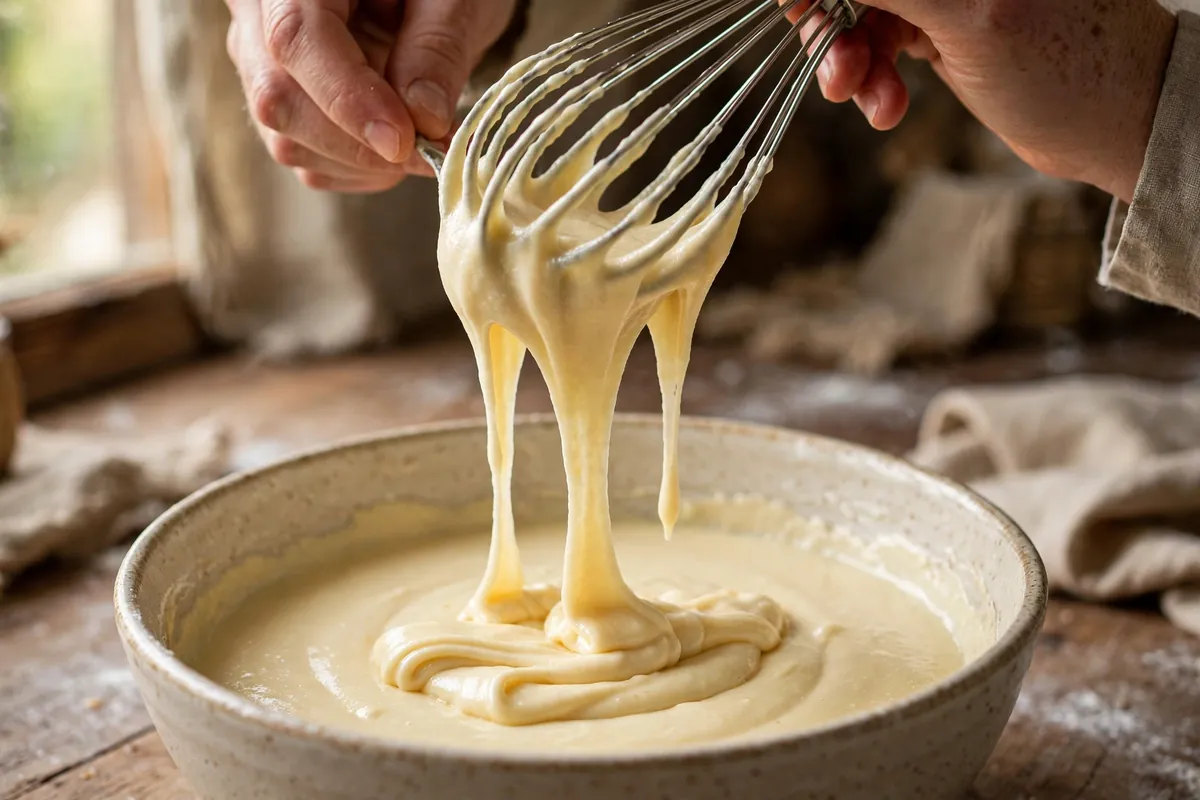
    madeleine batter at ribbon stage falling from a whisk
    madeleine batter at ribbon stage falling from a whisk

    The hump checklist

    Night before: mix batter, refrigerate overnight. Bake day: butter and flour the pan, freeze 15 minutes. Oven to verified 425°F (220°C). Fill cold shells ¾ full with cold batter, bake immediately, 8–10 minutes, no peeking. The hump was never luck — just temperature differential, and now you control all three sides of it.

    FAQ

    Can I still eat flat madeleines?
    Absolutely — same delicious buttery cake, minus the dome. Dip in chocolate, sandwich with jam or lemon curd, or serve with berries and cream. The hump is presentation and tradition, not flavor or safety.

    Do I really need to rest madeleine batter overnight?
    Overnight is ideal; 2 hours minimum refrigerated works. The rest must be cold — room-temperature resting hydrates flour but doesn’t chill the batter, and without cold batter there’s no thermal shock, no hump. Never skip the chill.

    What temperature do I bake madeleines at?
    425°F (220°C), verified with an oven thermometer — the opening blast sets edges fast while the center rises. Bake 8–10 minutes until deep golden. At 350°F the edges never get their head start and the hump won’t form.

    Why do recipes call for brown butter in madeleines?
    Flavor — browned milk solids give the signature nutty, caramel depth. It doesn’t directly affect the hump, but the butter must cool to lukewarm before folding in; hot butter deflates whipped eggs and flattens the rise.

    Can I fix madeleines that already baked flat?
    No — the hump forms in the oven’s first minutes from thermal shock and can’t be retrofitted. Repurpose them: chocolate-dipped, sandwiched with curd, or as a trifle base. Put the fix into the next batch’s rest, pan chill, and oven temp.

    Why are my madeleines dense as well as flat?
    Dense plus flat points to dead baking powder or deflated eggs. Test the powder in hot water (should fizz vigorously), whip eggs and sugar to full ribbon stage, and fold flour gently — overmixing builds gluten that resists the rise.

    Related troubleshooting: Why Did My Cupcakes Overflow? Batter Fill Levels Explained · Why Is My Cake Dry? Moisture Science for Home Bakers · Why Did My Cinnamon Rolls Unravel? Shaping and Proofing Fixes