

Focaccia should be the most forgiving bread there is: no shaping finesse, no scoring, just dimpled dough in an oiled pan. So when it comes out flat — thin, dense, more cracker than cloud — it feels like a betrayal. Flat focaccia is never bad luck; it’s always one of the failures below.
Quick diagnosis: Flat focaccia is under-fermentation 8 times out of 10. High-hydration dough looks ready before it is — if you dimpled and baked before the dough was truly puffy and jiggly, that’s your answer. Start with cause #1.
Focaccia is typically 70–80% hydration — wetter than most bread doughs. That wetness is what makes the open, holey crumb possible, but it also makes the dough harder to read: it spreads, it looks slack, and it lies to you about being ready. Every fix below is about giving that wet dough what it needs to rise tall.
1. Under-fermented — the dough wasn’t ready when you baked
The number one cause, by a wide margin. Focaccia needs a full, generous fermentation — the dough should be visibly puffy, full of bubbles, and jiggly like set custard before it goes in the oven. Most flat focaccias were baked an hour too early. High-hydration dough is deceptive: it spreads outward and looks “big” while still being under-aerated inside.
How to tell: The dough looked spread out but not puffy — no visible bubbles on the surface, no jiggle when you nudged the pan, and it didn’t feel airy when you dimpled it.
The fix: Ferment longer than you think. At room temperature (70–75°F / 21–24°C), focaccia dough typically needs 2–4 hours of bulk fermentation with a few sets of stretch-and-folds, OR an overnight cold retard in the fridge (12–18 hours) followed by 2–3 hours at room temperature in the pan. The cold retard is the reliable path — time builds both flavor and structure. The dough is ready when it’s doubled, bubbly on top, and jiggles. When in doubt, give it another 45 minutes; over-fermented focaccia is rare, under-fermented is everywhere. (Same reading-the-dough skill as all bread: Why Didn’t My Bread Rise?.)
2. You degassed it with aggressive dimpling
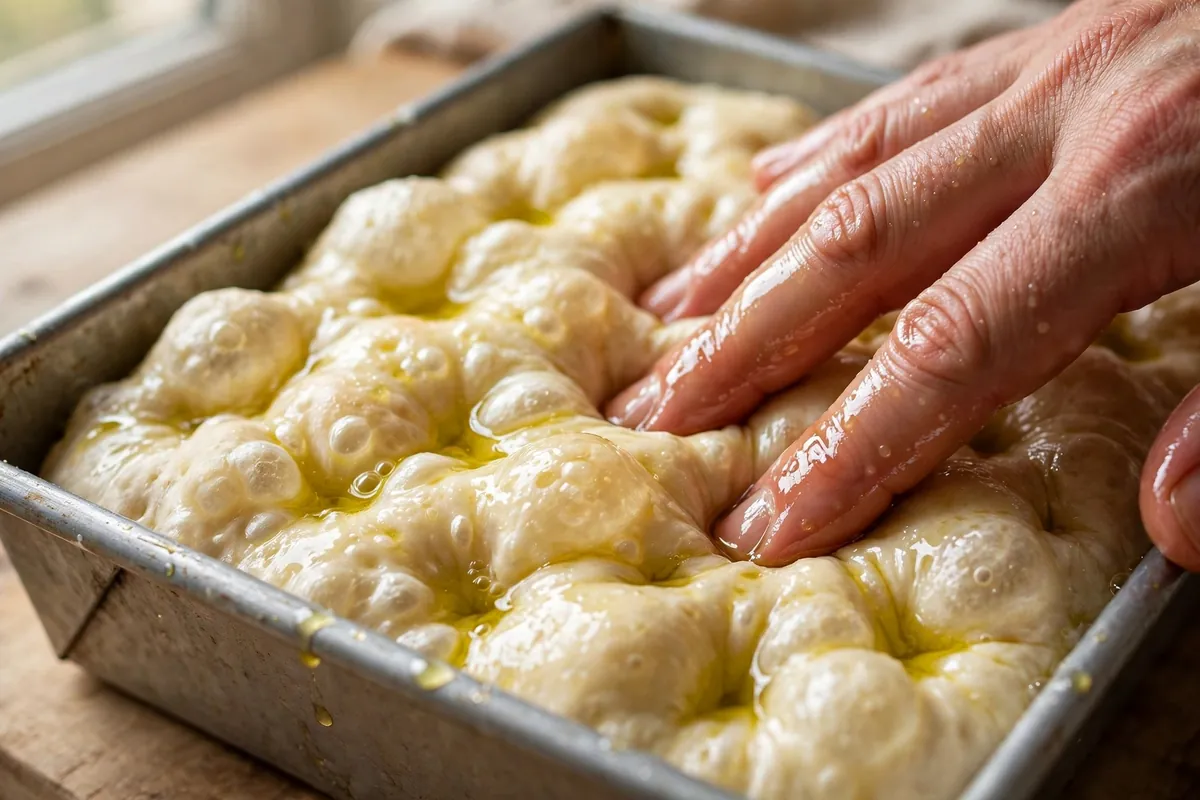
Dimpling is signature focaccia — but those fingers can undo hours of fermentation. Stabbing straight down to the pan bottom with stiff fingers squeezes out the gas the yeast spent all day producing. The classic mistake: dimpling a perfectly risen dough like you’re angry at it.
How to tell: The dough was beautifully puffy before dimpling and visibly deflated after. The baked result has dimple craters but no lift between them.
The fix: Dimple with oiled fingers, firmly but not violently — press about halfway down, not to the pan. And dimple decisively once; don’t go back for a second round of poking. Here’s the key insight most recipes bury: dimple AFTER the pan proof is complete, right before baking, and get it in the oven within minutes. The longer dimpled dough sits, the more it settles. Oil your fingers generously — dry fingers drag and tear the surface, which also degasses.
3. The pan was too big — the dough spread instead of rising
Focaccia rises where the pan lets it. In an oversized pan, high-hydration dough spreads outward into a thin sheet — and a thin sheet can’t build height no matter how well fermented it is. Gas escapes sideways instead of pushing up.
How to tell: The dough covered the pan easily with room to spare, or you scaled a recipe up without scaling the pan. The baked focaccia is uniformly thin edge to edge.
The fix: Match pan to dough. A standard batch (500g flour) belongs in a 9×13-inch pan — the dough should fill it snugly, about 1–1.5 inches deep before the final proof. If your dough swims in the pan, it’s the wrong pan. The sides of the pan are structural: they force the rise upward. For extra-tall focaccia, some bakers use a slightly smaller pan deliberately.
4. The oven wasn’t hot enough
Focaccia needs a hard initial blast: 450°F (230°C), fully preheated. That heat does two jobs — it triggers maximum oven spring in the first 10 minutes, and it sets the structure before the wet dough can spread and settle. A 375°F (190°C) oven gives you a slow, lazy bake: the dough spreads, the gas escapes gradually, and you get flatbread.
How to tell: The focaccia took longer than the recipe said, browned gently all over instead of puffing dramatically, and never got that crackly, blistered top.
The fix: True 450°F (230°C) — verify with an oven thermometer, preheat a full 20 minutes past the beep. Bake 20–25 minutes until deeply golden with a crisp, blistered crust. If the top is browning too fast while the center seems underdone, that’s actually a different problem (too much topping weight — see below), not a temperature problem. Don’t lower the heat to compensate.
5. Too much topping weighed it down
Focaccia toppings are wonderful until they’re structural sabotage. A heavy layer of wet tomatoes, piles of onions, or rivers of sauce press the dough down exactly when it needs to rise up. Watery toppings also steam the surface, preventing the crust from setting and crisping.
How to tell: The areas under the toppings are flat and pale while the bare edges rose fine. Or the top stayed soggy.
The fix: Toppings go on light, and wet toppings go on late or pre-cooked. Halved cherry tomatoes are fine in moderation; a full can of crushed tomatoes is a casserole, not a topping. Pre-cook watery vegetables to drive off moisture first.
6. Low-protein flour in a high-hydration dough
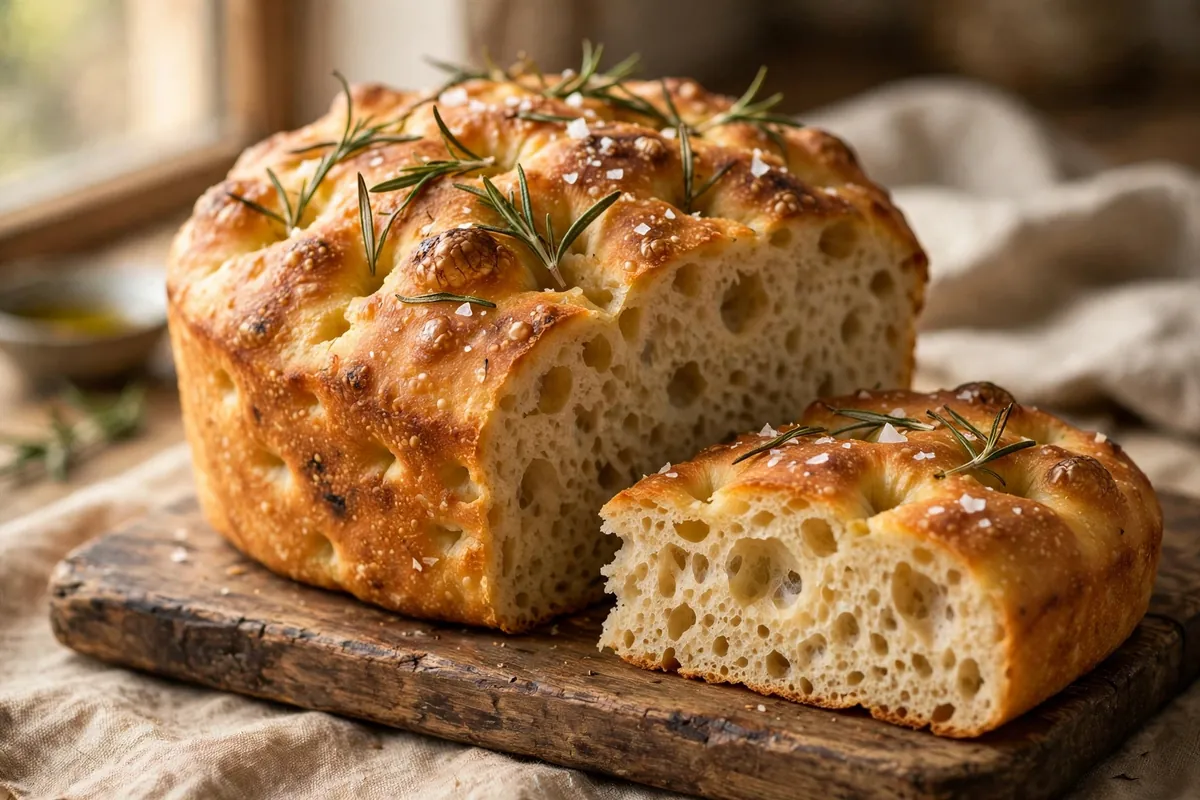
At 75–80% hydration, the flour’s protein is doing heavy structural lifting — it’s the net holding all that water and gas. All-purpose flour (10–12% protein) can work, but it’s near its limit; the dough goes slack, tears easily during folds, and can’t support maximum rise. Bread flour (12–14%) gives the gluten network the strength high hydration demands.
How to tell: The dough felt more like batter than dough — extremely slack, tearing when you tried stretch-and-folds, impossible to handle even with wet hands.
The fix: Use bread flour for focaccia. The extra protein isn’t about chewiness here — it’s about the dough holding together at high hydration. If all-purpose is all you have, drop the hydration to 65–70% (325–350g water per 500g flour) rather than fighting a slack dough. (Full flour guide: Bread Flour vs All-Purpose: When It Actually Matters.)
7. Skipped the salt — or added it too late to matter
This one’s subtle. Salt tightens the gluten network (stronger dough = better gas retention) and obviously seasons. But beyond flavor, unsalted high-hydration dough is noticeably slacker and weaker — some bakers can feel the difference in handling alone.
How to tell: The dough was unusually slack and the baked focaccia tastes flat in both senses.
The fix: Salt at 2% of flour weight (10g per 500g flour), mixed in after a 20–30 minute autolyse if you want to be precise — or just mixed in with everything at the start if you don’t. Either beats forgetting it. And don’t forget the flaky salt on top before baking; it’s structural seasoning.
Frequently asked questions
Can I fix flat focaccia after baking?
Not the height — that’s set. But flat focaccia is delicious repurposed: split it for sandwiches, cube it for croutons or panzanella, or top and re-bake it as pizza bianca.
Why does my focaccia stick to the pan?
Not enough oil, or the wrong pan. Use 3–4 tablespoons in the pan before the dough goes in, plus a drizzle on top. Dark metal releases better than glass; a parchment sling solves it permanently.
Is flat focaccia safe to eat?
Completely. Flat is a texture failure, not a safety issue — if it’s golden and baked through, it’s safe.
How long should focaccia proof in the pan?
Until it’s visibly puffy and jiggly — typically 1–2 hours at room temperature after shaping into the oiled pan, longer if the dough came from the fridge. The jiggle test is the truth: nudge the pan and the whole mass should wobble like custard.
Can I use instant yeast instead of active dry?
Yes — same quantity, and you can skip the proofing step (mix it straight into the flour). For a 500g-flour batch: 7g (2¼ tsp) instant yeast for a same-day focaccia; drop to 3–4g for an overnight cold retard so it doesn’t over-ferment.
Why did my focaccia come out greasy?
Too much oil pooled rather than absorbing — usually from oil added on top of an under-proofed dough that couldn’t absorb it, or simply an excessive hand. 3–4 tablespoons in the pan plus a light drizzle on top is the zone; a quarter cup pooled on top is a different dish.
Related troubleshooting: Why Didn’t My Bread Rise? · Why Is My Bread Dense? · How to Tell When Bread Is Done