
No-Knead Bread for Beginners: Your First Loaf, Step by Step
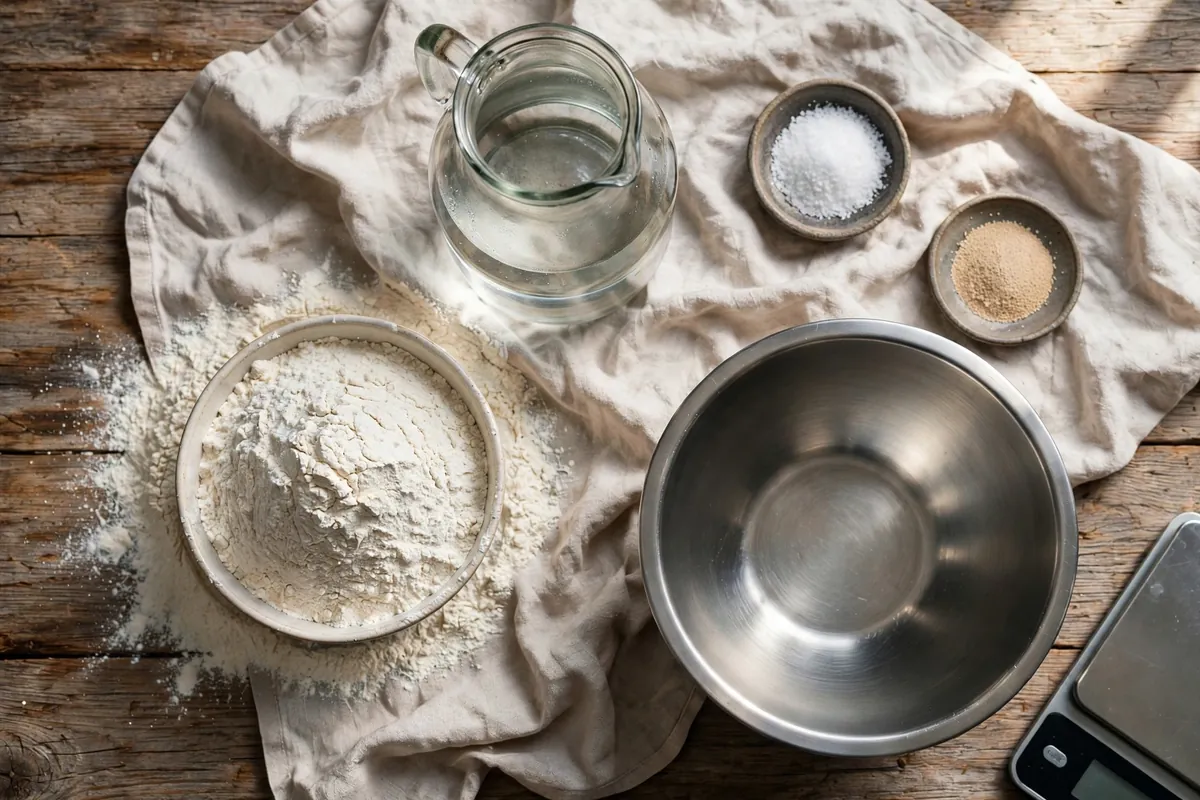
Quick diagnosis: Mix 500g bread flour, 375g water, 10g salt, and ¼ teaspoon instant yeast. Rest 12–18 hours. Shape, proof 30 minutes, and bake in a preheated Dutch oven at 450°F (230°C) — 30 minutes covered, 15–20 uncovered. That’s the whole recipe. The long rest does the kneading for you.
If you’ve never baked bread, this is where you start. No-knead bread has the best effort-to-result ratio in all of baking: five minutes of actual work produces a loaf with a crackling crust and open crumb that tastes like it came from an artisan bakery. The method was popularized by Jim Lahey in 2006 and it hasn’t been improved since, because the science is sound — time develops gluten just as surely as kneading does.
Why no-knead works (so you trust the process)
Kneading builds gluten through mechanical force. But gluten also develops on its own when flour and water sit together — the proteins hydrate, link up, and organize over hours. A 12–18 hour rest at room temperature does the same structural work as 10 minutes of kneading, while also building deeper flavor through slow fermentation.
The tiny yeast quantity (¼ teaspoon — not a typo) is deliberate. Less yeast means slower fermentation, which means the dough can rest all night without over-proofing. It also means better flavor: slow fermentation produces the organic acids and complex tastes that make good bread taste like bread instead of like yeast.
The recipe (baker’s percentages included)
| Ingredient | Weight | Volume approx. | Baker’s % |
|---|---|---|---|
| Bread flour | 500g | ~4 cups, spooned | 100% |
| Water, lukewarm | 375g | 1⅔ cups | 75% |
| Fine salt | 10g | 2 tsp | 2% |
| Instant yeast | 1g | ¼ tsp | 0.2% |
Use bread flour if you can (12–14% protein gives the chewiest crumb), but all-purpose works — the loaf will be slightly less lofty. Instant yeast and active dry both work at this quantity; if using active dry, dissolve it in the water first.

Step 1: Mix (5 minutes, evening)
Combine everything in a large bowl and stir with a wooden spoon or your hand until no dry flour remains. The dough will look shaggy, rough, and frankly wrong — lumpy, sticky, uneven. This is correct. Do not knead it. Do not smooth it. Walk away.
Cover the bowl with plastic wrap or a damp towel and leave it at room temperature (70–75°F / 21–24°C) for 12–18 hours. Overnight is perfect: mix at 8pm, bake at noon.
Step 2: The long rest (12–18 hours, overnight)
During the rest, three things happen without you: gluten develops, the yeast slowly produces gas, and flavor compounds build. You’ll know it’s ready when the dough has roughly doubled, the surface is dotted with bubbles, and it smells pleasantly yeasty and slightly tangy — not sharply sour (that’s over-fermented; see below).
Timing by kitchen temperature:
– Warm kitchen (78°F+ / 26°C+): 10–12 hours. Check early — warm dough moves fast.
– Normal (70–75°F / 21–24°C): 12–18 hours. The sweet spot.
– Cool (65°F / 18°C): 18–24 hours. Slower, but the flavor is worth it.
If the dough has more than tripled, smells strongly of alcohol, and collapses when touched, it over-proofed. Don’t bin it — it’ll still bake into decent bread, just flatter. Next time, use a touch less yeast or a shorter rest. (For the full diagnosis, see Why Didn’t My Bread Rise? — over-proofing is the mirror image of under-proofing.)
Step 3: Shape (10 minutes)
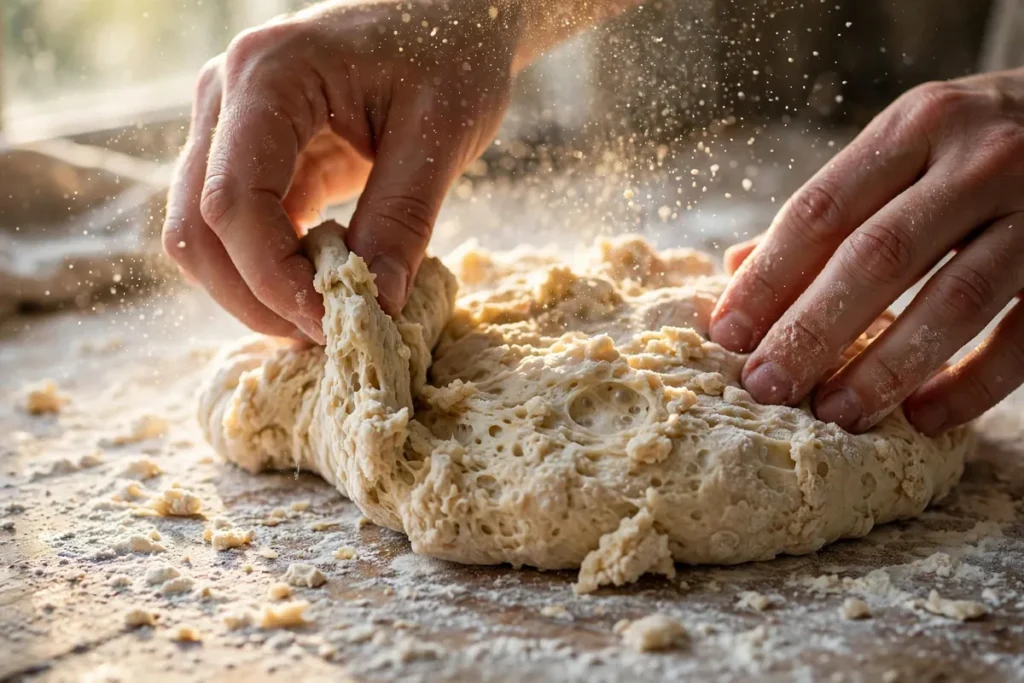
Flour your work surface generously — this is a wet 75%-hydration dough and it will stick to everything. Scrape the dough out (it’ll be bubbly and alive). With floured hands, fold the edges into the center a few times to form a rough ball, then flip it seam-side down.
The envelope fold: pull the top edge down to the center, the bottom edge up, then left and right — like folding a letter. Flip seam-down. That’s your shaping. No-knead shaping is intentionally minimal; you’re just creating surface tension, not developing anything new.
Place the ball seam-down on a floured piece of parchment (the parchment becomes your transfer sling later). Cover with a towel and rest 30 minutes while the oven preheats.
Step 4: Preheat the Dutch oven (30–45 minutes)
Put your Dutch oven (with its lid) into the oven and heat to 450°F (230°C). Preheat a full 30–45 minutes — the pot must be screaming hot. This is non-negotiable: the searing heat is what creates oven spring, the burst of expansion in the first minutes of baking.
No Dutch oven? A heavy oven-safe pot with a tight lid works. In desperation, an inverted deep roasting pan over a baking stone works. But a Dutch oven is the single best bread investment you can make — it traps the dough’s own steam, which keeps the crust soft long enough for maximum spring, then the dry heat crisps it. (More on steam’s role in Bread Crust Too Hard or Too Soft.)
Step 5: Bake (45–50 minutes)
- Score the top — one confident slash with a sharp knife or razor, about ½ inch deep. Cold dough scores best, but room-temp no-knead dough is fine with a decisive cut.
- Lower the dough into the hot pot using the parchment sling. This is the only scary moment: the pot is 450°F. Go slow, keep fingers clear.
- Lid on, bake 30 minutes. The trapped steam does its work.
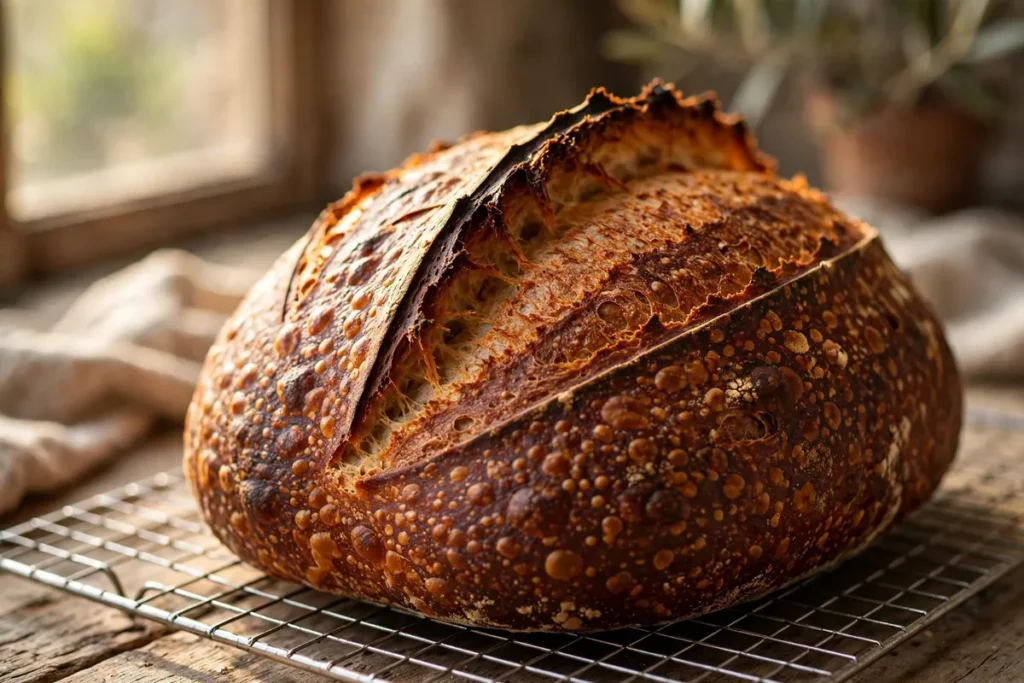
- Lid off, bake 15–20 minutes more. Now the crust browns and crisps. You’re looking for deep mahogany — darker than you think. Pale no-knead bread is the classic beginner mistake; color equals flavor.
- Check doneness: 200–210°F (93–99°C) internal (see How to Tell When Bread Is Done).
Step 6: Cool (the hardest step)
Cool on a wire rack for at least 2 hours before slicing. I know. The smell is unbearable. But cutting early compresses the still-setting crumb into gumminess — the exact problem in sourdough cut too soon. The bread is still cooking inside during the first hour of cooling. Wait.
Your first-loaf troubleshooting cheat sheet
| What happened | Likely cause | Fix next time |
|---|---|---|
| Flat, dense loaf | Over-proofed during the long rest | Less yeast (⅛ tsp) or shorter rest; cooler spot |
| Pale, soft crust | Underbaked / lid off too late | Full 15–20 min uncovered; aim for mahogany |
| Gummy center | Sliced too soon | Cool 2 full hours on a rack |
| Burnt bottom | Pot too close to lower element | Middle rack; parchment under the loaf helps |
| Dough stuck to towel | Not enough flour on the cloth | Flour the towel heavily, or proof on parchment |
Frequently asked questions
Can I use all-purpose flour instead of bread flour for no-knead bread?
Yes. The loaf will be slightly less chewy and a touch less lofty (all-purpose is 10–12% protein vs bread flour’s 12–14%), but the method works identically. Don’t adjust anything else.
Do I really not need to knead at all?
Really. Time replaces kneading: over 12–18 hours, gluten proteins hydrate and organize on their own. If the long rest makes you nervous, do 3–4 gentle stretch-and-folds during the first 2 hours — it adds insurance but isn’t required.
Can I make no-knead bread without a Dutch oven?
You can, but the crust won’t match. The Dutch oven traps steam; without it, bake on a preheated stone or steel with a pan of boiling water on the rack below for the first 20 minutes, then remove it. Expect a good loaf with a slightly less dramatic crust.
Why did my no-knead bread come out flat?
Almost always over-proofing during the long rest — too much yeast, too warm a kitchen, or too long a rest. The dough exhausts its food and the gluten relaxes. Cut yeast to ⅛ teaspoon or shorten the rest, and make sure your kitchen isn’t above 78°F.
How do I store no-knead bread?
Room temperature, cut-side down on a board or in a paper bag, 2–3 days. Never the fridge (it accelerates staling). For longer, slice and freeze airtight up to 3 months — full guide in How to Store Homemade Bread.
Can I add things like olives, cheese, or herbs?
Yes — fold 100–150g of add-ins during shaping (not during the initial mix, where they can interfere with gluten development). Wet add-ins like olives should be patted dry first. Cheese near the surface will crisp beautifully.
Related troubleshooting: Why Is My Bread Dense? · How to Tell When Bread Is Done · Make-Ahead Bread Dough: Fridge Timelines