Category: Cakes

  • How to Fix Curdled Ganache: Emulsion Rescue

    How to Fix Curdled Ganache: Emulsion Rescue

    One minute your ganache is glossy chocolate silk; the next it’s a grainy, oily mess with pools of fat floating on top. Your ganache hasn’t died — the emulsion simply broke. Chocolate ganache is a suspension of cocoa butter and milk fat in water (from the cream), and like every emulsion, it can be rebuilt. Most split ganache is rescued in under five minutes with nothing but warm cream and a whisk.

    Quick diagnosis: Ganache splits when the emulsion breaks — usually from overheating the chocolate or adding cream at the wrong temperature. Rescue it by whisking in 1 tablespoon of warm cream at a time, or blitz it with an immersion blender. Both rebuild the emulsion in minutes.

    The baseline: ratios by weight — 1:1 chocolate to cream for a pourable glaze, 2:1 for firm truffles. Chop chocolate to pea-sized pieces, heat the cream to just simmering, about 180°F (82°C) — bubbles at the edges, never boiling. Pour over, wait 2 full minutes untouched, then stir slowly from the center outward. The center melts first and the emulsion spreads; stirring the whole bowl at once breaks it.

    Why did my ganache split? The three culprits

    Overheated chocolate. Cocoa butter separates from cocoa solids when overheated. Boiling cream poured over chocolate can scorch the mixture before the emulsion forms — the fat renders out and floats. This usually happens when someone boils the cream hard “to be sure it’s hot enough.”

    Cream added at the wrong temperature or too fast. Cooled cream makes chocolate seize into lumps; cold cream hitting warm chocolate shocks the forming emulsion. The two components must meet at compatible temperatures — warm cream, room-temperature chopped chocolate, combined gently.

    Water contamination — the seizing trap. A few drops of water seize melting chocolate into a stiff, grainy paste — a different failure from splitting, though the rescue is the same. Prevention: keep every utensil bone dry.

    How to tell which one you have: Greasy oil pools over grainy chocolate = broken emulsion. Stiff, matte paste that seized on contact = water contamination. Both fix the same way.

    Rescue method 1: Warm cream, one tablespoon at a time

    This is the classic fix and it works on most broken ganaches. Warm 2–3 tablespoons of cream (or whole milk) to about 110°F (43°C) — warm to the touch, not hot. Add one tablespoon to the split ganache and whisk firmly in small circles from the center. You’ll see the mixture start to come together and gloss up. Add the next tablespoon only after the first is fully incorporated. Usually 2–3 tablespoons is enough for a batch made with 8 oz (225g) of chocolate.

    The broken emulsion is missing its water phase — the fat has nothing to suspend in. Warm cream reintroduces water and milk proteins at a temperature that coaxes the fat back into suspension. Add gradually: a flood of cream overwhelms the mixture.

    Rescue method 2: The immersion blender

    When whisking isn’t enough — the ganache is badly separated with real oil slicks — bring out the immersion blender. Add a tablespoon of warm cream, then blitz the ganache in short 5-second bursts, keeping the blender head fully submerged to avoid whipping in air. The high shear forces physically smash the fat droplets small enough to re-suspend.

    Three 5-second bursts with a tablespoon of warm milk bring a visibly split batch back to full gloss. It’s just physics — an emulsion is a mechanical state, and shear force rebuilds it.

    Caution: Don’t over-blend: more than 15–20 seconds total whips in air and turns glaze into mousse. Short bursts, check between each one.

    Rescue method 3: The butter knob (for stubborn cases)

    If cream and blending haven’t fully fixed it, whisk in a small knob of soft room-temperature butter — about 1 tablespoon per 8 oz (225g) of chocolate. Butter is itself an emulsion (butterfat suspended with water and milk solids), so it donates ready-made emulsifiers to the mixture. Whisk vigorously until glossy. This slightly softens the set of the ganache, so it’s best for glazes and fillings rather than truffles that need to hold a firm shape.
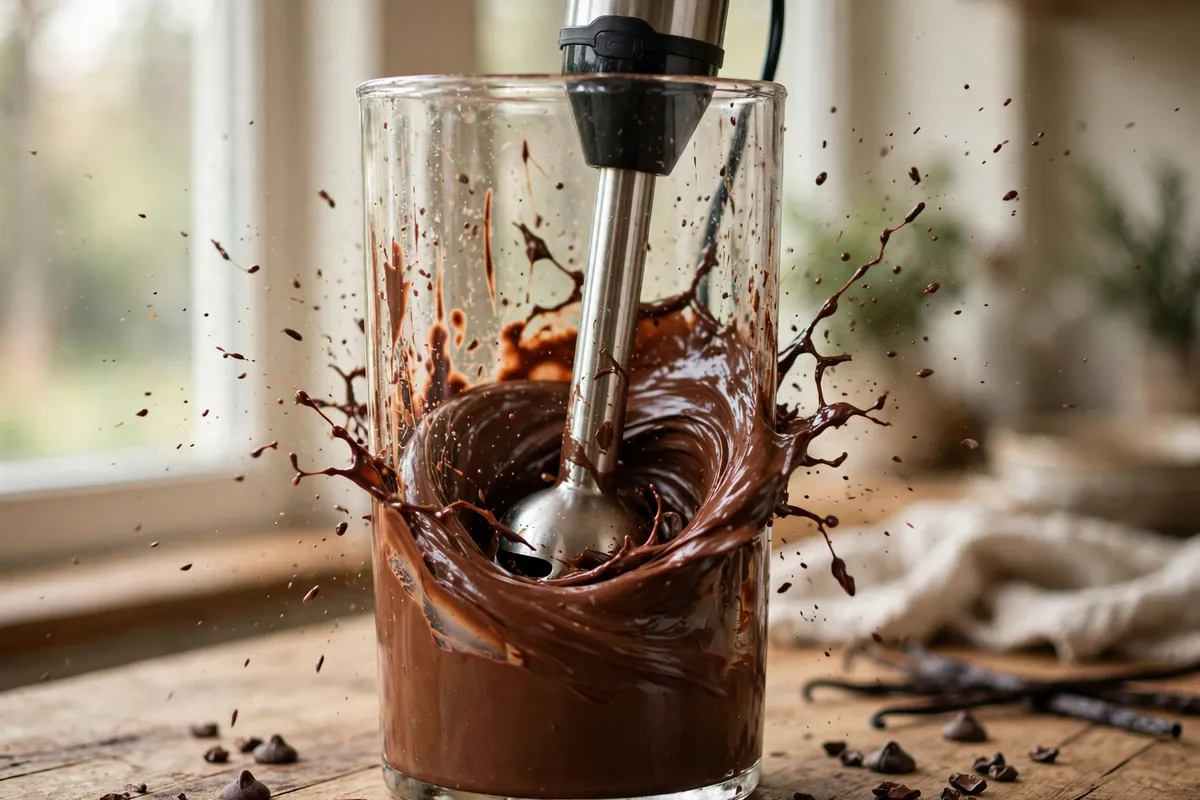
    an immersion blender re-emulsifying split ganache in a tall container, the mixture turning glossy
    an immersion blender re-emulsifying split ganache in a tall container, the mixture turning glossy
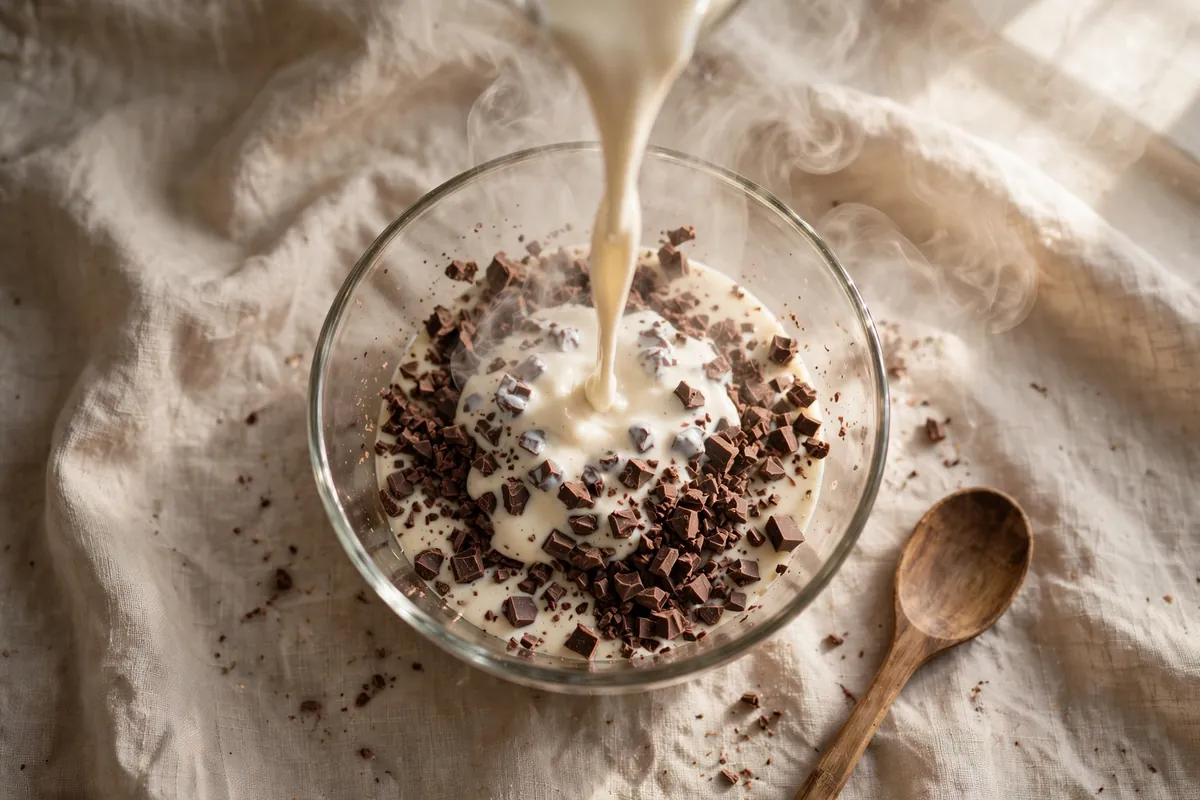
    hot cream being poured over finely chopped chocolate in a glass bowl
    hot cream being poured over finely chopped chocolate in a glass bowl

    When ganache is beyond saving

    Honesty matters here: not every broken ganache comes back. If the chocolate scorched — it smells burnt, tastes bitter and acrid, or has dark brown-black flecks — no amount of whisking fixes burnt. Sugar burns, cocoa solids burn, and burnt is a flavor, not a texture. Throw it out and start over; the chocolate is cheap compared to the dessert it’s supposed to cover.

    Also beyond saving: a wildly off ratio (equal volumes instead of weights means far too much cream — always weigh). A soupy ganache isn’t broken, it’s just wrong; whisk in more melted chocolate until the ratio is right.

    How to prevent split ganache next time

    Five rules, in order of importance:

    1. Weigh, don’t volume-measure. Chocolate and cream have different densities. 1:1 by weight is the only ratio that means anything.
    2. Chop fine. Pea-sized pieces melt evenly; big chunks force you to overheat the already-melted portion waiting for the centers to catch up.
    3. Cream to 180°F (82°C), no hotter. Small bubbles at the edges. Boiling cream is the #1 cause of split ganache in home kitchens.
    4. Rest 2 minutes, stir from the center. The pause lets residual heat do the melting; center-outward stirring builds the emulsion instead of breaking it.
    5. Keep water away. Dry bowls, dry spatulas, dry hands. A few drops cause seizing.

    Cold-kitchen habit: below about 65°F (18°C), warm the bowl with hot water and dry it first — cold bowls steal heat and the chocolate sets before the emulsion forms.

    Frequently asked questions

    Is split ganache safe to eat?
    Yes. A broken emulsion is a texture failure, not a safety issue — every ingredient is still cooked and fine. Taste it: if it tastes like chocolate (not burnt), it’s safe to rescue and serve.

    Can I use water instead of cream to fix ganache?
    A tablespoon of warm water works — the emulsion needs a water phase. But cream works better because milk proteins act as emulsifiers. Never use cold water.

    Why did my ganache get thick and grainy the moment I added liquid?
    That’s seizing — a few drops of water hit the chocolate. Ironically, the fix is more liquid: add warm cream a tablespoon at a time while whisking until it relaxes back.

    Can I reheat ganache that already split?
    Yes — set the bowl over barely simmering water (not touching), stir until fluid, then apply the warm-cream rescue. Never microwave on high; hot spots scorch chocolate.

    My rescued ganache looks fine but won’t set firm. What happened?
    Too much rescue liquid — each tablespoon softens the set. For truffles, whisk in extra melted chocolate to compensate.

    Can I fix ganache that split in the fridge overnight?
    Yes — warm gently over a water bath until fluid, then whisk in warm cream. Cold ganache often just looks separated from crystallized cocoa butter; rewarming alone usually fixes it.

    Related troubleshooting: How to Fix Broken Buttercream · How to Fix Grainy Fudge · Why Does My Frosting Taste Like Butter?

  • Why Did My Pavlovas Crack? Meringue Shell Science

    Why Did My Pavlovas Crack? Meringue Shell Science

    You pulled a gorgeous meringue shell from the oven, walked away for ten minutes, and came back to the Grand Canyon. Cracks are almost never random — a pavlova shell is a dried egg-white foam, and every crack traces back to one of five failures: thermal shock, excess heat, undissolved sugar, humidity, or an unstable foam.

    Quick diagnosis: Pavlovas crack because they cooled too fast (thermal shock is cause #1), the oven ran too hot, or the sugar never fully dissolved. Cool the shell in the turned-off oven, bake at a true 225°F (110°C), and rub the meringue between your fingers — if it’s gritty, keep beating.

    My tested baseline: 6 large room-temperature egg whites (about 180g), 300g (1½ cups) superfine sugar, 1 tablespoon cornstarch, 1 teaspoon white vinegar, pinch of salt. Beat whites to soft peaks, add the sugar a tablespoon at a time, beat to glossy stiff peaks, fold in the cornstarch and vinegar. Bake at 225°F (110°C) for 90–120 minutes until dry and lifting cleanly off the parchment, then cool completely in the turned-off oven — 2 hours minimum, overnight is best.

    1. You cooled it too fast — thermal shock is the #1 cracker

    The shell bakes into a rigid, dry foam. Pull it into a cool kitchen and the outer crust contracts fast while the interior is still expanded — the structure can’t flex, so it splits. Oven-cooled shells come out pristine; rack-cooled ones crack within twenty minutes, every time.

    How to tell: Cracks appeared 10–30 minutes after removing the shell — often one long fissure across the top — though it looked perfect coming out of the oven.

    The fix: Turn the oven off and leave the pavlova inside until completely cool — at least 2 hours, overnight if you can. Never move a hot shell to a cold countertop. (Same slow-cool principle as Why Did My Cheesecake Crack?.)

    2. Your oven was too hot — even 25°F matters

    Pavlova is dried, not baked. Above about 250°F (120°C), the outside sets while the inside is still expanding — a rigid crust over an expanding interior cracks. Many home ovens run 15–25°F hotter than the dial says, so 225°F on the dial can mean 250°F inside.

    How to tell: Deep golden or tan color instead of pale ivory, wide dramatic cracks, possibly a hollow interior and toffee flavor from browning sugar.

    The fix: Verify a true 225°F (110°C) with an oven thermometer; if your oven runs hot, set 200°F (95°C) and add 15–20 minutes. Doneness test: pale cream, dry to the touch, lifting cleanly off the parchment, hollow knock when tapped. (Same heat damage as Why Did My Cake Dome and Crack on Top?.)

    3. The sugar never fully dissolved — grit is a fault line

    Undissolved sugar crystals are weak points in the foam wall; during baking they melt and release moisture, creating pockets that expand into cracks. This is why recipes insist on superfine sugar — regular granulated often never dissolves completely.

    How to tell: Rub meringue between thumb and forefinger before piping — any grit means undissolved sugar. These cracks are usually small spiderwebs rather than one big fissure.

    The fix: Add the sugar very gradually — one tablespoon at a time — to already-foamy whites, and keep beating 1–2 minutes after the last addition. Do the finger-rub test before you stop the mixer. If it’s gritty, beat another minute and test again. Room-temperature whites (about 70°F / 21°C) dissolve sugar faster than cold ones straight from the fridge.

    4. Humidity got into the shell — meringue’s oldest enemy

    Sugar is hygroscopic. On a humid day (above ~60% relative humidity), the shell absorbs water as it cools, softening the crust and creating stress that shows up as cracks — plus weeping, those amber syrup beads, which is the same moisture problem in a different costume.

    How to tell: Shell feels tacky instead of crisp, cracks appeared hours after cooling, or syrup beads weep on the surface — and you baked on a rainy day.

    The fix: Avoid baking pavlova on humid days. If you must, extend the bake 15–20 minutes at the same low temperature, cool with the oven door fully closed, and store airtight at room temperature — never the fridge, which softens the shell within hours. (Full diagnosis: Why Is My Meringue Weeping?.)

    5. The foam itself was unstable — over-beaten whites or a drafty oven

    Beat whites past stiff peaks into the dry, clumpy stage and the protein network breaks down — the foam looks dull and bakes into a fragile shell that cracks under its own contraction. Opening the oven door mid-bake does the same damage from the other direction: cool air collapses the expanding foam unevenly.

    How to tell: Meringue looked dry and lumpy before piping (over-beaten), or cracks radiate from one spot on an uneven shell (door opened mid-bake).

    The fix: Stop at glossy, firm stiff peaks — sharp peaks that don’t flop, still smooth and shiny, not dry. Once it’s in the oven, don’t open the door for any reason; every opening is a cold draft hitting a fragile foam. Use the oven light.

    The cracks-happen-anyway rescue

    Even with perfect technique, the occasional shell fissures — and it doesn’t matter, because pavlova is always served buried under whipped cream and fruit. Fill the cracks with extra cream, pile on the berries, and serve it proudly.

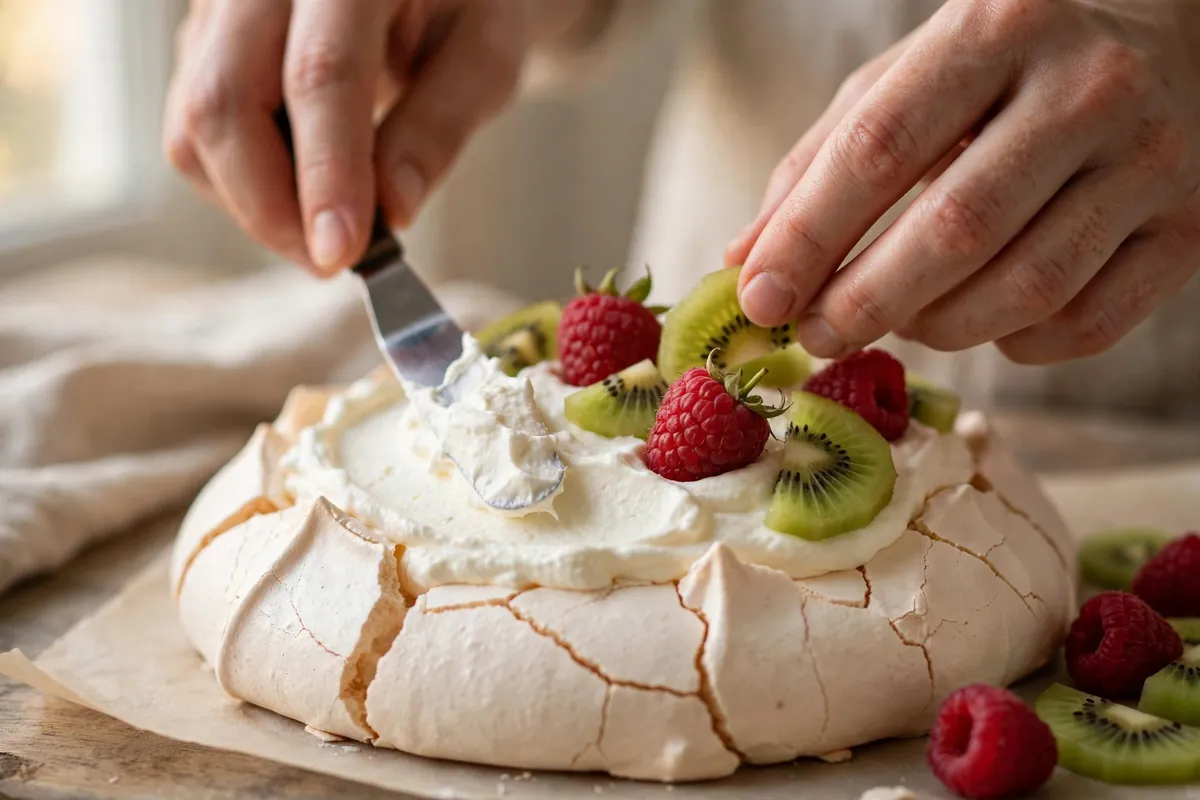
    hands spreading whipped cream over a cracked pavlova shell, berries being arranged on top
    hands spreading whipped cream over a cracked pavlova shell, berries being arranged on top
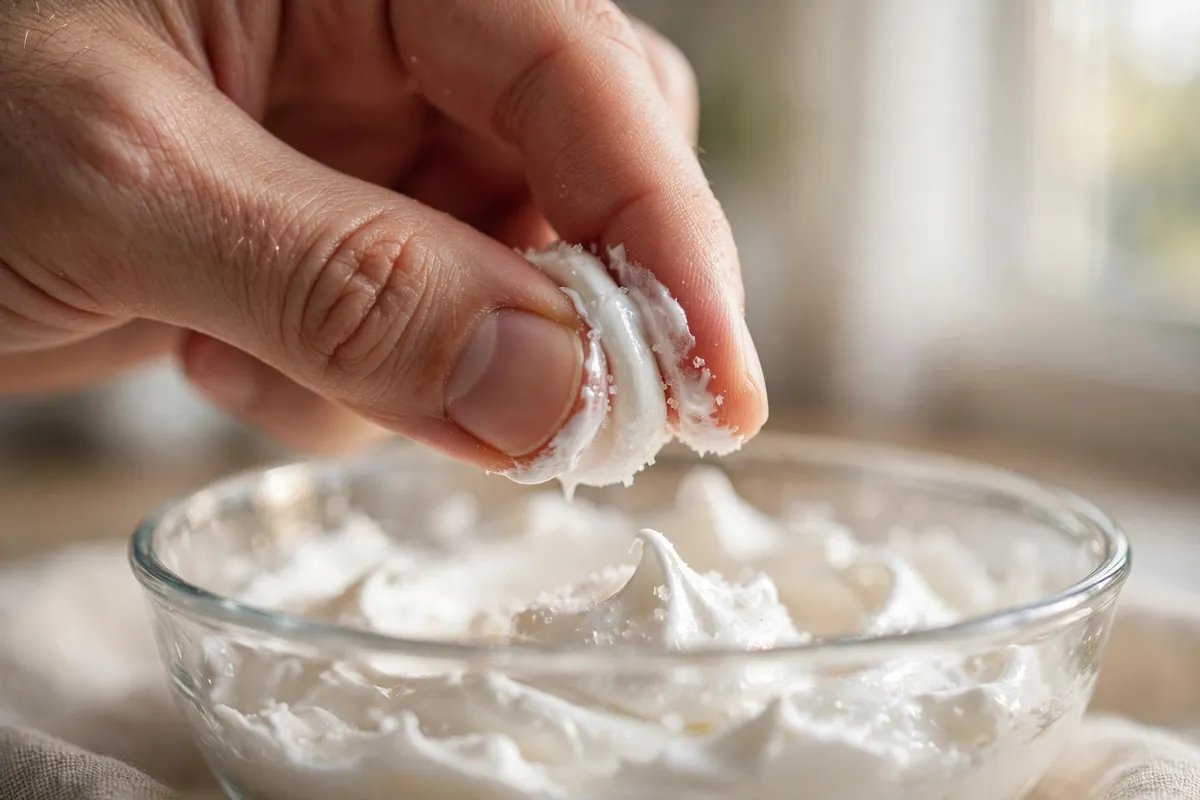
    the finger-rub test — a dab of meringue between thumb and forefinger
    the finger-rub test — a dab of meringue between thumb and forefinger

    Frequently asked questions

    Is it safe to eat a cracked pavlova?
    Yes, completely. Cracks are a structural and cosmetic issue, not a food-safety one. As long as the shell baked through — dry, crisp, lifting off the parchment — a cracked pavlova is just as safe and delicious as a perfect one.

    Can I fix a cracked pavlova after baking?
    You can’t un-crack it, but you don’t need to. Fill the cracks with whipped cream before adding fruit — cream is the standard pavlova camouflage and it’s how pavlovas are served everywhere. Nobody will ever know.

    Why is my pavlova chewy instead of crisp?
    Underbaking or humidity. The shell needs a full 90–120 minutes at 225°F (110°C) until it’s dry all the way through, and it must cool in the oven. A chewy center is actually traditional in Australian-style pavlova — crisp shell, marshmallowy middle — but a chewy exterior means moisture got in.

    Why did my pavlova collapse or go flat?
    Under-beaten whites, fat contamination (even a trace of yolk or grease on the bowl prevents proper whipping), or opening the oven door. Make sure your bowl and beaters are scrupulously clean — wipe with vinegar first — and separate eggs carefully.

    Can I make pavlova ahead of time?
    Yes — the shell actually benefits from it. Bake the shell a day ahead, cool completely in the oven, and store airtight at room temperature. Fill with cream and fruit no more than 2–4 hours before serving, because the moisture from the toppings softens the crisp shell.

    Why did my pavlova weep sticky beads?
    That’s undissolved sugar syrup being squeezed out — usually undissolved sugar plus humidity. Beat longer (the finger-rub test), bake on a dry day, and don’t refrigerate the finished shell. Full diagnosis: Why Is My Meringue Weeping?.

    Related troubleshooting: Why Is My Meringue Weeping? · Why Did My Cheesecake Crack? · How to Keep Christmas Cookies Fresh

  • Why Is My Carrot Cake Dense? Oil Cake Science

    Why Is My Carrot Cake Dense? Oil Cake Science

    Carrot cake should be the most forgiving cake in the book — oil-based, no creaming, stir-together simple. The reason is structural: this is a heavy batter carrying up to three cups of wet grated carrots plus nuts and raisins, asking a modest amount of leavening to lift all of it. When anything in that equation slips — too much add-in weight, tired leavening, overmixed batter — the cake can’t climb, and you get the brick.

    Quick diagnosis: You overloaded it — too many carrots, nuts, and raisins for the batter to lift. Cap total add-ins at about 3 cups, grate carrots fine (never food-processor mush), check your baking soda is fresh and correctly balanced with the batter’s acidity, and mix just until combined.

    My tested baseline: 2 cups (250g) all-purpose flour, 2 tsp baking soda, 1 tsp baking powder, 1½ tsp cinnamon, 1 cup (200g) granulated + 1 cup (220g) brown sugar, 1¼ cups (295ml) neutral oil, 4 eggs, 3 cups finely grated carrots (about 340g), 1 cup chopped walnuts. Two 9-inch rounds, 350°F (175°C), 30–35 minutes, until a toothpick comes out with moist crumbs. Moist, tender, and sliceable — never heavy.

    1. The add-ins outweighed the batter — the classic cause

    This is the number one reason, and it’s always too much love: an extra cup of carrots “for moisture,” a heavy hand with the walnuts, a full cup of raisins. Every add-in is dead weight the leavening must lift. Carrots are the worst offender because they’re wet — they don’t just weigh the batter down, they add water that extends the bake and compacts the structure.

    How to tell: The cake is heaviest at the bottom, sometimes with a visible gummy layer; the batter looked more like carrot salad than cake batter.

    The fix: Cap total add-ins around 3 cups — that’s the ceiling, not the floor. Grate carrots on the fine holes of a box grater: fine shreds distribute evenly and release moisture gradually. Never use a food processor — it makes pulp that floods the batter all at once. (Add-in weight sinks everything: Why Did My Banana Bread Turn Out Dense? is the same physics with a different fruit.)

    2. Your leavening was wrong — too little, too old, or unbalanced

    Carrot cake leans hard on baking soda, and soda only works in the presence of acid. Brown sugar, and buttermilk or yogurt if your recipe uses them, supply that acid. Too little (or dead) soda gives no lift; too much gives a fast rise that collapses, plus a soapy taste.

    How to tell: Flat, heavy cake with no soapy taste = under-leavened or dead soda. Good rise that fell, with a chemical aftertaste = too much soda. Test old soda: drop ½ tsp in hot vinegar — vigorous fizz means alive, weak fizz means replace.

    The fix: My ratio per 2 cups flour: 2 tsp soda + 1 tsp double-acting baking powder.

    3. You overmixed — oil cakes punish extra strokes

    Without a creaming step, bakers stir “until it looks right” — usually 30 strokes past right. The crumb goes from tender to bready to gummy, and the cake eats dense even when the leavening did its job.

    How to tell: The crumb is tough and elastic rather than tender; it bounced back when pressed; the texture reads more like bread than cake.

    The fix: Combine wet and dry with a spatula in 15–20 strokes, stopping the moment the last flour streak disappears. If you’re using a mixer, use the lowest speed and stop early; a spatula is honestly the better tool here.

    4. The pan was wrong — deep batter can’t bake through

    Carrot cake batter in a too-small or too-deep pan is a density trap. The edges set while the center stays raw, and by the time the center tests done the outside is overbaked.

    How to tell: The center stayed wet long after the edges browned; the finished cake has a dense ring around a gummier middle; the top domed then sank.

    The fix: Two 9-inch rounds (or one 9×13) for a standard batch — batter depth around 1½ inches. Grease and line with parchment. Bake at a true 350°F (175°C) — an oven running at 325°F stretches the bake and lets the heavy batter settle before it sets. (Pan geometry ruins more cakes than recipes do: Why Did My Cake Sink in the Middle?.)

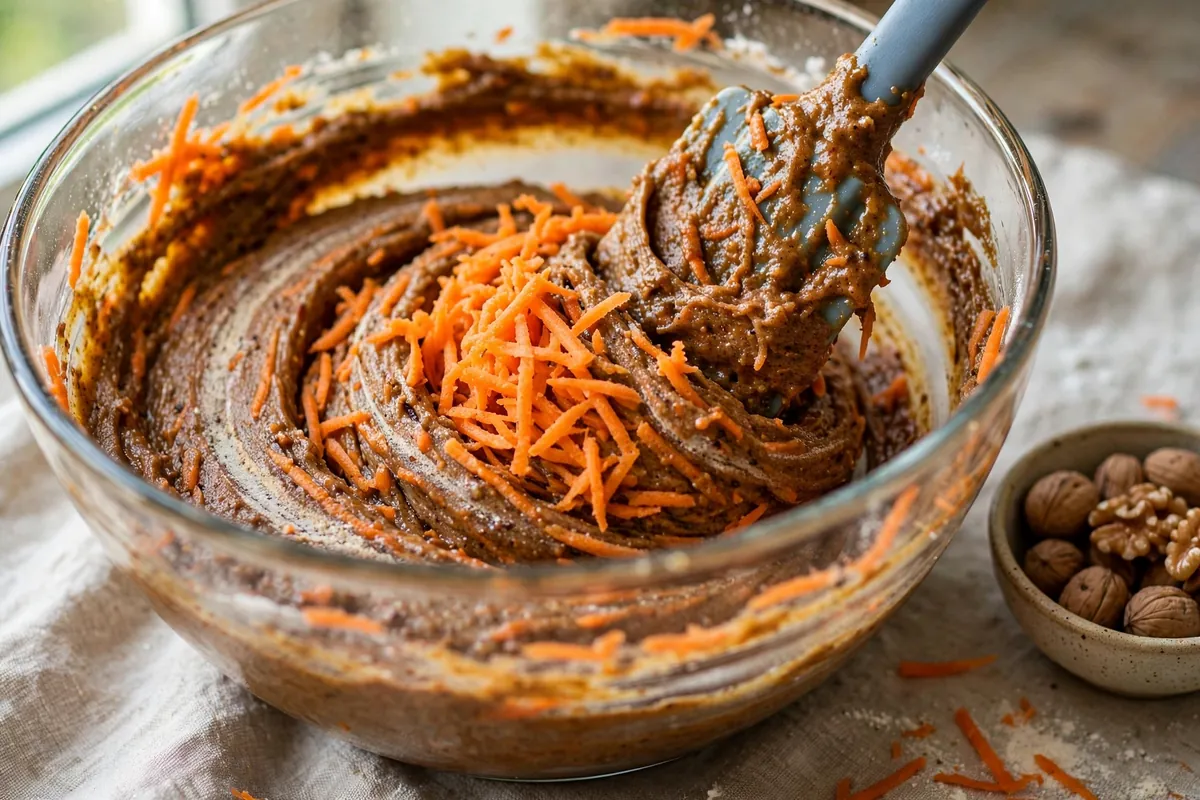
    hands folding finely grated carrots into cake batter with a spatula, just-combined texture
    hands folding finely grated carrots into cake batter with a spatula, just-combined texture

    5. Too much sugar weighed it down — sweetness has mass

    Carrot cake recipes are notoriously sweet — some call for 2½ cups of sugar to 2 cups of flour. It also over-browns the crust early, tempting you to pull the cake before the center sets.

    How to tell: The crust browned fast and dark while the center lagged; the cake tastes cloying; the crumb is moist but compact, almost fudgy in a bad way.

    The fix: My ceiling is 2 cups total sugar to 2 cups flour, split between granulated and brown. If the top browns before the center is done, tent loosely with foil for the last 10–15 minutes rather than pulling early — a pale top on a fully baked cake beats a gorgeous top on a raw middle.

    6. You underbaked it — the toothpick lied

    Dense carrot cake is often just unfinished carrot cake — the heavy batter needs its full time. A toothpick that comes out with wet batter means keep going; moist crumbs clinging to it means done.

    How to tell: The center dipped as it cooled; the bottom layer looked wet and translucent when sliced; the cake tasted eggy or pasty in the middle.

    The fix: Look for moist crumbs, not wet batter, and a center that springs back when lightly pressed. Cool in the pan 10–15 minutes, then turn out to cool fully before frosting. (Underbaking masquerades as a dozen other problems: How to Rescue an Overbaked Cake covers the thermometer habits that prevent both extremes.)

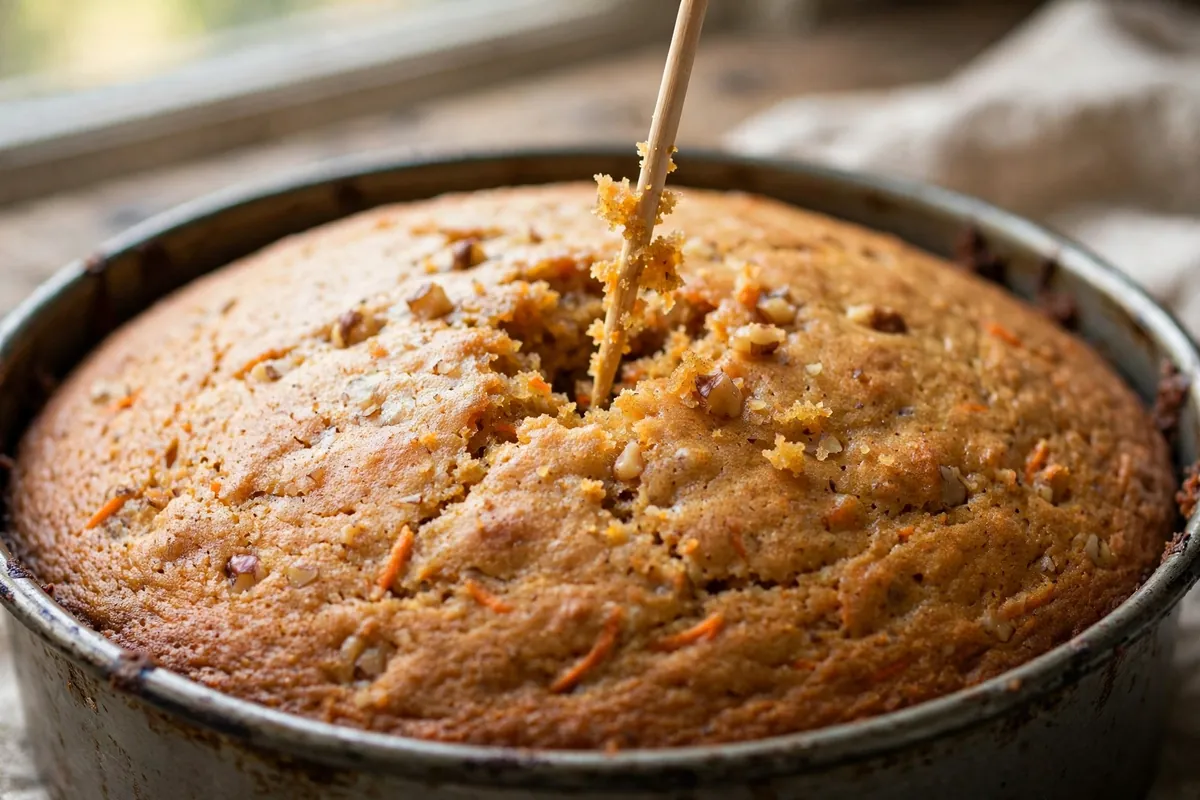
    a toothpick test in the center of a baked carrot cake layer, showing moist crumbs
    a toothpick test in the center of a baked carrot cake layer, showing moist crumbs

    Frequently asked questions

    Is dense carrot cake safe to eat?
    Yes — density is a texture issue, not a safety one. The one exception: if the center is genuinely raw and wet (not just dense), give it more oven time. Fully baked but heavy cake is perfectly fine to serve.

    Can I fix a carrot cake that’s already baked dense?
    You can’t lighten the crumb after baking, but you can redeem the cake: warm slices and serve with ice cream, cube it for a trifle with whipped cream and fruit, or make cake pops. Dense cake is actually ideal for trifles — it holds its shape.

    Why does my carrot cake taste soapy?
    Too much baking soda. Cut it back and make sure there’s enough acid (brown sugar, buttermilk) to neutralize it. Soapy taste plus a fallen center is the textbook signature of excess soda.

    Does it matter if I use oil vs melted butter?
    Yes, and it’s why carrot cake is oil-based: oil coats flour proteins and limits gluten, giving a moister, more tender crumb that stays soft refrigerated (important under cream cheese frosting). Melted butter firms up when cold and gives a denser, richer crumb. For carrot cake, oil wins.

    Related troubleshooting: Why Did My Cake Sink in the Middle? · Why Did My Banana Bread Turn Out Dense? · Why Is My Cake Dry?

  • Why Did My Pound Cake Crack on Top? Rich Batter Fixes

    Why Did My Pound Cake Crack on Top? Rich Batter Fixes

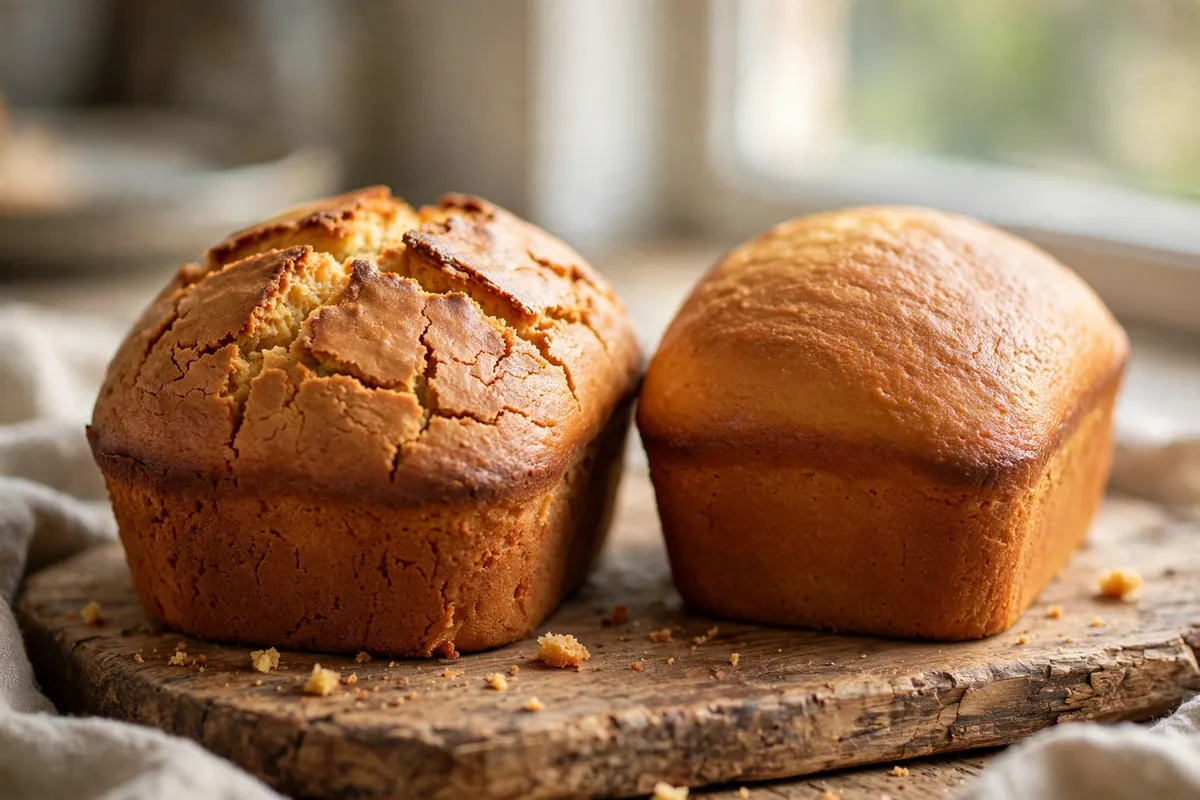
    Your pound cake came out with a proud crack down the middle of the dome. First thing to know: in many traditions that crack isn’t a flaw — it’s the signature. Classic pound cakes are supposed to split. But if yours is a canyon, or you’d simply prefer a smooth top, the causes are well understood and fixable.

    Quick diagnosis: A cracked pound cake top almost always means the oven was too hot — the crust set before the center finished rising, so the rising batter split the crust open. Too much leavening and an overfilled pan are the runners-up. A thin, even crack is normal and fine; a deep jagged split means adjusting heat, leavening, or pan size.

    Why pound cakes crack (the mechanism)

    Pound cake batter is heavy — a pound each of butter, sugar, eggs, and flour, traditionally. In the oven, the batter rises from the center outward while the top surface begins to set into a crust. If the crust sets before the center finishes expanding, the still-rising middle has nowhere to go but through the crust: crack. Everything below is a lever on that timing — slow the crust-setting, calm the rise, and the top stays smooth.

    1. The oven was too hot

    The most common cause. At too high a heat, the outer batter — including the top surface — sets into a firm crust in the first 15 minutes while the insulated center is still cool and rising. The center keeps expanding for another 30 minutes against a crust that can’t stretch: it splits.

    How to tell: The crack is deep and wide, the crust dark and thick. Everything you bake seems to brown fast.

    The fix: Pound cake wants 325°F (163°C), not 350°F — verify with a thermometer, since most ovens run hot and “a little hot” is enough with rich batter. Full preheat, center rack, and keep the door shut for the first 30 minutes.

    2. Too much leavening

    Extra baking powder means extra lift, and extra lift means more pressure against the crust. Many modern pound cake recipes add leavening the traditional formula never had — and then add a little more “to be safe.” That safety margin is your crack.

    How to tell: The recipe called for more than about ½ teaspoon baking powder per 2 cups of flour, or you added “a bit extra” for insurance.

    The fix: Keep leavening modest — the eggs do most of the lifting already. If the recipe is otherwise reliable, cut the baking powder by a quarter and compare. (For the leavening science in detail, see Why Did My Cake Sink in the Middle? — same forces, opposite outcome.)

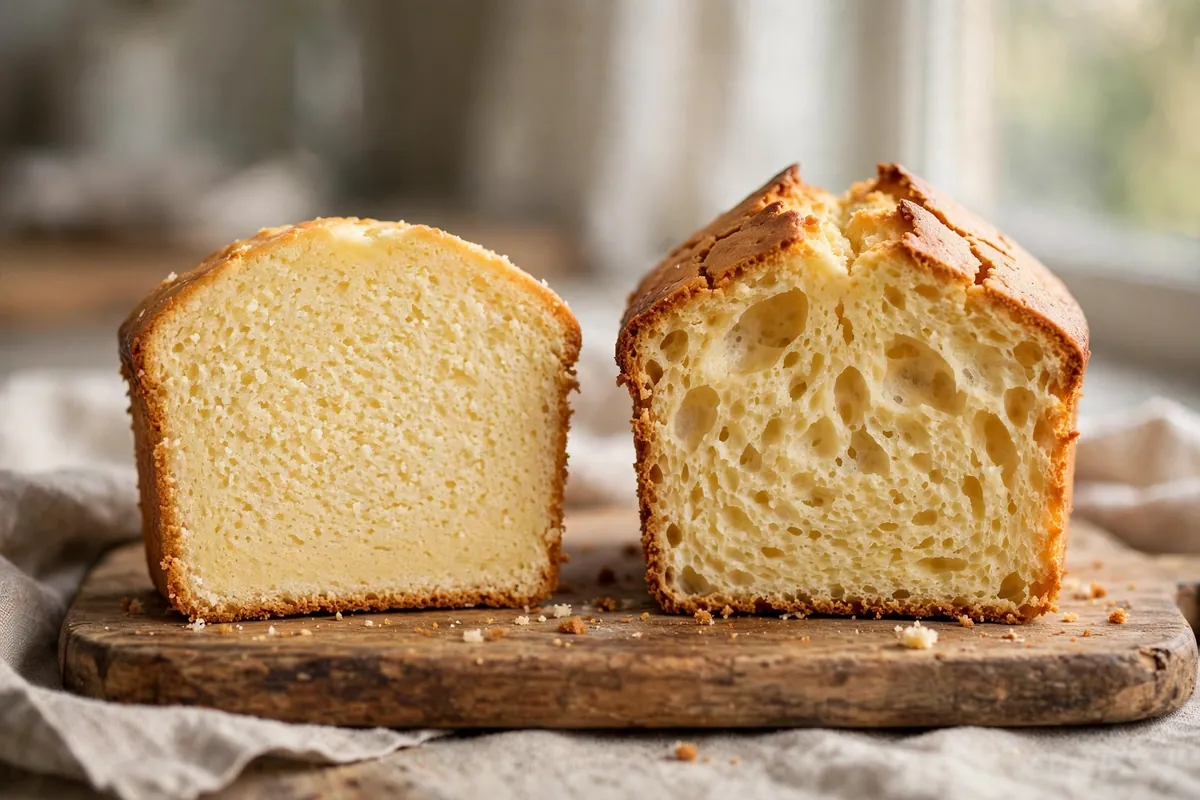
    cross-section of pound cake showing even rise vs an over-leavened cake with a cracked, peaked top
    cross-section of pound cake showing even rise vs an over-leavened cake with a cracked, peaked top

    3. The batter was overbeaten after the flour went in

    Creaming butter and sugar vigorously is correct — that’s where pound cake gets its fine texture. But once flour enters the bowl, the rules change: beating develops gluten and whips in air, both of which add lift the crust then has to contain. An over-aerated batter rises aggressively and splits.

    How to tell: You beat the finished batter until it was fluffy and voluminous rather than just combined, or the crumb has tunnels.

    The fix: Cream butter and sugar 3–4 minutes until light — that’s the aeration stage, and it belongs before the flour. After flour goes in, mix on low just until it disappears, then finish by hand. Two different stages, two different intensities.

    4. The pan was too small or overfilled

    Batter needs headroom. Fill a loaf pan more than about two-thirds full and the batter has to rise up rather than out — a tall, fast rise against a setting crust, which is exactly the crack recipe. A pan that’s too small also insulates the center, stretching the timing gap between crust and middle.

    How to tell: The batter came close to the rim, the loaf domed dramatically above the pan, and the crack runs the full length.

    The fix: Fill pans no more than two-thirds full; if there’s extra batter, make a few cupcakes on the side. Use the pan size the recipe specifies — a 9×5 loaf pan is standard for most pound cake recipes, and “close enough” pans change the geometry more than you’d think.

    5. Cold ingredients, hot oven (thermal shock)

    Butter straight from the fridge and eggs straight from the carton make a batter that goes into the oven cold and uneven. The outside heats and sets fast while the cold center lags — widening the crust-vs-center timing gap that causes the split.

    How to tell: You creamed cold butter (it never got truly fluffy) or added fridge-cold eggs that curdled the batter.

    The fix: Room-temperature everything: butter at 65–68°F (18–20°C) — cool to the touch, holding its shape, giving slightly when pressed. Eggs on the counter 30 minutes before baking. The batter should be smooth and emulsified going into the pan, not curdled or lumpy.

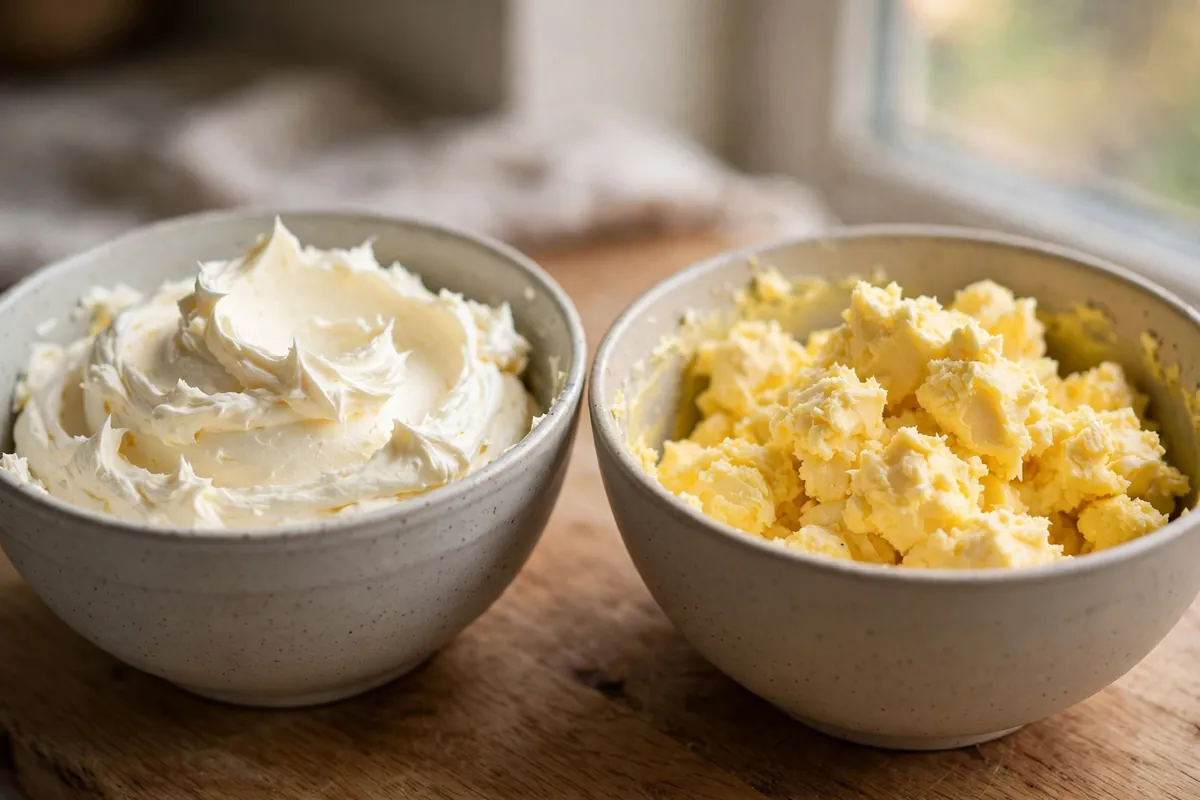
    properly creamed butter and sugar — pale and fluffy — beside under-creamed cold butter mixture
    properly creamed butter and sugar — pale and fluffy — beside under-creamed cold butter mixture

    When the crack is fine (embrace it)

    A thin, even crack down the center is traditional — many bakeries consider it the mark of a real pound cake, proof of a proper rise and the dense, rich crumb the style promises. If flavor and texture are right, the crack is character, not failure. Dust with powdered sugar and serve it proudly.

    The smooth-top checklist

    1. True 325°F (163°C) — verify with a thermometer.
    2. Modest leavening — eggs do the heavy lifting.
    3. Cream hard before flour; barely mix after.
    4. Fill the pan two-thirds max; right pan size.
    5. Room-temperature butter (65–68°F / 18–20°C) and eggs.

    Frequently asked questions

    Is a cracked pound cake ruined?
    No — not even close. A crack is cosmetic. If the crumb is moist and the flavor is right, slice it and serve it; nobody at the table will care, and many will consider it authentic. Only a crack accompanied by a raw, sunken center is a real problem (that’s underbaking, not cracking).

    Can I fix a crack after baking?
    You can hide it, which is usually enough: dust generously with powdered sugar, glaze it, or frost it. A simple lemon glaze poured over the warm cake settles into the crack and turns it into a feature. You can’t un-crack it, but you can absolutely make it beautiful.

    Why does my pound cake crack every single time?
    A systematic crack points to a systematic cause — and the most likely one is an oven running hot. Verify with a thermometer before changing anything else. If the oven is true and it still cracks, cut the leavening by a quarter next bake.

    Should I use a tube pan instead of a loaf pan?
    A tube or Bundt pan actually reduces cracking: the center tube conducts heat into the middle of the batter, so crust and center set more evenly. If you love pound cake but hate the crack, a tube pan is the structural fix. Just grease and flour every crevice.

    Does altitude make pound cakes crack more?
    Yes — at altitude, lower air pressure means faster rising and drier air means faster crust-setting: both sides of the crack equation get worse. See High-Altitude Baking Adjustments for the full correction (less leavening, slightly higher temp, more liquid).

    My crack has raw batter in it — what happened?
    That’s not just cracking; the center didn’t finish baking. The crust set and split while the middle was still liquid — usually a too-hot oven plus underbaking. Next time, lower the heat to a true 325°F (163°C) and give it the full time; a skewer should come out with moist crumbs, not wet batter.

    Related troubleshooting: Cake Domed and Cracked on Top · Why Did My Cake Sink in the Middle? · Why Is My Cake Dry?