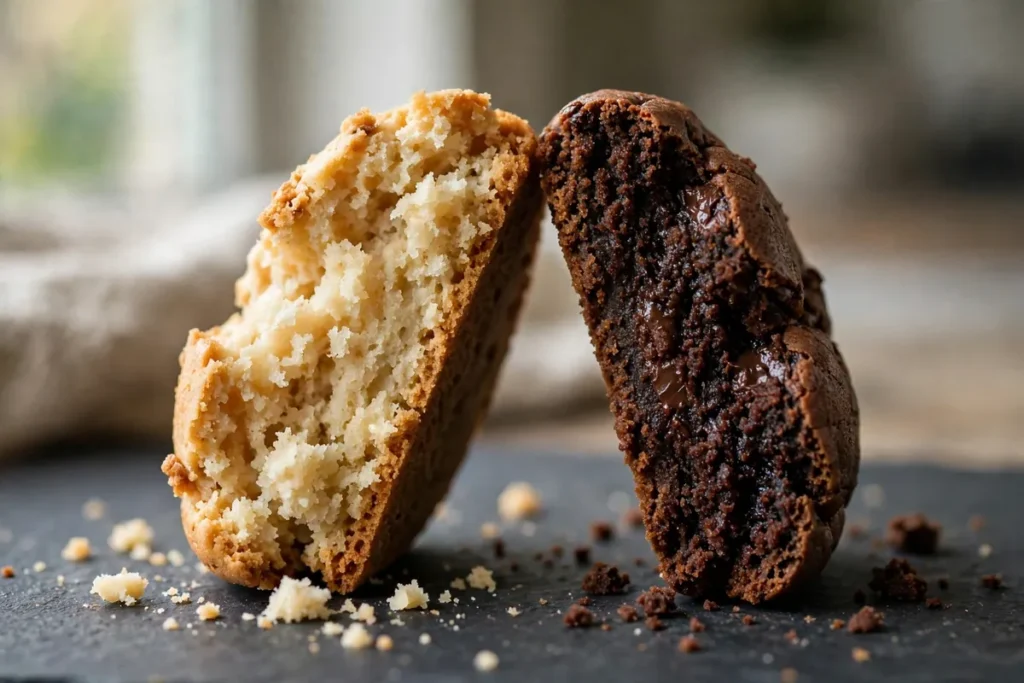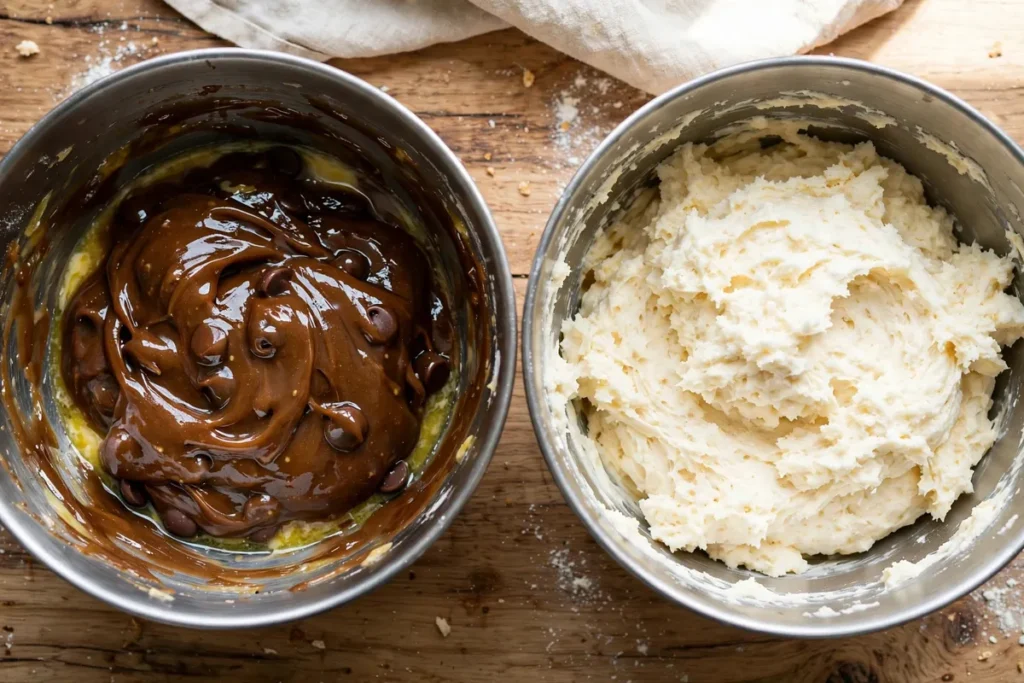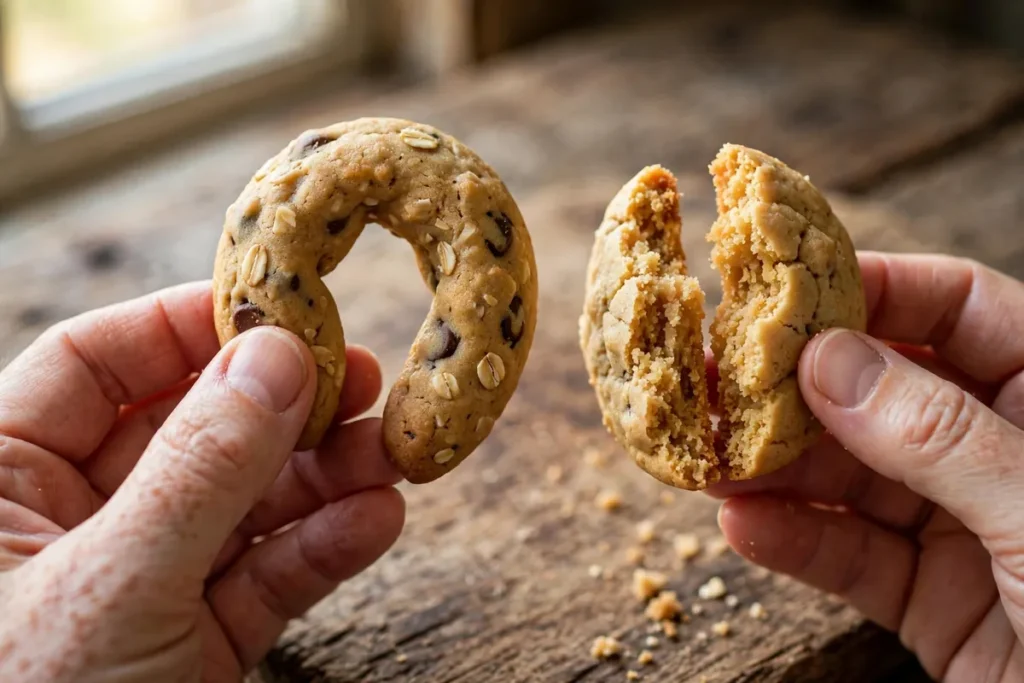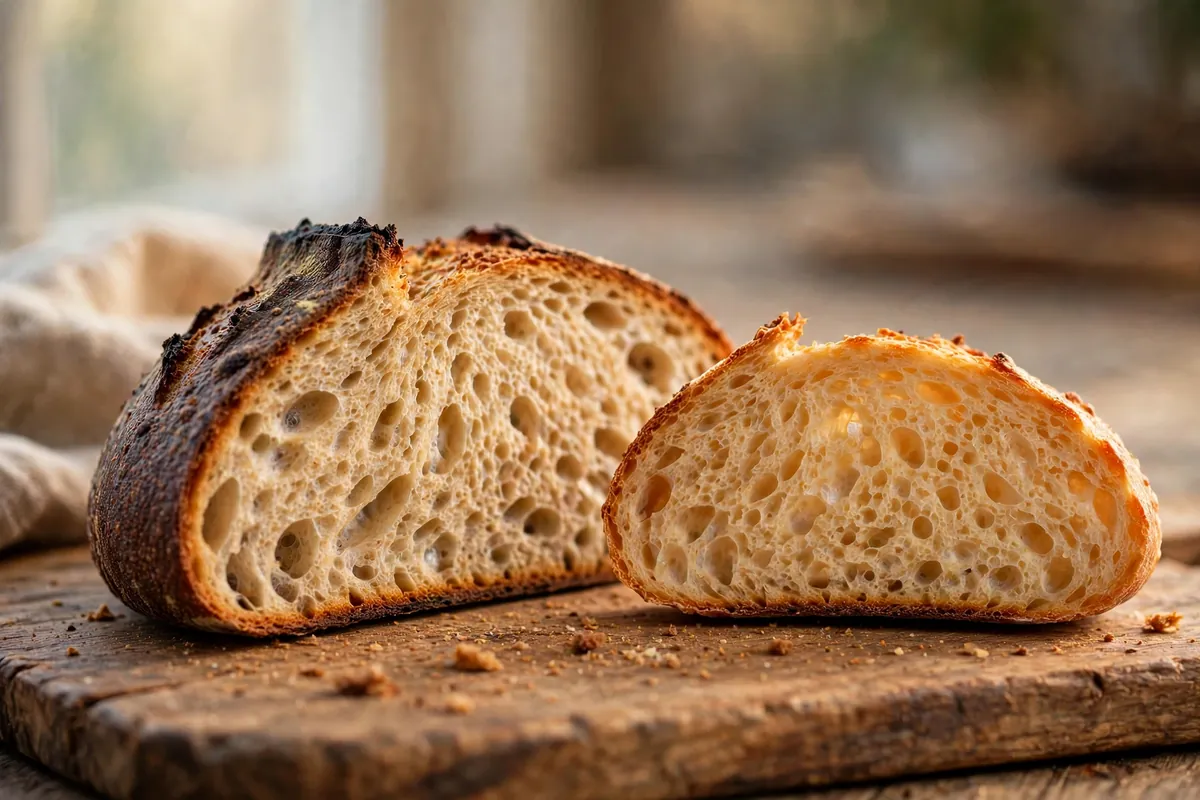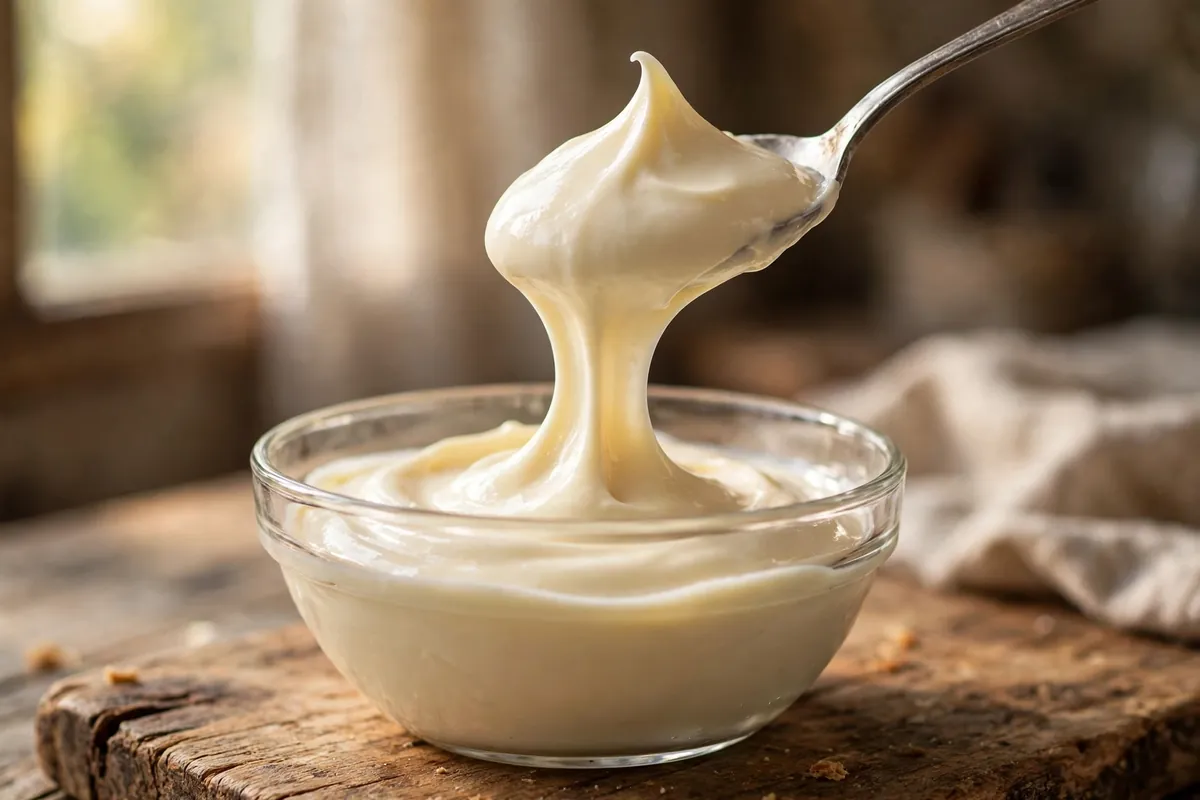
Blog

  • Éclair Filling Troubleshooting: Runny Pastry Cream

    Éclair Filling Troubleshooting: Runny Pastry Cream

    Runny pastry cream is a starch problem, not luck. Starch granules swell and gelatinize in boiling milk — undercook by a minute, short the starch, or fill warm shells, and you get soup in a pastry. (If your shells themselves deflated, that’s a different failure — see Why Did My Éclairs Collapse?. This guide is about the filling.)

    Quick diagnosis: You didn’t boil the cream long enough for the starch to fully gelatinize (most common). Fix: once it thickens, keep it at a full boil, whisking constantly, for a full 1–2 minutes — then chill it completely with plastic wrap on the surface before it goes anywhere near a shell.

    My tested baseline: 500ml whole milk, 4 large egg yolks, 100g sugar, 30g cornstarch, 1 teaspoon vanilla, 50g cold butter. Whisk yolks, sugar, and cornstarch to a smooth paste; temper with hot milk; return to the heat and boil 2 minutes whisking constantly; off heat, whisk in butter; press plastic wrap directly onto the surface; chill 4+ hours.

    1. You didn’t boil it long enough — the starch never finished its job

    The cream thickens approaching a boil, tricking bakers into pulling it early. But cornstarch needs a sustained boil — 1–2 minutes at 212°F (100°C) — to fully gelatinize. Pulled early, the starch is half-swollen: thick in the pot, soup as it cools. I use a timer now; “it looks thick” has lied to me before.

    How to tell: The cream was thick when hot but thinned as it cooled; it never quite holds a piped shape; it weeps liquid after a few hours in the fridge.

    The fix: Once the cream visibly thickens and starts bubbling, keep whisking at a full boil for 1–2 minutes — big lazy bubbles, constant whisking so it doesn’t scorch. It will look almost too thick, like wallpaper paste. That’s correct; it loosens slightly as it cools and firms fully when chilled.

    2. Not enough starch — the ratio was too lean

    The standard is 30g cornstarch per 500ml milk (about 3 tablespoons). A tablespoon per 2 cups makes pouring custard — fine for trifle, useless for éclairs. Flour versions need ~40g per 500ml, since flour thickens less than pure starch.

    How to tell: You followed the recipe exactly and it still never got thicker than heavy cream; the recipe’s starch quantity looks small compared to the milk.

    The fix: Use the 30g-per-500ml standard. If your recipe is leaner and you don’t want to remake it, whisk 1 tablespoon of cornstarch into 2 tablespoons of cold milk, whisk that slurry into the hot cream, and boil 2 minutes — a rescue that works on an already-made thin batch. Re-chill completely afterward.

    3. You filled the éclairs while the cream was warm

    Even perfect cream flows above ~100°F (38°C) — the starch network only locks as it cools. Pipe warm cream into shells and it soaks the choux walls, turning them soggy while the filling never sets. This is the filling-side twin of the soggy-bottom pie problem: moisture migrating where it shouldn’t.

    How to tell: The éclairs were fine at first but soggy within hours; the shells feel damp inside; the cream never firmed even after a night in the fridge.

    The fix: Chill the pastry cream completely — minimum 4 hours, surface covered with plastic wrap pressed directly on to prevent a skin — then whisk it smooth before piping. Fill éclairs no more than 2–4 hours before serving; filled éclairs are at their peak the day they’re filled and decline after 24 hours as moisture migrates.
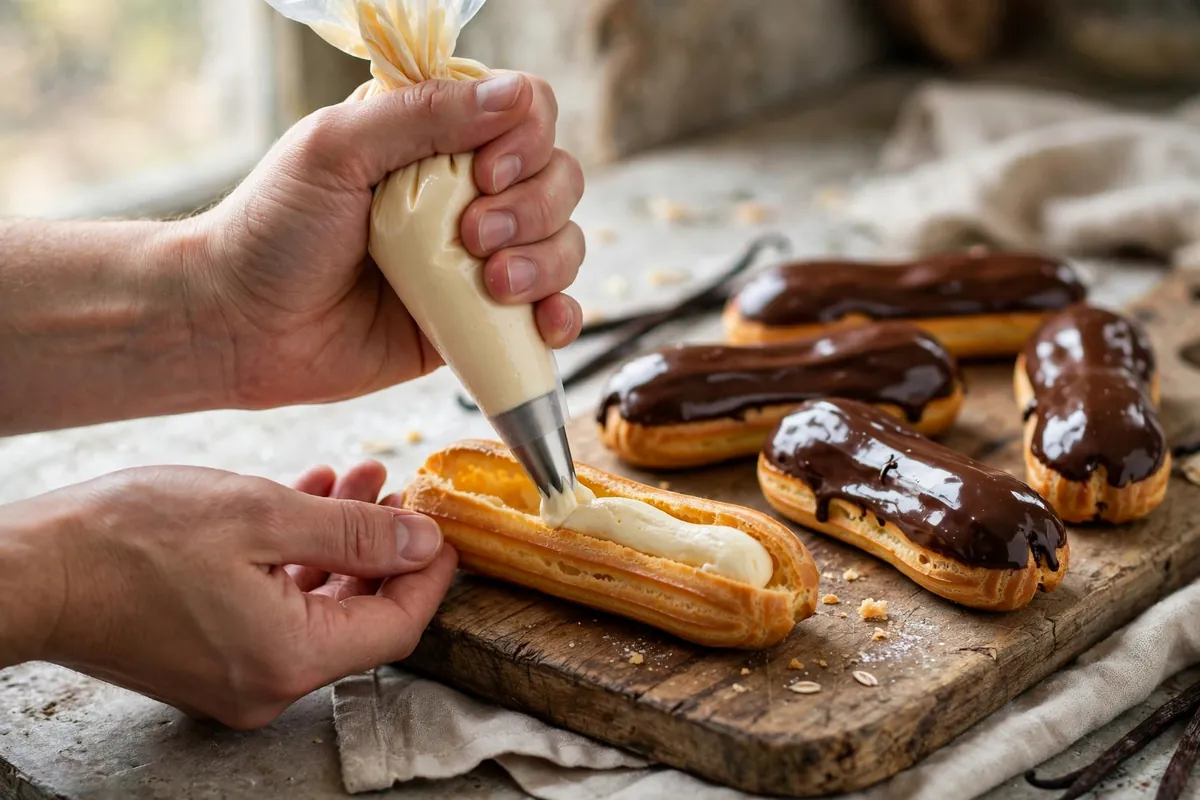
    hands piping chilled pastry cream into the side of a crisp golden éclair shell using a piping bag with a small tip
    hands piping chilled pastry cream into the side of a crisp golden éclair shell using a piping bag with a small tip

    4. The butter went in too early — or the cream got thinned after cooking

    Butter must go into cream that’s off the heat and below 140°F (60°C). Whisked into boiling-hot cream, the butterfat melts into free oil instead of emulsifying — slick and loose. And never “loosen” thick cream with milk; whisking alone restores pipeability.

    How to tell: The cream looked glossy and thick, then turned shiny-loose after the butter went in; or you added liquid to make it “easier to pipe.”

    The fix: Take the cream off the heat, wait 2–3 minutes, then whisk in 50g of cold butter cut in cubes until fully incorporated. To restore chilled cream to piping consistency, whisk it vigorously by hand for 30 seconds — never add liquid. Properly made cream always looks lumpy straight from the fridge and always smooths out with whisking.

    5. The shells were damp inside — the filling never stood a chance

    Perfect cream still weeps in a wet shell. Under-baked éclairs have eggy interiors that steam after baking; pipe into that damp cavity and moisture thins the cream from outside in. The filling takes the blame for the shell’s crime.

    How to tell: The cream is fine in the bowl but runny only inside the éclairs; shell interiors look moist or eggy rather than dry and hollow.

    The fix: Bake shells until deeply golden and firm — then dock each one with a skewer and return them to the turned-off oven with the door cracked for 10 minutes to dry the interiors completely. A properly baked éclair sounds hollow when tapped and feels light. If you’re unsure, the shells are done when they stop “singing” (that faint hissing of escaping steam).

    6. You used low-fat milk — fat is structure

    Whole milk’s fat stabilizes the starch gel and gives body. Skim or 1% sets softer and weeps sooner — not fatal alone, but combined with a short boil or lean starch, it’s the nudge into runny.

    How to tell: The recipe was followed and the boil was long, but the cream still sets softer than expected; low-fat milk was used.

    The fix: Use whole milk. If you’re committed to lower-fat milk, increase the cornstarch to 35g per 500ml and extend the boil to the full 2 minutes to compensate.
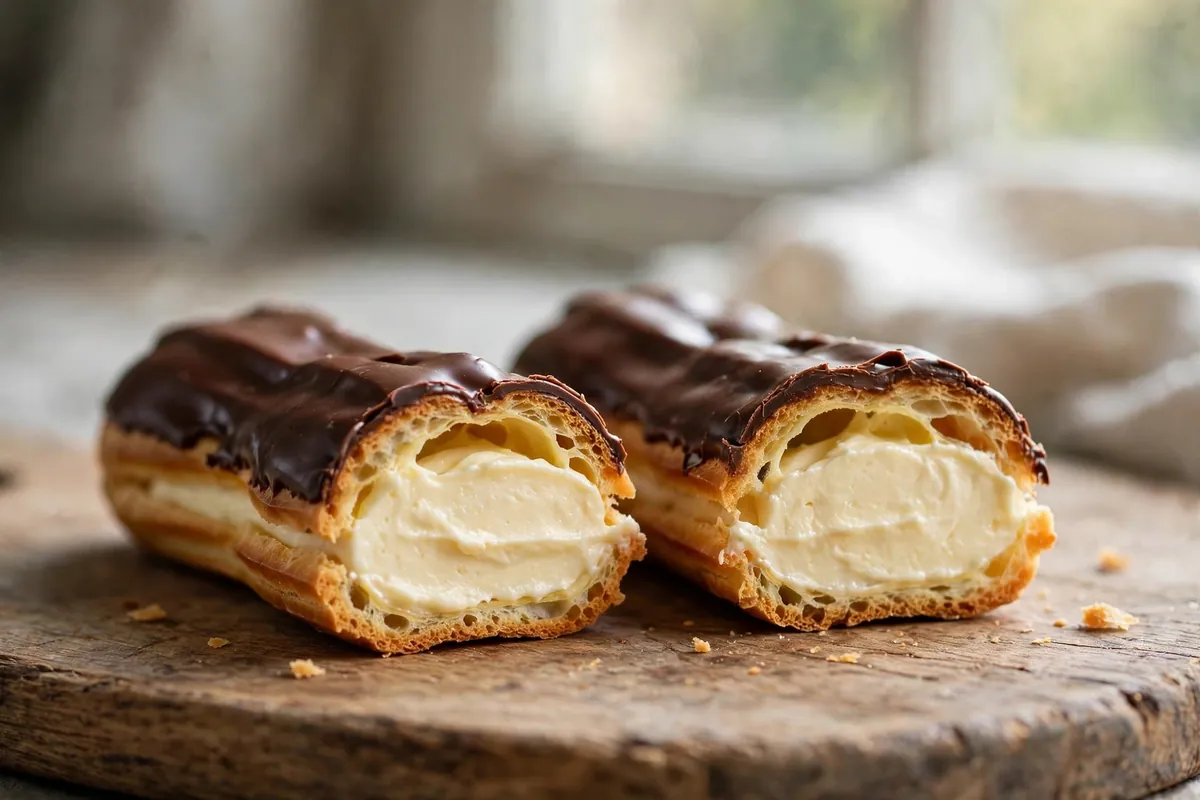
    an éclair cut in half lengthwise showing a thick even layer of vanilla pastry cream inside a crisp hollow shell
    an éclair cut in half lengthwise showing a thick even layer of vanilla pastry cream inside a crisp hollow shell

    FAQ

    Is runny pastry cream safe to eat?
    Yes, if boiled and refrigerated promptly. It’s perishable — refrigerate and use within 2–3 days; discard after 2 hours at room temperature.

    Can I fix runny pastry cream after it’s made?
    Yes — whisk in a slurry (1 tablespoon cornstarch + 2 tablespoons cold milk per 500ml), boil 2 minutes whisking constantly, re-chill with plastic wrap on the surface. Rescues nine of ten thin batches.

    Why does my pastry cream get lumpy?
    The eggs scrambled — milk added too hot, or unstirred on the heat. Temper gradually, whisk constantly, and sieve the finished cream while hot.

    Can I make pastry cream ahead?
    Absolutely — it’s better made ahead. It keeps 2–3 days refrigerated with plastic wrap pressed on the surface. Whisk vigorously before using; it always looks broken straight from the fridge and always comes back.

    How far ahead can I fill éclairs?
    Fill 2–4 hours before serving for peak crispness. Filled éclairs keep 24 hours refrigerated but soften steadily — the shells absorb moisture from the cream no matter how well you bake them.

    Can I freeze pastry cream?
    Technically yes, but the starch gel breaks on thawing — the exact problem you’re avoiding. Freeze filled éclairs instead (a month max); thaw uncovered so condensation doesn’t sog the shells.

    Related troubleshooting: Why Did My Éclairs Collapse? · How to Fix Split Custard · Fixing Curdled Ganache
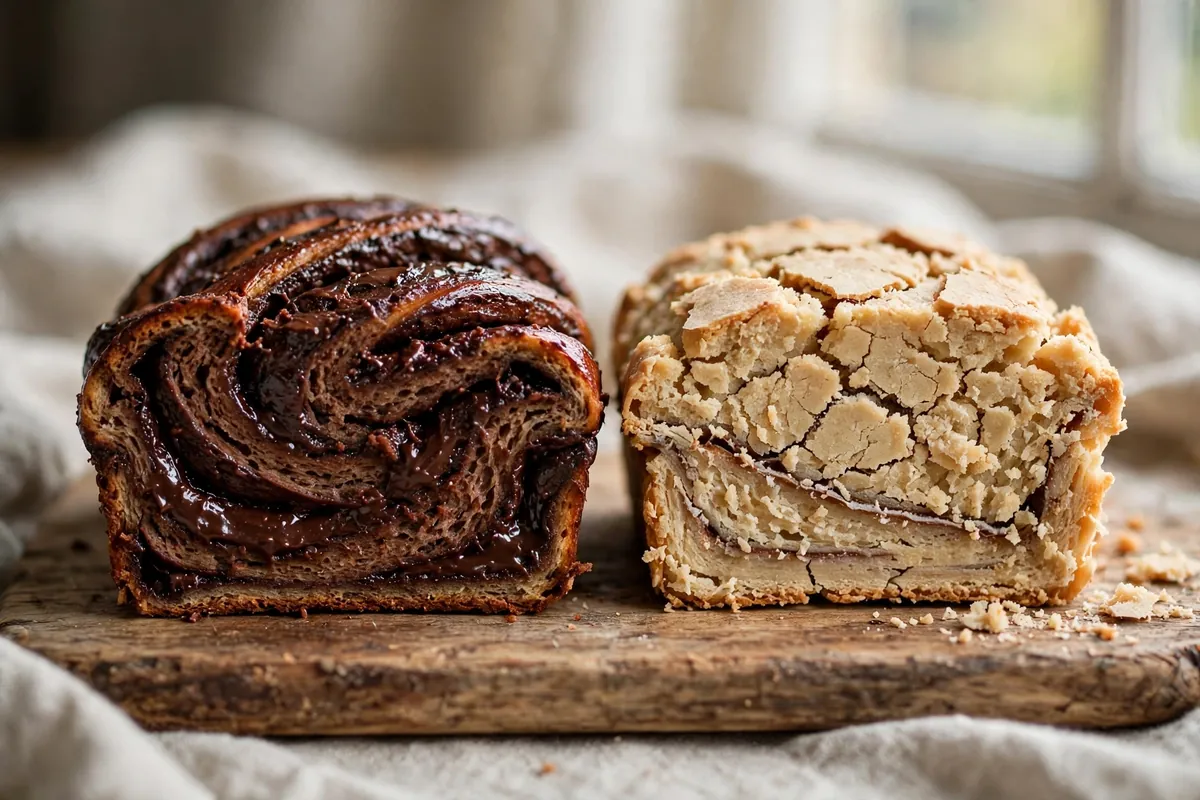
  • Why Did My Babka Come Out Dry? Swirl Bread Fixes

    Why Did My Babka Come Out Dry? Swirl Bread Fixes

    Babka should be the opposite of dry bread: enriched dough, a thick ribbon of chocolate, a glossy syrup glaze. When you cut in and find a parched, crumbly slice instead, the cause is almost never the ingredient list — it’s one of five handling mistakes, most of them invisible until the loaf cools.

    Quick diagnosis: You probably overbaked it — the swirl insulates the center, so the outside looks done before the inside finishes. Or the filling was too lean, the roll too loose (air pockets dry out), or you skipped the syrup soak classic babka depends on. Check 190–195°F (88–90°C) internal and brush hot loaves with sugar syrup.

    My tested baseline: 500g bread flour, 7g instant yeast, 80g sugar, 10g salt, 2 eggs plus 1 yolk, 120ml warm milk, 100g soft unsalted butter. Filling: 170g dark chocolate, 60g butter, 2 tbsp cocoa, 50g sugar, pinch of salt. Bake in a 9×5-inch pan at 350°F (175°C) for 35–45 minutes. Syrup: 100g sugar in 100ml water, boiled 2 minutes, brushed on hot.

    1. You baked past the point of no return — the swirl lies to you

    The number one cause, and it’s structural: the chocolate swirl insulates. The outside browns and looks done while the dense center is still catching up, so you give it “five more minutes” — and those minutes take the crumb from moist to dry.

    How to tell: Dark crust, light-feeling loaf, crumb that tears instead of stretching, swirl dull rather than glossy.

    The fix: Start checking at 32 minutes, not 40. A probe in the center (avoiding the chocolate) should read 190–195°F (88–90°C). The skewer test lies with babka — melted chocolate coats the skewer — so trust temperature. Tent with foil at 25 minutes if the top browns fast, and pull when the center reads done; carryover heat finishes the job.

    2. Your filling was too lean — chocolate needs fat to stay molten

    A filling of cocoa and sugar alone bakes into a dry ribbon that wicks moisture from the surrounding crumb. It has to stay soft and fudgy after baking, and only fat does that: real chocolate plus butter, spreadable when warm, sliceable when cool.

    How to tell: The swirl is matte, crumbly, and separates from the dough; the dough touching it is drier than the rest.

    The fix: My ratio per loaf: 170g dark chocolate melted with 60g butter, then 2 tbsp cocoa and 50g sugar stirred in — it should spread like thick peanut butter, edge to edge. A bare border becomes dry, filling-less crust. For cinnamon babka: 80g soft butter, 100g brown sugar, 2 tbsp cinnamon — the butter is the moisture, not optional.

    3. You rolled it loose — air pockets bake into dry gaps

    A loose roll leaves air channels through the swirl. They let steam escape during baking, drying the crumb from inside, and create gaps where filling pulls away from dough, leaving dry surfaces that stale fast.

    How to tell: Tunnels and gaps around the swirl instead of tight ribbons; the loaf feels oddly light for its size.

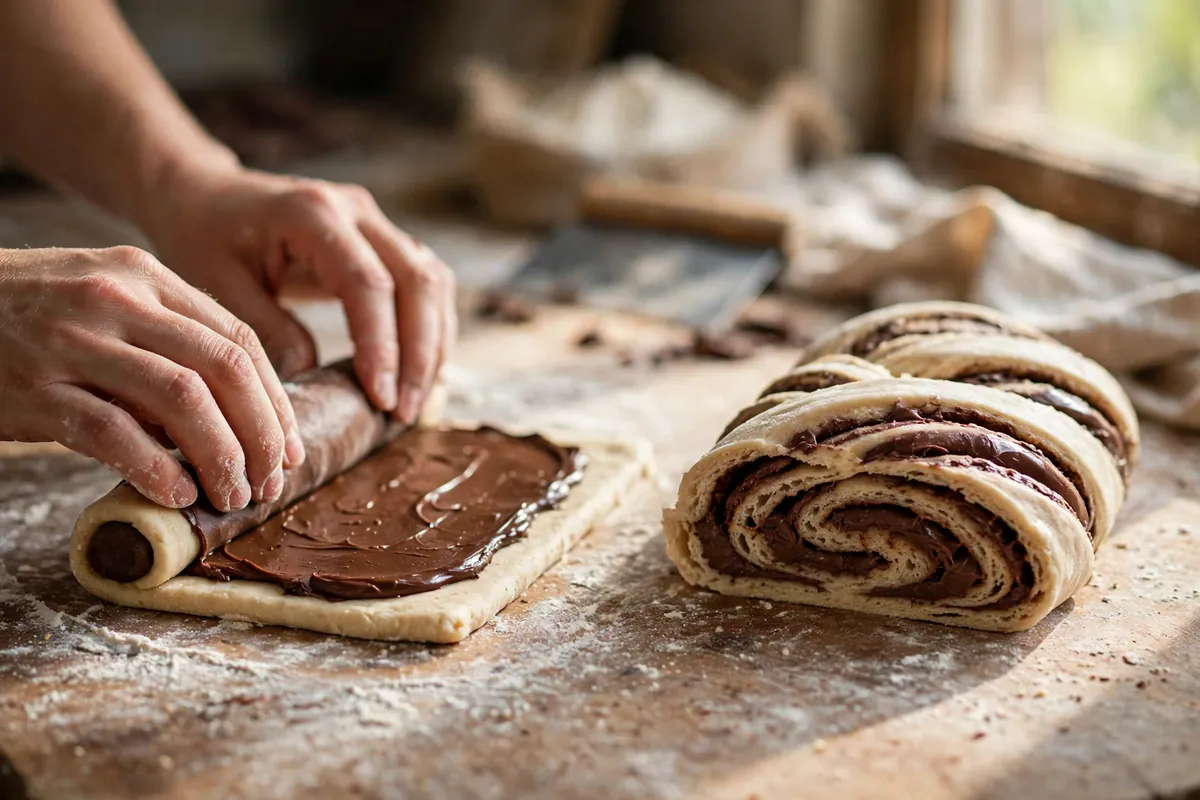
    The fix: Roll firmly from the long edge, tucking as you go, and pinch the seam. Then the classic twist: halve the log lengthwise and twist the halves together, cut sides up. The twist presses filling against dough and eliminates the loose middle. (Same rolling discipline as Why Did My Cinnamon Rolls Unravel? Shaping and Proofing Fixes.)

    hands rolling a chocolate-filled babka log tightly on a floured counter, then the lengthwise cut showing filling layers
    hands rolling a chocolate-filled babka log tightly on a floured counter, then the lengthwise cut showing filling layers

    4. You skipped the syrup soak — babka’s built-in insurance policy

    Classic babka gets drenched in sugar syrup the moment it leaves the oven, and it isn’t decoration. The hot crumb drinks it deep, replacing oven-lost moisture and giving the signature shine. Many formulas are written leaner than they look because the syrup is assumed — skip it and you’ve removed the moisture reserve.

    How to tell: Matte crust, crumb drying within hours, loaf stale by next morning even wrapped.

    The fix: While it bakes, boil 100g sugar with 100ml water for 2 minutes. The second the loaf comes out, brush half the syrup over the top, letting it pool into the cracks; add the rest after 5 minutes. Use it all — it looks like too much, and it isn’t. Unmold after 15 minutes, while the syrup is still fluid enough to release.

    5. The dough was under-enriched or under-proofed — dry crumb starts here

    Two quieter causes. Cutting the butter or eggs “to be safe” gives a lean dough wearing a rich filling’s name — the fat is structure, not garnish. And under-proofing: a dense, under-risen crumb reads as dry on the tongue even at correct moisture, because there’s no airy network to feel soft.

    How to tell: Tight, bread-like crumb rather than soft and shreddable; the loaf barely rose in the pan before baking.

    The fix: Don’t cut the butter or eggs — enriched dough forgives extra fat better than less. (Same lesson as Why Did My Brioche Come Out Dry? Enriched Dough Fixes.) Proof the shaped loaf until visibly puffy, about ¾ above the pan rim — a gentle press should spring back slowly, leaving a faint indent. In a cool kitchen that’s 60–90 minutes; the look matters, not the clock.

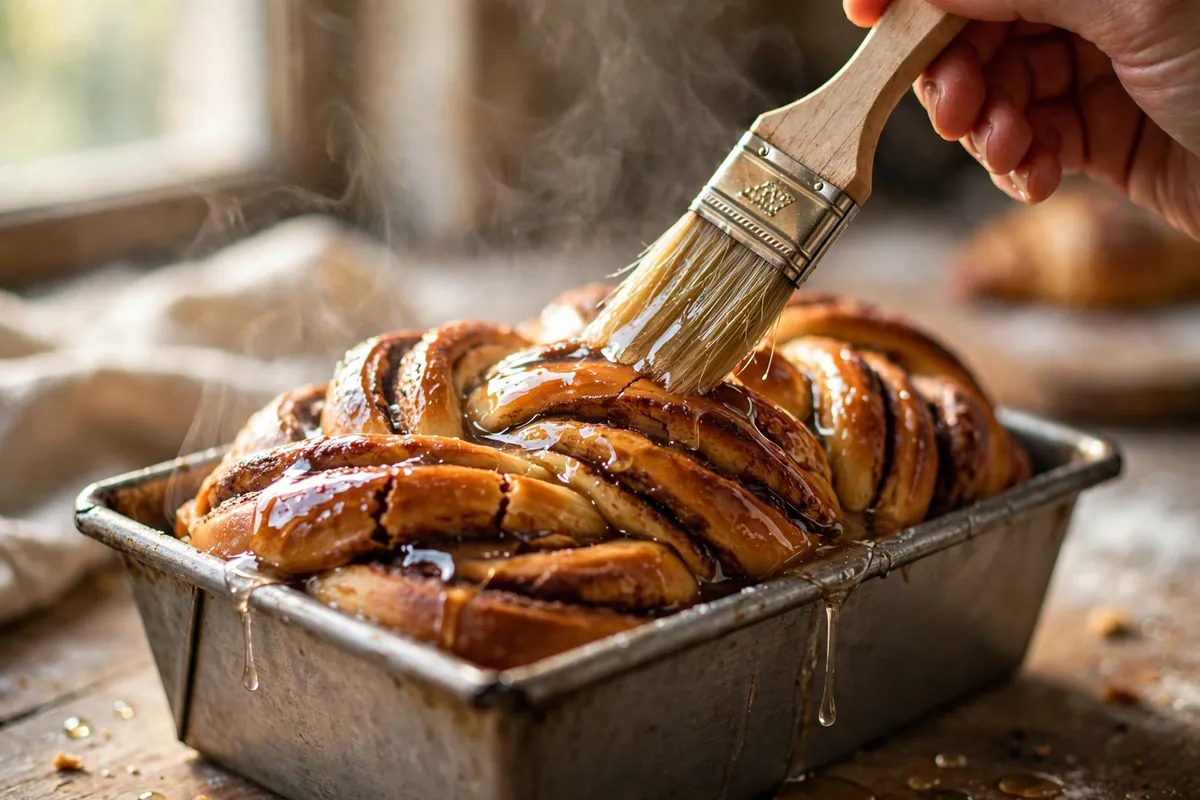
    brushing sugar syrup over a hot babka loaf, syrup pooling into the swirl cracks
    brushing sugar syrup over a hot babka loaf, syrup pooling into the swirl cracks

    Frequently asked questions

    Is dry babka safe to eat?
    Yes — dryness is a texture failure, not a safety one. If the center baked through with no raw streaks, it’s completely fine. Toast slices and butter them, or turn the loaf into French toast or bread pudding, where custard erases the dryness entirely.

    Can I fix a dry babka after baking?
    Partly. Brush warm slices with simple syrup, or repurpose the loaf — babka makes outstanding French toast because the enriched crumb soaks up custard without falling apart. You can’t re-moisturize the crumb itself, but you can make nobody care.

    Why is my chocolate filling leaking out instead of staying in the swirl?
    The filling was too hot or too thin when spread, or you overfilled. Let it cool to lukewarm — spreadable, not pourable — and pinch the seam firmly shut.

    Can I make babka dough ahead?
    Yes. After kneading, refrigerate overnight (up to 24 hours), then roll, fill, and shape straight from the fridge — cold dough rolls thinner and easier. Give the shaped loaf its full room-temperature second rise before baking.

    How long does babka stay fresh?
    With the syrup soak, 2–3 days wrapped airtight at room temperature; without it, one day. Slice and freeze up to 2 months; refresh at 300°F (150°C) for 8 minutes. Never refrigerate — it stales faster.

    Related troubleshooting: Why Did My Cinnamon Rolls Unravel? Shaping and Proofing Fixes · Why Did My Brioche Come Out Dry? Enriched Dough Fixes · Why Is My Cake Dry? Moisture Science for Home Bakers

  • Why Is My Bread Crust Pale? The Browning Science

    Why Is My Bread Crust Pale? The Browning Science

    Your bread tastes fine — good crumb, good rise — but the loaf came out looking anemic: pale, blonde, soft. A pale crust isn’t just cosmetic: browning is flavor. The same reactions that paint the crust golden-brown create hundreds of flavor compounds, so a pale loaf genuinely tastes blander than a well-browned one. The fix is understanding what browning actually needs, because it’s a short list: heat, sugar, protein, and a dry surface.

    Quick diagnosis: Pale crusts come down to oven temperature more than anything. If your oven runs cool — and most do — the crust never gets hot enough for browning reactions to fire. Check cause #1 first. If your oven is accurate but the loaf is a lean dough (flour, water, salt, yeast only), it simply has less browning fuel — see cause #3.

    What browning actually is (the 60-second science)

    Two reactions brown crust. Maillard — amino acids reacting with sugars — starts around 285°F (140°C) at the surface, creating deep brown color and savory flavor. Caramelization — sugars breaking down — needs roughly 330°F (165°C) and up, adding sweetness and dark color. Both need the crust surface genuinely hot and dry. Anything keeping it cool or wet — a cool oven, too much steam, a wet surface — delays browning. That’s the diagnostic framework: find what’s keeping your crust cool, wet, or fuel-starved.

    1. The oven wasn’t hot enough (or wasn’t actually preheated)

    This is the cause behind most pale loaves. Browning needs the crust surface to exceed 285°F (140°C), and that only happens if the oven air is genuinely at the set temperature — with the baking stone or steel fully saturated with heat. An oven that’s “preheated” for 5 minutes after the beep is lying: the air might be near temp, but the walls and stone are still cool, and they suck heat off your loaf in the first critical minutes.

    How to tell: The loaf took longer than the recipe said and the crust is uniformly pale, bottom included — a generally cool bake.

    The fix: Preheat a full 30–45 minutes with your stone or steel inside from the start, and verify with an oven thermometer — most home ovens run 15–25°F cool. Preheat 45 minutes and trust the thermometer instead of the dial — crusts go from blonde to bakery-brown in one bake. Bake lean loaves at a true 450–475°F (230–245°C); sugary enriched doughs do well at 375–400°F (190–200°C).

    2. Too much steam, for too long

    Steam is essential for oven spring — it keeps the crust soft and expandable for the first minutes of the bake. But steam is the enemy of browning: a wet surface can’t exceed 212°F (100°C) until the water evaporates. If your steam source keeps pumping moisture for the whole bake — a covered Dutch oven you never uncover, a pan of water you never remove — the crust stays pale because it never gets hot and dry enough to brown.

    How to tell: Great oven spring but a pale, leathery crust — baked covered the whole time, or the steam pan stayed in.

    The fix: Steam is a first-act tool only: bake covered for the first 20 minutes, then uncover for the rest — the second half is when browning happens. Remove water pans after 15–20 minutes. The loaf should spend at least half its bake in dry heat. (Steam timing is also behind crust texture problems — see Is My Bread Crust Too Hard or Too Soft?.)

    3. Lean doughs have less browning fuel

    A lean dough — flour, water, salt, yeast — has very little sugar and modest protein. There’s simply less raw material for Maillard and caramelization. That’s why a baguette needs a screaming-hot oven to brown at all, while a brioche turns golden at moderate heat: the brioche brings sugar, milk protein, and egg to the browning party.

    How to tell: Your oven is accurate and enriched breads brown fine, but lean loaves (baguette, sourdough, pizza dough) stay pale.

    The fix: Give lean doughs browning help. A teaspoon of sugar or malt powder per 500g flour adds fuel without noticeable sweetness — diastatic malt is the professional’s secret. Longer fermentation helps too: enzymes break starches into sugars over time, so a cold-retarded dough browns better than a rushed same-day one.

    4. You skipped the wash — the easiest color there is

    A wash on the crust surface is the single fastest way to add color, and different washes give different results. This is the fix when everything else is right but you want deeper, richer, shinier color.

    The wash lineup, tested: Whole egg plus a splash of water: deep golden-brown with shine — the all-rounder. Yolk only: the darkest mahogany — my pick for brioche. Milk or cream: soft matte gold for sandwich loaves. Melted butter: gentle browning, soft crust. Sugar-water glaze (1 tablespoon sugar in 2 tablespoons hot water): boosts caramelization on lean doughs.

    How to tell: The loaf is evenly baked and tastes right, but the color is flat and matte — it looks “unfinished.”

    The fix: Brush thinly and evenly just before baking — puddles of egg bake rubbery. For lean artisan loaves, the sugar-water trick or malt in the dough (cause #3) looks more natural.

    5. Underbaked — pulled before the color developed

    Color develops late in the bake. A loaf pulled 10 minutes early can look dramatically paler than its fully-baked twin, because the last stretch of baking is when surface temperature peaks and browning accelerates. If you’re judging doneness by time alone, you’re probably pulling early.

    How to tell: The crust is pale and soft rather than crisp, and the loaf feels light for its size. The bottom doesn’t sound hollow when thumped.

    The fix: Bake to internal temperature, not the clock: 200–210°F (93–99°C) for lean artisan loaves, 190–200°F (88–93°C) for enriched breads. A done loaf is deeply colored, sounds hollow when thumped, and feels firm. When in doubt, give it 5 more minutes — darker is almost always better eating than pale. (Full doneness guide: How to Tell When Bread Is Done.)

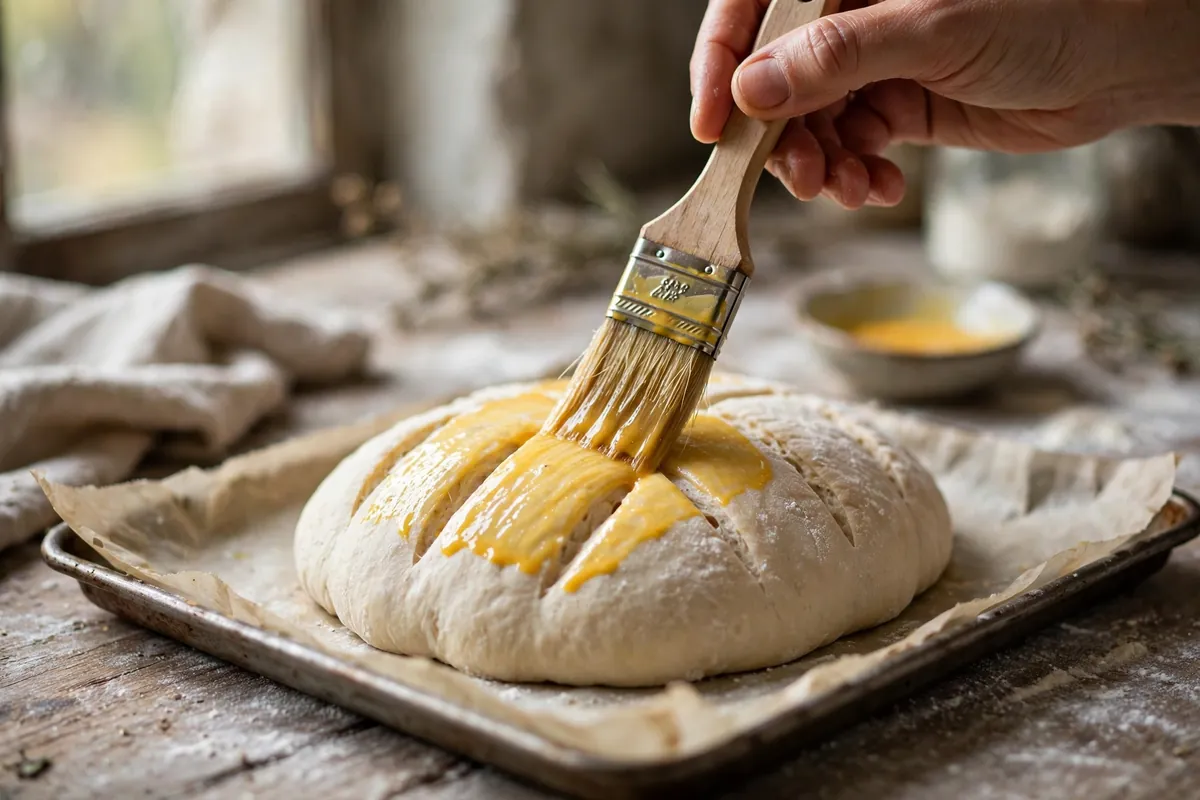
    hand brushing egg wash onto scored bread dough before baking
    hand brushing egg wash onto scored bread dough before baking

    Putting it together: my browning checklist

    Before every bake: oven preheated 45 minutes with the stone in? Thermometer reading true? Steam only for the first 20 minutes? Wash applied (or malt in the dough)? Baking to internal temp, not the timer? When all five check out, pale crusts simply don’t happen. The one I forget most is the preheat — boring, passive, and more important than any wash or sugar trick.

    close-up of a deeply browned crust with visible blistering
    close-up of a deeply browned crust with visible blistering

    Frequently asked questions

    Does a pale crust mean my bread is underbaked?
    Not necessarily — a loaf can be fully baked inside and pale outside. But paleness plus a soft crust and light weight means underbaked: check 200–210°F (93–99°C) internally for lean loaves.

    Egg wash vs. milk wash — which browns better?
    Egg wash, clearly — its protein and fat drive strong Maillard browning plus shine. Milk gives a softer matte gold; yolk-only gives maximum color.

    Can I still eat pale bread?
    Absolutely — safe and fine-tasting, just milder. Toasting slices browns them after the fact.

    Why did only the top stay pale but the bottom browned?
    Weak top element or the loaf sat too low — move to the upper-middle rack. A baking stone shields the bottom while top heat works.

    Will sugar in dough make my bread sweet?
    No — a teaspoon or two per loaf feeds browning and yeast without perceptible sweetness, and diastatic malt adds browning with zero sweetness.

    Does whole wheat bread brown differently?
    Yes — higher protein and minerals make it brown faster and darker. What looks “not done yet” on white bread is often already perfect on whole wheat.

    Related troubleshooting: Is My Bread Crust Too Hard or Too Soft? · How to Tell When Bread Is Done · Why Is My Bread Dense?

  • Why Did My Brownies Turn Out Cakey? Fudgy vs Cakey Science

    Why Did My Brownies Turn Out Cakey? Fudgy vs Cakey Science

    You wanted dense, fudgy, truffle-like brownies. You got something that eats like chocolate cake. I’ve made both by accident and on purpose enough times to know: the difference isn’t luck, it’s five specific variables, and every one of them is controllable. Here’s the actual science.

    Quick diagnosis: Cakey brownies come from too much flour and too much air. If you scooped your flour, used three eggs, creamed the butter, or added baking powder, that’s your answer — probably in combination. Fudgy brownies are built the opposite way: weighed flour, two eggs, melted butter, little or no leavening.

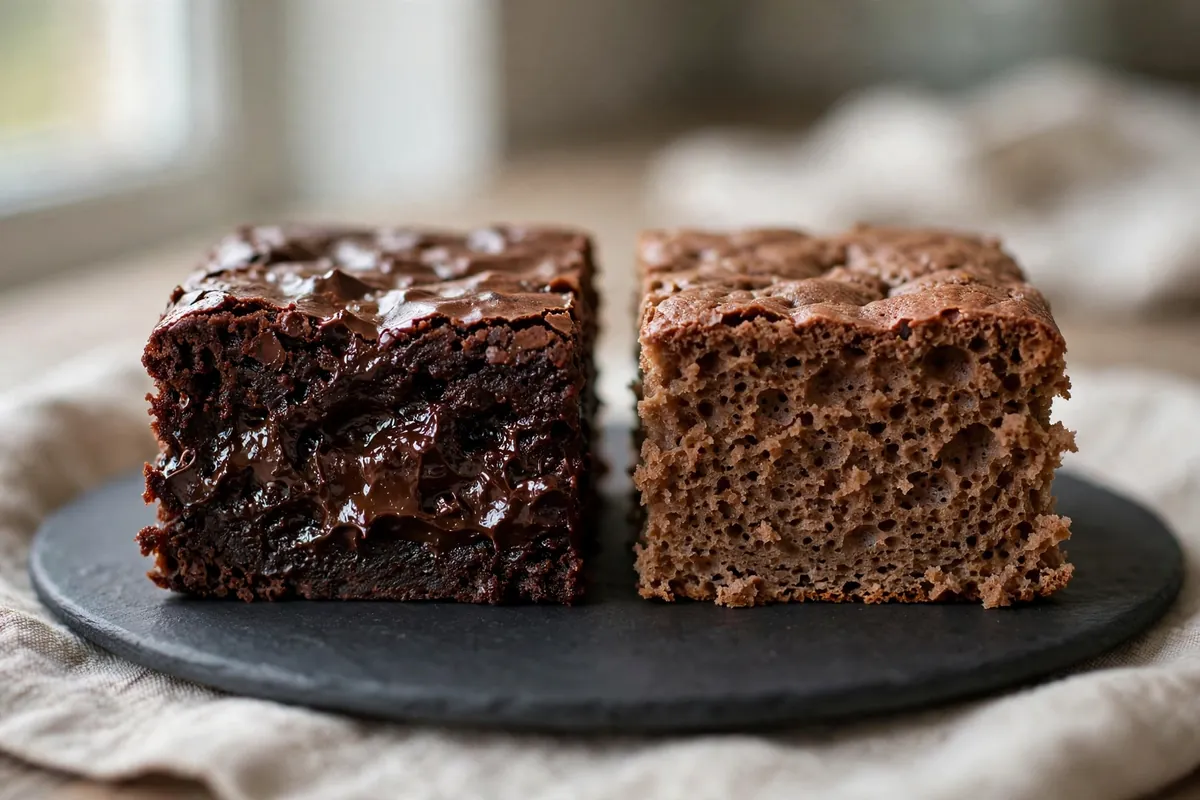
    Fudgy vs cakey: the actual science

    Five variables decide the texture, in rough order of impact:

    Variable Fudgy Cakey
    Fat-to-flour ratio High (more butter/chocolate, less flour) Low (more flour relative to fat)
    Eggs Fewer (2) — less structure, less lift More (3+) — protein sets a cake-like crumb
    Leavening None or a whisper Baking powder — literally makes cake
    Mixing method Melted butter, stirred — minimal air Creamed butter — deliberately aerated
    Bake Slightly underbaked, carryover finishes Baked through — dries and sets firmly

    Every cakey batch fails on at least two of these. Run through them.

    1. Too much flour

    Flour is structure. More flour relative to fat = more crumb = more cake. And the usual delivery mechanism is the scooped cup: 150g scooped versus 120g weighed is 25% extra structure you never intended. Two extra tablespoons can visibly shift a brownie from fudgy toward cakey.

    How to tell: The batter looked thick and dough-like rather than glossy and pourable. The baked brownie is tall and bread-like.

    The fix: Weigh flour at 120g per cup. Fudgy brownie recipes typically use less flour than you expect — around 3/4 to 1 cup for an 8×8 pan. If your recipe calls for more than that plus multiple eggs plus leavening, it’s a cake recipe wearing a brownie costume.

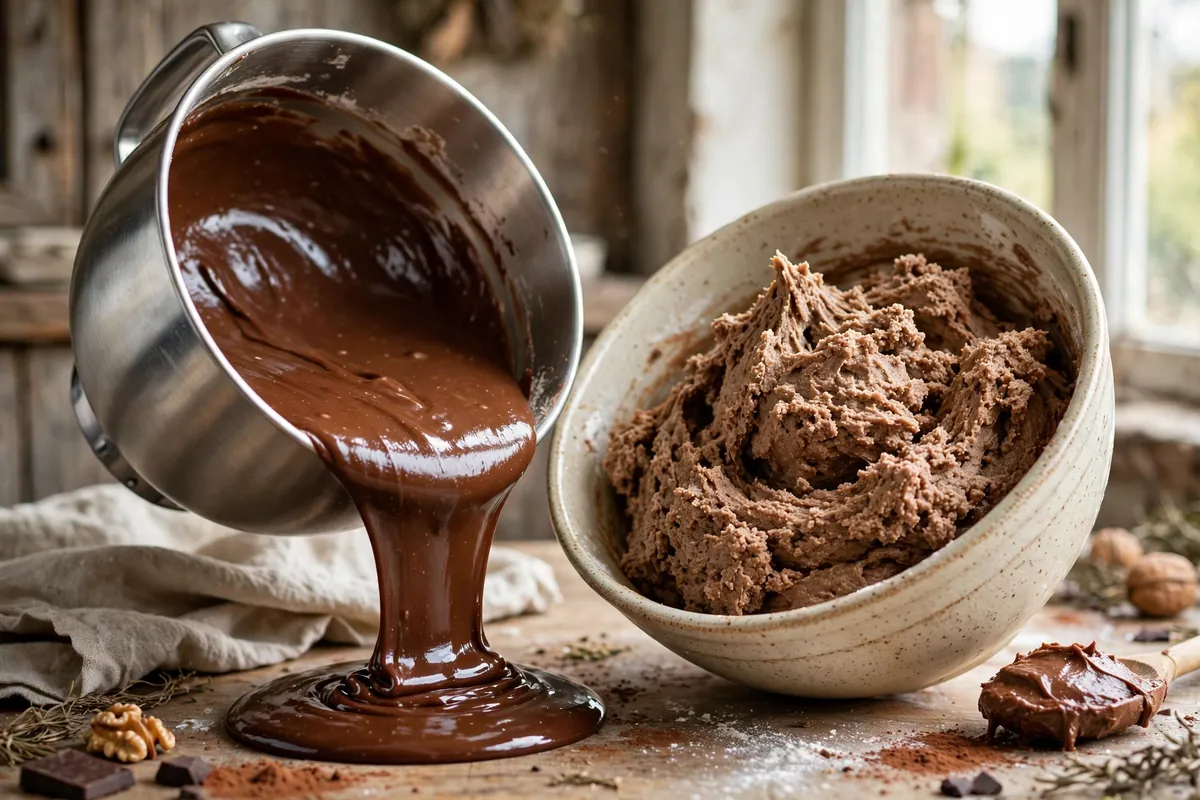
    brownie batter being poured — glossy and flowing vs thick and stiff, side by side
    brownie batter being poured — glossy and flowing vs thick and stiff, side by side

    2. Too many eggs (or the wrong handling)

    Eggs are the main structural protein in brownies. Two eggs in an 8×8 batch gives richness with a dense set. Three eggs — especially beaten hard — builds a protein network that reads as cake. This is the single most common recipe-level cause I see.

    How to tell: Your recipe called for 3+ eggs, or you whisked them vigorously into foam before adding.

    The fix: Two large eggs for a standard 8×8 fudgy batch. Beat them in gently — just until combined. You’re hydrating, not aerating. (Making them egg-free instead? Flax eggs actually work beautifully in brownies — see Eggless Cake That Actually Works.)

    3. Baking powder — the cake-ifier

    Baking powder’s entire job is making cake rise. In brownies, even a teaspoon creates lift and airiness — the opposite of fudgy density. Many all-purpose brownie recipes include it as insurance; fudgy recipes omit it deliberately.

    How to tell: Your recipe listed baking powder (or worse, baking soda and powder).

    The fix: For fudgy brownies, use none — or at most 1/4 teaspoon if the recipe needs a slight lift for a thick pan. Read the leavening line of any new recipe before you commit: it’s the fastest texture predictor on the page.

    4. Overbaked — the silent killer

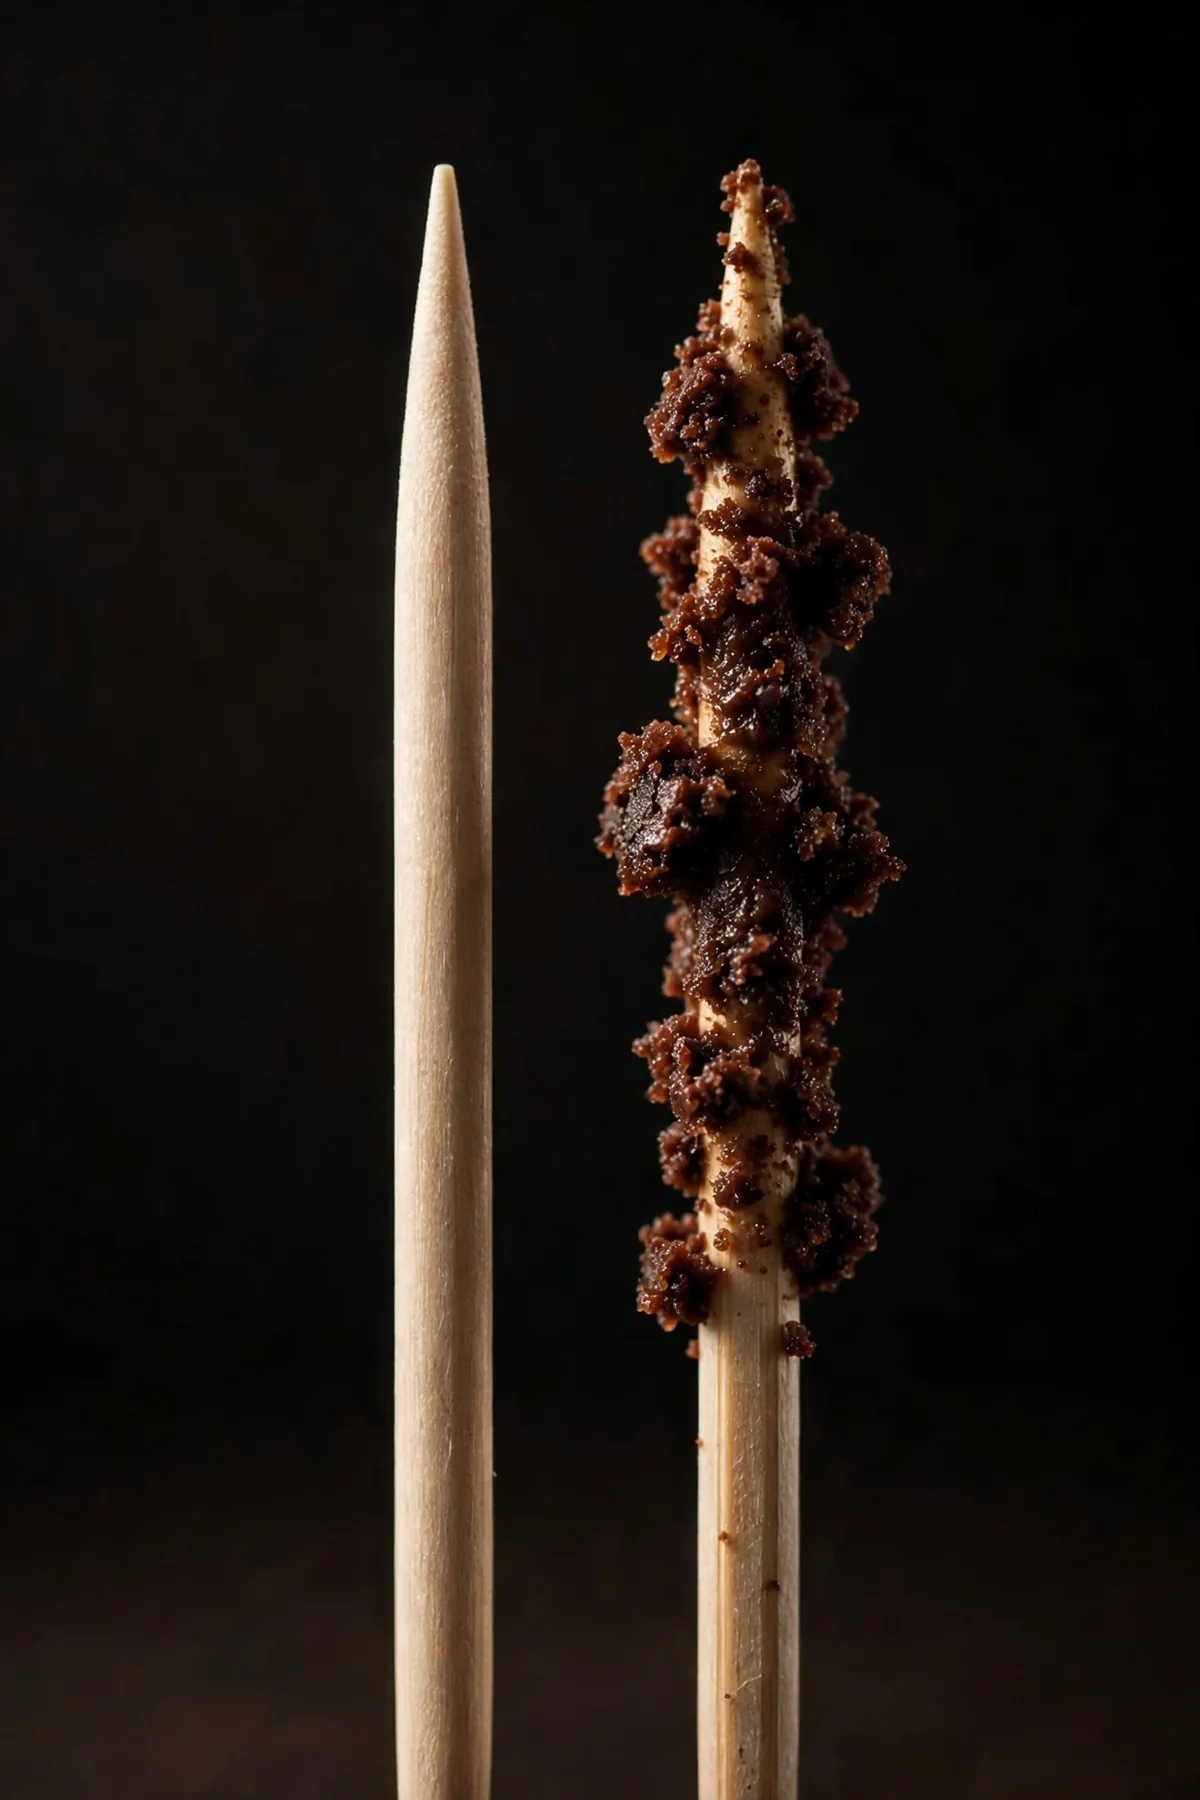
    Brownies continue cooking in the hot pan after leaving the oven (carryover), and the line between fudgy and dry-cakey is about three minutes. A toothpick emerging completely clean means overbaked — for fudgy brownies, you want moist crumbs clinging to it.

    How to tell: The edges are hard and dark, the center is fully firm with no wobble, the toothpick came out clean.

    The fix: Start checking 5 minutes before the recipe’s earliest time. Pull when the edges are set but the center still looks slightly underdone and a toothpick shows moist crumbs. It firms as it cools — trust the carryover. This is the same carryover principle as cheesecake (see Why Did My Cheesecake Crack?).

    toothpick test showing moist crumbs clinging vs clean
    toothpick test showing moist crumbs clinging vs clean

    5. Wrong pan size

    A recipe developed for an 8×8 pan baked in a 9×13 spreads thin — thin batter overbakes in the time meant for thick batter, and thin brownies can’t be fudgy. Pan size is bake time.

    How to tell: Your brownies came out noticeably thinner than the recipe photo, or you scaled the pan up “because it was all I had.”

    The fix: Match the recipe’s pan. For thick fudgy brownies, 8×8 metal is the standard. Glass and ceramic bake slower than metal — if substituting, drop the temp 25°F and watch closely.

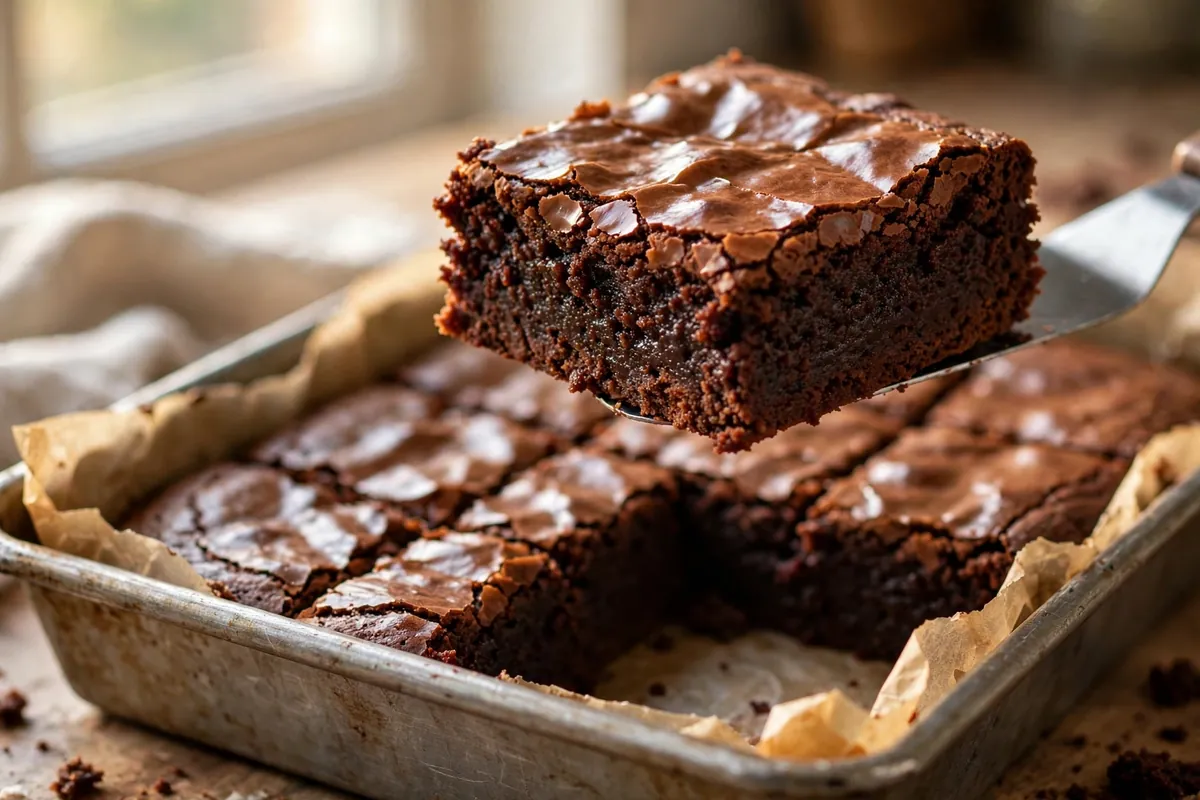
    thick fudgy brownie square being lifted from an 8x8 pan
    thick fudgy brownie square being lifted from an 8×8 pan

    The fudgy formula (memorize this)

    Melted butter + chopped dark chocolate (not just cocoa — the cocoa butter matters), 2 eggs stirred gently, ~3/4 cup weighed flour, a pinch of salt, little or no leavening, 8×8 pan, pulled at moist crumbs. That’s the whole architecture. Everything else is flavoring.

    Frequently asked questions

    Are cakey brownies safe to eat?
    Yes — this is purely a texture preference, not a safety issue. And cakey brownies have their fans; serve them warm with ice cream and nobody complains. You’re fixing a preference, not a failure.

    Can I fix cakey brownies after baking?
    The texture is set — you can’t un-bake structure. But you can serve around it: warm them and add ice cream or hot fudge, which reads as intentional dessert. Or cube them for a trifle, where cakey crumb is actually an asset.

    Fudgy vs chewy — aren’t they the same?
    Related but distinct. Fudgy = dense, moist, truffle-like (high fat, minimal structure). Chewy = dense with pull — slightly more gluten development and often brown sugar’s moisture. A brownie can be both, but the levers differ: chew comes from rest time and sugar type as much as fat ratio.

    Why are my brownies dry AND cakey?
    Overbaked plus too much flour — the two compound each other. Dry-cakey is the most common brownie complaint I see, and it’s always this pair. See Why Is My Cake Dry? for the full moisture science; it applies directly.

    Butter vs oil for fudgy brownies?
    Butter for flavor, oil for a softer room-temperature texture (oil doesn’t firm up when cool the way butter does). Both make fudgy brownies if the ratios are right — the fat amount matters more than the fat type. I use butter for the flavor and accept slightly firmer cold brownies; ten seconds in the microwave fixes that.

    Related troubleshooting: Why Is My Cake Dry? Moisture Science for Home Bakers · Eggless Cake That Actually Works: Tested Replacements

  • Why Are My Cookies Cakey Instead of Chewy? (Flour and Leavening)

    Why Are My Cookies Cakey Instead of Chewy? (Flour and Leavening)

    Why Are My Cookies Cakey Instead of Chewy? (Flour and Leavening)

    Quick diagnosis: Cakey cookies almost always come from too much air and structure: extra egg, baking powder instead of soda, over-creamed butter, or too much flour. Chew comes from the opposite — melted butter, brown sugar, minimal leavening, and yolks instead of whole eggs. Audit your recipe against causes #1 and #2 first; they decide the texture before the dough ever reaches the oven.

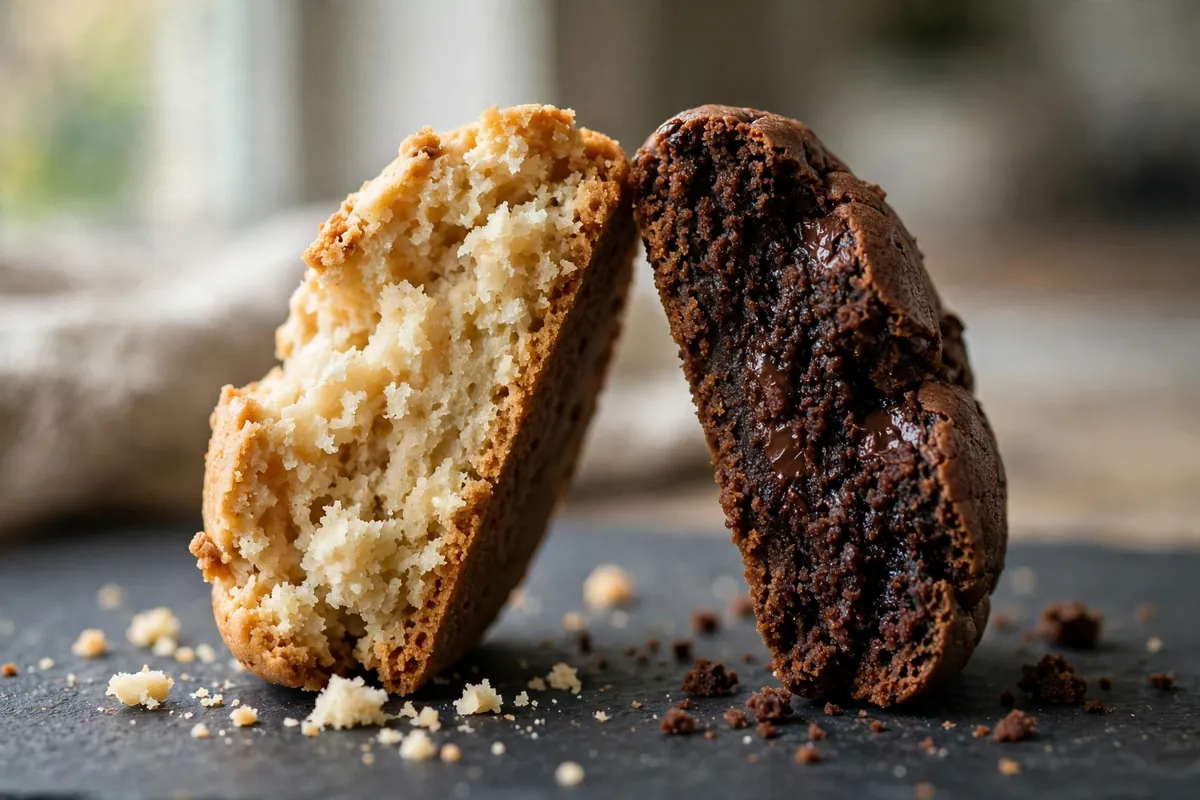
    Cakey cookie crumb beside chewy cookie crumb, cross-section
    cross-section comparison — a cakey cookie’s fluffy pale interior next to a chewy cookie’s dense, bendy interior

    Chew and cake are opposite architectures. A chewy cookie is dense: sugars melted into a tight, flexible matrix with minimal lift. A cakey cookie is aerated: leavening and creamed fat pumped it full of tiny air pockets like a little cake. Your recipe chose one architecture at the mixing bowl — here’s how to read which one it built, and how to rebuild it chewy.

    1. Too much egg (especially egg white)

    Egg is the single biggest texture lever in a cookie. Whites are mostly water and protein — they set into structure, which is exactly what makes cake cakey. A recipe with two whole eggs where one would do, or an extra white “for binding,” builds cake structure. Yolks do the opposite: fat and emulsifiers enrich without aerating, which is why chewy-cookie recipes often call for an extra yolk and no extra white.

    How to tell: Count the eggs against the flour. More than one whole egg per ~2 cups of flour pushes cakey; two full eggs in a standard batch is a red flag.

    The fix: Drop to one whole egg plus one extra yolk per standard batch (about 2¼ cups flour). The yolk adds richness and chew; ditching the extra white removes the cake scaffolding. When I converted a cakey family recipe this way, the texture flipped from muffin-like to properly bendy.

    2. Baking powder instead of (or on top of) baking soda

    Baking powder contains its own acid, so it reacts twice — once when wet, once when hot — puffing the dough upward into a soft, domed, cake-like structure. Baking soda needs external acid (brown sugar, for instance) and reacts once, spreading the dough outward instead of lifting it. A recipe built on powder, or powder plus soda, is engineered for cakey.

    How to tell: Check the leavening line. Baking powder as the only leavener, or a full teaspoon of powder alongside soda, means lift-first architecture.

    The fix: For chew, use baking soda alone — typically 1 teaspoon per 2¼ cups flour, leveled. Expect flatter, denser cookies with crisp edges. (If your problem is the reverse — cookies spreading too thin — that’s a different lever; see Why Do My Cookies Spread Flat?.)

    Melted butter dough beside creamed butter dough in bowls
    two dough balls side by side — one mixed with melted butter (glossy, slack) and one with creamed butter (pale, fluffy)

    3. The butter was creamed too long

    Creaming beats air into butter and sugar — wonderful for cake, counterproductive for chew. Three to five minutes of creaming builds a foam that bakes into an aerated crumb. Chewy cookies want the opposite: fat that coats flour rather than aerating it.

    How to tell: Did you cream until “light and fluffy” and pale? That instruction builds cake texture by design.

    The fix: For chewy cookies, use melted (then slightly cooled) butter and mix just until combined — 30–60 seconds past the flour disappearing. Melted butter can’t hold beaten-in air, so the crumb stays dense. This one change, keeping everything else identical, takes a batch from cakey to chewy in a single bake.

    4. Too much flour

    Excess flour absorbs the moisture that would otherwise keep the cookie pliable, and the extra starch sets into a dry, fluffy crumb. It’s the same scooping error that plagues bread — a packed cup can run 150g against the standard 120g — and in cookies the penalty is cakey dryness instead of chew.

    How to tell: The dough felt stiff and dry, the baked cookies look pale and floury, and they crumble rather than bend.

    The fix: Weigh flour at 120g per cup. And consider swapping a portion of all-purpose for bread flour — its higher protein (12–14%) develops more gluten chew. Replacing half the AP flour with bread flour is the classic bakery trick for a seriously chewy center.

    5. Too much white sugar, not enough brown

    White sugar crystallizes as it cools, giving a crisp, snappy texture. Brown sugar’s molasses is hygroscopic — it grabs and holds moisture — which keeps the center soft and bendy for days. An all-white-sugar cookie can never be truly chewy; the chemistry won’t allow it.

    How to tell: The recipe uses all white sugar, or white dominates the mix.

    The fix: Make brown sugar the majority — a 2:1 brown-to-white ratio is my starting point for chew. Dark brown (more molasses) chews even more than light. This pairs with cause #3: melted butter plus mostly-brown sugar is the canonical chewy-cookie formula.

    Cookie bend test — chewy cookie bending without breaking
    bend test — a chewy cookie bent between fingers without breaking vs a cakey cookie snapped in half

    6. Baked too long

    Chew lives in slight underdoneness. A cookie baked until uniformly firm has driven off the moisture that makes chew possible. Chewy cookies should look just barely set in the center when they leave the oven — pale, soft, almost underdone — and finish setting on the hot tray.

    How to tell: Centers were fully firm and golden when you pulled the tray; cookies cooled hard rather than settling soft.

    The fix: Pull when the edges are set and golden but the centers still look soft and slightly puffy, usually 1–2 minutes before the recipe’s maximum time. They’ll collapse slightly and set into chew as they cool. I pull at 10 minutes for a recipe that says 10–12, every time.

    The chew formula, summarized

    If you want one recipe to memorize: melted butter, mostly brown sugar, one egg plus one yolk, baking soda only, bread-flour blend, pulled early. Every element pushes the same direction — density over aeration. Invert any two of them and you’re back in cake territory, which is fine if that’s what you want; just know you’re choosing it.

    FAQ

    Are cakey cookies a mistake, or just a style?
    Just a style — there’s nothing wrong with a soft, fluffy cookie, and plenty of beloved recipes are deliberately cakey. It only counts as a problem if you wanted chewy and got cake. Match the technique to the texture you actually want.

    Can I make cakey cookies chewy after baking?
    No — texture is set during the bake. But slightly stale cakey cookies can be revived: 8–10 seconds in the microwave softens them, and storing with a slice of bread overnight lends moisture. For the next batch, apply the fixes above.

    Is it safe to eat slightly underbaked cookies?
    Yes for standard drop cookies — the Centers for Disease Control’s concern is raw flour and raw egg, and a cookie that’s set at the edges but soft in the center has well exceeded safe temperatures throughout. What you must avoid is eating raw dough, which never reaches those temperatures.

    Why do my cookies taste fine but feel dry and bready?
    That’s the flour-and-egg-white combination from causes #1 and #4: too much structure, not enough fat and sugar moisture. Cut the extra white, weigh your flour, and shift toward brown sugar — dryness and cakiness usually leave together.

    Does resting the dough help chewiness?
    Yes, noticeably. An overnight rest hydrates the flour fully and deepens flavor (butterscotch notes develop). Resting also firms the dough, which controls spread — so you get the chew without the pancake. It’s the rare step that improves everything at once.

    Can I use all bread flour for maximum chew?
    You can, but 100% bread flour can turn tough rather than chewy — there’s a line between bendy and rubbery. A 50/50 blend with all-purpose is the sweet spot I recommend; go higher only if you’ve tested your recipe there.

    Related troubleshooting: Why Do My Cookies Spread Flat? · Why Is My Cake Dry? · Why Did My Cupcakes Overflow?

  • Why Is My Sourdough Crust Too Thick? (Steam + Bake Fixes)

    Why Is My Sourdough Crust Too Thick? (Steam + Bake Fixes)

    A great sourdough crust shatters; a bad one puts up a fight — thick, leathery, jaw-aching. Thickness isn’t luck: it’s bake time, steam exposure, and heat delivery. All adjustable.

    Quick diagnosis: You baked too long at too low a temperature (most common), kept the steam going too far into the bake, or both. Fix: full preheat, 20 minutes covered at 450°F (232°C), then 20–25 minutes uncovered until the internal temp hits 200–210°F (93–99°C) — and pull the loaf at color, not at the clock.

    My tested baseline: 500g bread flour, 375g water (75% hydration), 100g ripe starter, 10g salt (2%). Baked in a preheated Dutch oven: 20 minutes with the lid on at 450°F (232°C), 20–25 minutes lid off, to an internal temperature of 205°F (96°C). Cooled on a wire rack a full 2 hours before slicing.

    1. You baked too long at too low a temperature — the classic thick-crust recipe

    Crust thickens with oven time: 55 minutes at 425°F (218°C) always builds thicker crust than 40 minutes at 450°F (232°C), because the crust keeps dehydrating layer by layer. Under-heated ovens are the usual culprit — the baker compensates for pale color with extra time, and those 10–15 minutes build crust like tree rings.

    How to tell: The crust is uniformly thick all around, dark but not burnt; the crumb inside is fine; total bake time was 50+ minutes.

    The fix: Preheat a full 45–60 minutes with the Dutch oven inside — a cool start steals your first 10 minutes of spring and adds them to the crust. Bake 20 minutes covered at 450°F (232°C), then 20–25 uncovered, pulling at 200–210°F (93–99°C) internal — not at the timer.

    2. Too much steam, for too long

    Early steam keeps the crust flexible for oven spring. But steam past the first 20 minutes keeps re-wetting the surface, and each wet-dry cycle lays down another hardened layer — thick and leathery instead of thin and glassy. This is the mirror image of the too-hard-or-soft crust problem, where steam timing is also the lever.

    How to tell: The crust is thick but also slightly chewy-leathery rather than crisp; you sprayed water repeatedly or left a steam pan in for the whole bake.

    The fix: Steam belongs to the first 20 minutes only. In a Dutch oven, that’s the lid-on phase — lid off at 20 minutes, no more moisture. On a stone, remove the steam pan at 20 minutes and crack the door 30 seconds to vent humidity. The second half should be dry heat.

    3. The loaf was under-proofed or over-proofed — both bake up thick-crusted

    Under-proofed loaves burst and tear, exposing thick ragged crust at the scores. Over-proofed loaves spread flat — more surface area per volume, more crust per bite — and the outside over-bakes while you wait for color.

    How to tell: Under-proofed: big tearing around the score, dense band under the crust. Over-proofed: the loaf spread sideways, pale and flat, with a thick bottom crust. Check with the poke test and the dense bread and didn’t rise guides.

    The fix: Proof by percentage rise, not clock: shape at 50–75% bulk rise (use an aliquot jar). Poke test: slow spring-back with a slight indent means ready. A tall loaf has less crust per slice.

    hands lifting the lid off a Dutch oven at the 20-minute mark, steam escaping, revealing a pale risen sourdough loaf
    hands lifting the lid off a Dutch oven at the 20-minute mark, steam escaping, revealing a pale risen sourdough loaf

    4. You cooled it wrong — trapped steam toughens the crust

    Fresh from the oven the crust is still dehydrating. Cool on a solid surface — or worse, in the turned-off oven with the door closed — and escaping steam condenses back on, re-hardening into a thick shell. I learned this the embarrassing way: a perfect bake “kept warm” in the cooling oven came out like boot leather.

    How to tell: The crust was crisp when it came out but turned thick and leathery within an hour; the bottom of the loaf feels damp.

    The fix: Cool on a wire rack with full air circulation, for at least 2 hours — the crumb is still setting inside (cutting early gives gummy sourdough). Never wrap a warm loaf in plastic or a bag; that steams the crust soft, and it re-hardens thicker than before. Room-temperature air and patience.

    5. The Dutch oven never got hot enough — a pale start means a long finish

    Fifteen minutes of preheat means the covered phase bakes in a 380°F (193°C) vessel, not 450°F (232°C). Spring suffers, you extend the uncovered phase chasing color, and those minutes go straight into crust. The thermometer doesn’t lie even when the dial does.

    How to tell: Your oven runs cool (check with an oven thermometer — most do, by 15–25°F); the loaf looked pale at the 20-minute lid-off mark; you added 10+ minutes “for color.”

    The fix: Preheat the Dutch oven inside the oven for a full 45–60 minutes at 450°F (232°C). Verify with a $10 oven thermometer — if your oven runs 25°F cool, set it to 475°F. A properly preheated vessel gives you full color in the standard 40–45 minute total bake, which is exactly the window for a thin crust.

    6. Low hydration doughs build thicker crusts

    A 65%-hydration dough has less internal steam and sets faster and harder than 75%. If you bake stiff dough because it’s easier to handle, thick crust is partly the price. For shattering-thin, hydration is a lever.

    How to tell: The dough felt firm and easy to shape; the crumb is tight; the crust is thick even when bake time and temperature were correct.

    The fix: Push hydration to 72–75% (360–375g water per 500g flour) and handle the wetter dough with wet hands and confident folds. Higher hydration means more oven spring, a thinner crust, and a more open crumb — the classic artisan trio.

    a baker tapping the bottom of a sourdough loaf with knuckles, listening for the hollow sound, crust golden and thin
    a baker tapping the bottom of a sourdough loaf with knuckles, listening for the hollow sound, crust golden and thin

    FAQ

    Is a thick sourdough crust safe to eat?
    Completely. It’s a texture issue, not a safety one. If it’s too tough to enjoy, slice it thin and toast it — thick crust makes excellent toast — or cut it off and blitz it into breadcrumbs.

    Can I soften a thick crust after baking?
    A kitchen towel for a few hours softens it somewhat, as does storing cut-side down. But that softens, not thins — the real fix is the next bake’s time and temperature.

    Does scoring affect crust thickness?
    Deep, confident scoring (½ inch / 1 cm at a shallow angle) lets the loaf expand fully, which keeps the crust thinner around the expansion. Shallow timid scores restrict spring and the crust sets thick around the tears.

    Why is my sourdough crust thick on the bottom only?
    The bottom sits on the hot Dutch oven floor throughout. Parchment helps; a baking sheet on the rack below deflects direct heat. Also check for over-proofing — a flat loaf over-bakes its base.

    Does cold retard affect crust thickness?
    It helps: cold dough springs more, and long fermentation builds flavor so you can pull at color a few minutes earlier. Bake straight from the fridge.

    What internal temperature should sourdough reach?
    200–210°F (93–99°C). Below 200°F the crumb is gummy — and the crust keeps thickening while the center catches up, the worst of both worlds.

    Related troubleshooting: Bread Crust Too Hard or Too Soft · Why Is My Bread Dense? · Sourdough Gummy Inside

  • Why Did My Whoopie Pies Spread? Batter and Pan Fixes

    Why Did My Whoopie Pies Spread? Batter and Pan Fixes

    A whoopie pie should be a plump, domed, cake-like round — thick enough to sandwich filling without collapsing. When the batter spreads, you get thin, lacy-edged discs that crack when lifted and can’t hold filling. The trap: whoopie batter looks like cookie dough’s cousin, but it’s chemically a little cake and follows cake rules. Spreading comes down to warm batter, too much leavening, mismeasured flour, or skipped chilling.

    Quick diagnosis: Your whoopie pies spread because the batter was too warm, the leavening was overmeasured, or the flour was undermeasured. Chill the scooped batter 15–20 minutes before baking, measure leavening level (not heaped), spoon-and-level your flour, and bake at 350°F (175°C) — the mounds should hold their shape going into the oven.

    My tested baseline (chocolate): 250g (2 cups) flour, 60g (¾ cup) Dutch-process cocoa, 1¼ teaspoons baking soda, ¾ teaspoon salt; 115g (½ cup) butter at cool room temperature, 200g (1 cup) brown sugar, 100g (½ cup) granulated sugar; 1 large egg plus 1 yolk, 2 teaspoons vanilla; 240ml (1 cup) buttermilk. Cream butter and sugars 3 minutes, beat in eggs and vanilla, add dries in three additions alternating with buttermilk, mixing gently. Scoop with a medium cookie scoop (about 3 tablespoons), chill the tray 15–20 minutes, bake at 350°F (175°C) for 10–12 minutes, until tops spring back when touched.

    1. Your batter was too warm — fat melts before structure sets

    The #1 cause, and it starts before the oven is hot. If the creamed butter is warm — over-creamed, mixed in a hot kitchen, butter left out for hours — the batter goes in half-melted. Fat liquefies in the first minutes of baking, the batter flows outward before flour and eggs set a structure, and you get pancakes instead of domes.

    How to tell: Scooped mounds slumped on the tray before baking; batter felt soft and greasy rather than thick and scoopable; baked rounds have thin, lacy edges.

    The fix: Chill the scooped tray 15–20 minutes — mounds should feel firm and hold shape going into the oven. Use butter at cool room temperature (65°F / 18°C — dents, doesn’t smear) and cream no more than 3 minutes. In a warm kitchen, chill the mixing bowl 10 minutes before starting. (Same fat-temperature logic as Why Do My Cookies Spread Flat? Butter, Sugar, and Chill Time.)

    2. Too much leavening — baking soda is a spreader, not just a lifter

    Excess baking soda raises batter pH, which weakens structure and lets the batter flow. An extra half-teaspoon — a heaped spoon instead of level — turns domed cakes into flat discs, and leaves a soapy, metallic aftertaste as its calling card. Whoopie batter is especially sensitive: small, rich portions with a high sugar ratio.

    How to tell: Rounds spread wide with a soapy or metallic taste; coarse, fragile texture rather than fine and cakey; the soda was measured with a dinner spoon or heaped.

    The fix: Level measuring spoons, scraped with a knife — 1¼ teaspoons baking soda, no more. Don’t “add extra for lift”; here, extra soda is extra spread. If your soda is older than 6 months, replace it instead of adding more — dead soda doesn’t lift, and extra quantity just adds soapiness.

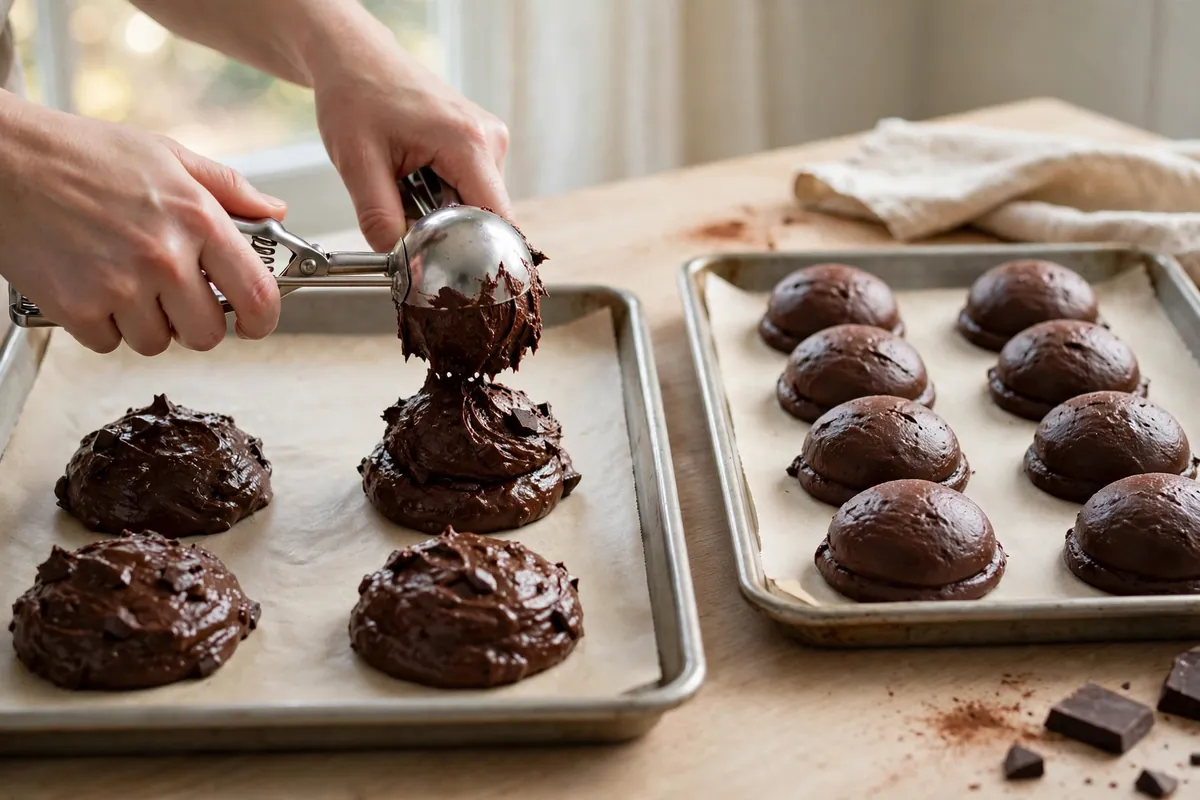
    hands scooping whoopie batter onto a parchment-lined tray, mounds holding shape
    hands scooping whoopie batter onto a parchment-lined tray, mounds holding shape

    3. Not enough flour — the structure never had a chance

    Whoopie batter walks a tightrope: enough flour for cakey structure, little enough to stay tender. Undermeasure — the classic scooped-cup error packs 20–30% less than intended — and there’s no scaffolding to contain melting fat and sugar. The most common cause, in my experience, for bakers who “followed the recipe exactly” with volume measures.

    How to tell: Batter looked thin or pourable rather than thick and scoopable; flour measured by scooping the cup from the bag; baked rounds tender to the point of fragility.

    The fix: Weigh the flour — 250g — or spoon into the cup and level. Already mixed a thin batter? Fold in flour a tablespoon at a time until a scooped mound holds its shape a full minute on the tray. Two to four tablespoons usually does it; more turns the texture dry.

    4. Too much sugar or the wrong sugar — sugar liquefies in the oven

    Sugar melts before flour sets, and a sugar-heavy batter spreads aggressively — especially all white sugar, which melts cleaner than brown. Brown sugar’s molasses adds moisture too, so the total load and the white-to-brown ratio both matter.

    How to tell: Thin, caramelized, candy-like edges with fine centers; the recipe was very high in sugar relative to flour.

    The fix: Keep sugar near the baseline — about 300g total to 250g flour, at least half of it brown sugar. Don’t slash sugar to fix spread, though: below about 250g the cakes go dry and bland. Fix temperature and flour first; sugar is a fine-tuning dial.

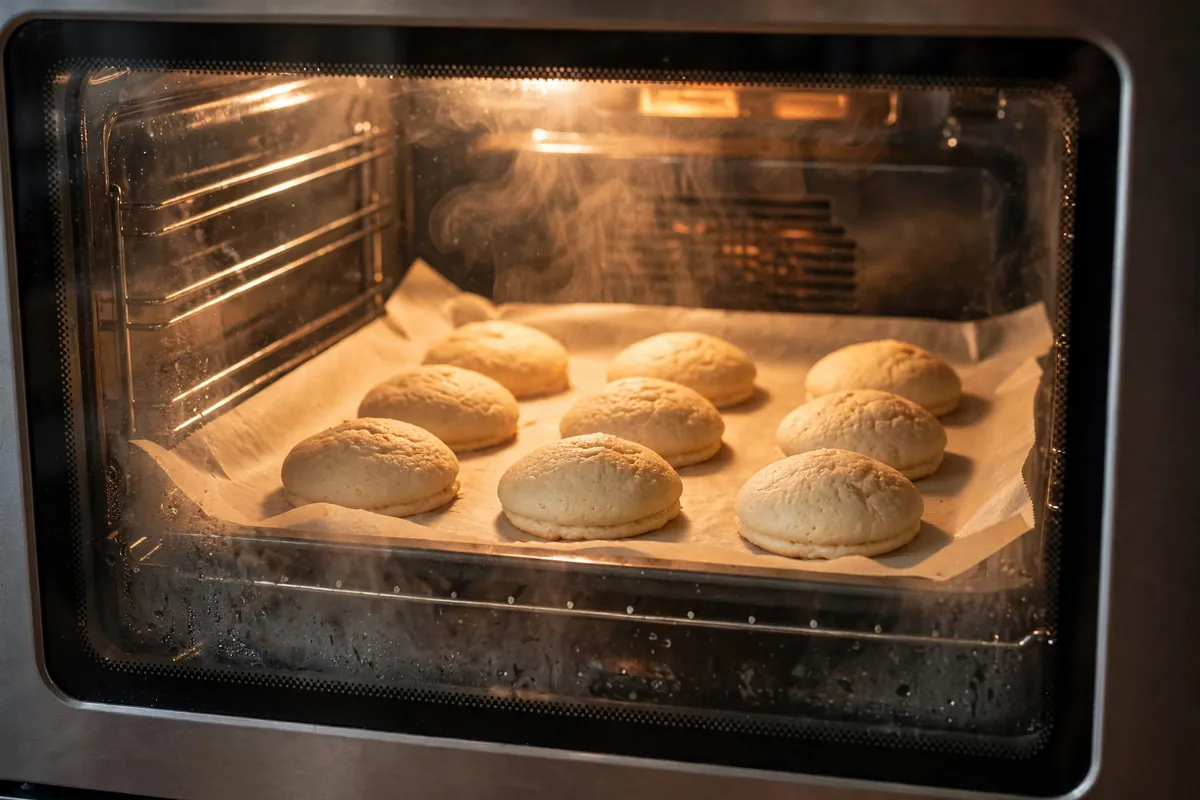
    whoopie pie cakes on a tray mid-bake viewed through the oven door
    whoopie pie cakes on a tray mid-bake viewed through the oven door

    5. The pan and spacing worked against you — hot, dark, or crowded

    A dark, thin sheet superheats the bottoms, melting fat before tops set — the batter spreads from below. Crowded mounds merge into one giant whoopie. And a tray still warm from the previous batch starts the next round already melting.

    How to tell: Over-browned bottoms with underdone tops; the second batch spread more than the first; mounds placed 1 inch apart merged.

    The fix: Heavy, light-colored half-sheet pan, parchment-lined. Space mounds 2 inches apart — room to grow up, not out. Cool the tray completely between batches. With only a dark nonstick sheet, drop to 325°F (165°C) and add 2 minutes. (More on pan material: Glass vs Metal vs Dark Pans: What Changes in Your Bake.)

    Frequently asked questions

    Can I fix whoopie pies that already spread flat?
    As cakes, no — but sandwich two flats with extra filling for a thinner whoopie, or crumble them over ice cream, where the crisp texture is an asset. Next batch: chill the scooped tray. That’s the highest-leverage fix.

    Are whoopie pies cookies or cake?
    Chemically, little cakes: cake-like ratios of fat, sugar, eggs, and liquid, leavened for tenderness. That’s why cookie instincts (“warm dough is fine”) betray you. Treat the batter like cake batter that happens to be scooped.

    Why did my whoopie pies crack on top?
    Usually too-hot oven — the exterior set before the interior finished expanding. Can also mean too much leavening (see #2). Fine cracks are traditional; deep fissures mean dropping 25°F (about 15°C). (Same mechanism as Why Did My Cake Dome and Crack on Top?.)

    Can I make whoopie batter ahead?
    Yes — mixed batter keeps 24 hours refrigerated, and chilled-from-mixed batter spreads less. Scoop straight from the fridge and add 1–2 minutes. Don’t freeze batter; freeze baked unfilled cakes up to a month, parchment between layers.

    Why are my whoopie pies dry instead of cakey?
    Overbaked — 2 minutes too long dries these small cakes. Pull when tops spring back but still look slightly soft; they firm as they cool. And weigh the flour: too much flour is the other classic route to dryness.

    What’s the best filling that won’t make them soggy?
    Stiff fillings: ermine frosting, Swiss meringue buttercream, or marshmallow-buttercream hybrid. Plain whipped cream weeps into the cakes within an hour — fine for immediate serving, bad for a party platter. Fill no more than 4 hours ahead unless the filling is very stable.

    Related troubleshooting: Why Do My Cookies Spread Flat? Butter, Sugar, and Chill Time · Kouign-Amann Troubleshooting: Leaked Butter, Burnt Sugar · Why Is My Banana Cake Gummy? Mixing and Moisture Fixes

  • How to Fix Overbaked Cookies (And Stop Doing It)

    How to Fix Overbaked Cookies (And Stop Doing It)

    You turned around for one minute — or the timer lied, or the recipe lied — and now the tray is full of cookies that went too far. Too crisp. Too dark. Edges like charcoal, centers like crackers. The first thing to know: you cannot un-bake a cookie. But you can absolutely salvage most batches, and the prevention side is one of the easiest fixes in all of baking, because overbaked cookies are almost never the recipe’s fault. They’re a timing and temperature problem, and both are fixable tonight.

    Quick diagnosis: Overbaked cookies are a carryover-cooking problem more than anything: cookies keep baking on the hot tray for 3–5 minutes after you pull them. If your cookies look “done” in the oven, they’re already overdone. Pull them when the edges are set but the centers still look slightly underdone (cause #1). If they’re burnt on the bottom only, your pan or oven rack position is the culprit (cause #4).

    What you can actually salvage (and what you can’t)

    Let’s be honest about the physics first. Once the sugars have caramelized past the point of no return and the moisture has baked out, no trick puts softness back into the crumb. A cookie that’s merely too crisp is salvageable. A cookie that’s genuinely burnt — black, bitter, acrid-smelling — is not. Taste one first: if the flavor is bitter rather than just dry, skip to repurposing — that batch is an ingredient now, not a cookie.

    Rescue 1: The bread-slice trick (for too-crisp, not burnt)

    This is the classic for a reason: it works. Place the cooled cookies in an airtight container with a slice of fresh bread (or half an apple) and seal it overnight. The cookies absorb moisture from the bread through the enclosed air, and by morning a too-crisp cookie is noticeably softer. It won’t fix a burnt cookie — moisture can’t un-bitter carbon — but for the “I left them in 3 minutes too long” batch, this is genuine rescue. (The same principle keeps Christmas Cookies Fresh for Weeks.)

    Rescue 2: Repurpose the batch — crumbs are an ingredient

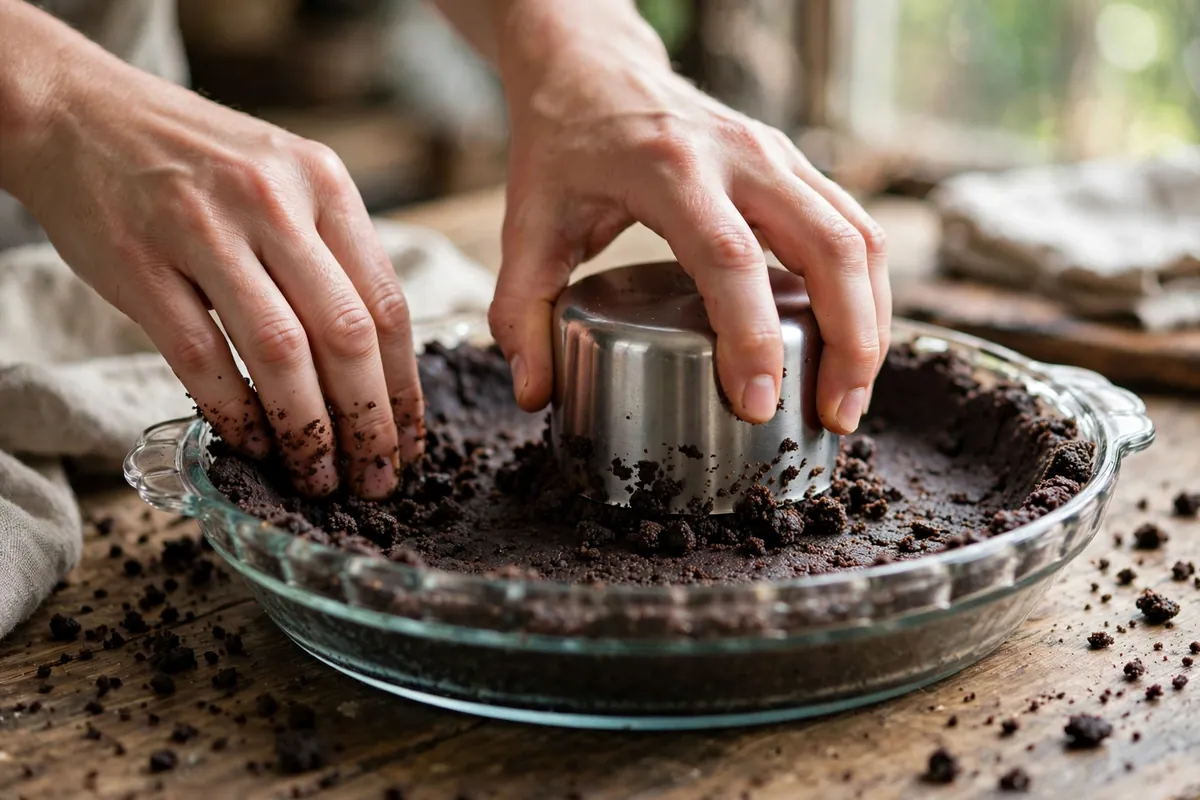
    Cookies that are too far gone to serve whole are still perfectly good raw material. Pulse them into crumbs in a food processor and you have: pie and cheesecake crust base (mix with melted butter, press into a pan — nobody will ever know), ice cream topping, trifle layers, or cookie truffles (crumbs + a spoonful of cream cheese or frosting, rolled and dipped in chocolate). A batch of overbaked chocolate chip cookies makes a spectacular icebox-cake layer, because the filling’s moisture softens them overnight. The batch isn’t a failure anymore; it’s a component.

    Rescue 3: Serve them warm with something wet

    A too-crisp cookie served warm with ice cream, or dunked in coffee, stops being a problem — heat softens the crumb and the moisture does the rest. Ten seconds in the microwave, a scoop on top, and nobody is diagnosing your bake time.

    Prevention 1: Pull them early — carryover cooking is the real timer

    Here’s the rule that fixes 80% of overbaked-cookie complaints: cookies are done when the edges are set and lightly golden but the centers still look slightly soft and underdone. They will finish setting on the hot tray as they cool — this carryover cooking takes 3–5 minutes and it’s doing real baking work. If a cookie looks perfectly done through the oven door, it’s going to be overdone by the time it cools. Pull trays a full 2 minutes before you think they’re ready and overbaking all but disappears.

    The sensory test: Nudge a cookie gently with a spatula. The edge should hold its shape; the center can look pale and soft. That’s done. If the whole cookie is uniformly golden and firm in the oven, you’ve overshot.

    Prevention 2: Your oven is lying about its temperature

    Most home ovens run 15–25°F off the dial, and cookies — thin, sugary, fast-baking — punish temperature errors harder than almost anything else. A 25°F-hot oven turns a 12-minute bake into a 9-minute bake, and if you’re still timing for 12, every batch burns. An oven thermometer costs less than one ruined batch of butter and tells you the truth. Preheat fully — a full 15–20 minutes past the beep — because cookies dropped into a half-heated oven spread before they set (a whole separate failure; see Why Do My Cookies Spread Flat?).

    Prevention 3: Know your pan — dark pans bake faster

    Dark, thin baking sheets absorb more radiant heat and can overbake cookie bottoms while the tops still look pale — the classic “burnt bottom, raw-looking top” complaint. If your cookies consistently burn underneath, the pan is the prime suspect, not the recipe.

    The fix: Switch to light-colored, heavy aluminum half-sheet pans. Line with parchment (it insulates slightly and prevents sticking). Bake one rack above center, never on the bottom rack. And never put a fresh batch on a hot tray — the residual heat starts baking the bottoms before the oven does. Cool the tray between batches, or rotate two trays.

    Prevention 4: Chill the dough, watch the sugar

    Two subtler contributors. Warm, soft dough spreads fast and thin, and thin cookies overbake in the time a thick cookie needs — chilling dough 30 minutes before baking gives you thicker cookies with more margin for error. And sugar content matters: high-sugar doughs brown faster (sugar caramelizes), so a recipe heavy on brown sugar needs a watchful eye in the last 2 minutes. Set a timer for 2 minutes under the recipe time and check from there — you can always add time, but you can’t subtract it.

    hand lifting a cookie from a parchment-lined tray, center still soft
    hand lifting a cookie from a parchment-lined tray, center still soft

    The timing cheat sheet I actually use

    For a standard drop cookie at a true 350°F (175°C) on a light aluminum pan: start checking at 10 minutes regardless of what the recipe says. Look for set edges, pale centers. Pull at 11–12 minutes for chewy, 13–14 for crisp — but always 1–2 minutes before they look “done.” Cool on the tray 5 minutes (this is still baking), then move to a rack. Write your oven’s behavior on the recipe card — “mine runs 15°F hot, pull at 11 min” — and the next batch is automatic.

    overbaked cookie crumbs being pressed into a pie dish as crust
    overbaked cookie crumbs being pressed into a pie dish as crust

    Frequently asked questions

    Can I fix burnt cookies?
    Not really. You can scrape off badly burnt bottoms with a grater, which helps mildly burnt cookies, but bitter, blackened cookies can’t be saved as cookies — crumb them and repurpose as crust or topping, where the bitterness gets diluted.

    Why do my cookies burn on the bottom but look raw on top?
    Dark pan, bottom rack position, or an oven with a fierce lower element. Move to a light-colored pan, bake on the center or upper-center rack, and line with parchment.

    Is it safe to eat underbaked cookies?
    Slightly soft centers that set as they cool are fine and intended. Truly raw, wet dough centers should go back in — raw flour and egg aren’t ideal. The “pull early” advice means soft-set, not raw.

    Can I re-soften cookies that went hard days later?
    Yes — the bread-slice trick works on stale cookies too, not just overbaked ones. Airtight container, fresh bread slice, overnight. It restores softness remarkably well.

    Should I trust the recipe’s bake time?
    Recipe times assume a calibrated oven, a specific pan, and a specific dough temperature — you likely differ on at least one. Always check 2 minutes early.

    Do convection/fan ovens change cookie timing?
    Yes — drop the temperature 25°F (about 15°C) for fan ovens, and check even earlier. Forced air browns cookie surfaces fast.

    Related troubleshooting: Why Do My Cookies Spread Flat? · Why Are My Cookies Cakey Instead of Chewy? · How to Rescue an Overbaked Cake

  • Christmas Cookies: How to Keep Them Fresh for Weeks

    Christmas Cookies: How to Keep Them Fresh for Weeks

    Christmas cookie season starts in November and the eating goes through New Year’s — which means the cookies you bake in week one need to survive until week four. I’ve shipped tins of cookies across the country and kept platters going all December, and the system is simple once you know the one rule that governs everything. Here’s how to keep every type fresh.

    Quick plan: Sort by texture: crisp cookies (gingerbread, shortbread) go airtight at room temperature for 2–3 weeks. Soft cookies (frosted sugar cookies, molasses) go airtight with the bread-slice trick for 1–2 weeks. Never store crisp and soft together. Most doughs and most baked cookies freeze for 2–3 months — often the best plan of all.

    The golden rule: never mix crisp and soft

    Moisture migrates. Put a crisp gingerbread snap in a tin with soft frosted sugar cookies and within two days the snap is soggy and the sugar cookie is stale — they’ve traded moisture through the air. This single mistake ruins more Christmas cookies than any other storage error.

    The fix: One texture per container. Crisp with crisp, soft with soft, always. If you’re gifting mixed assortments, bag each type separately inside the gift tin.

    Crisp cookies: the easy keepers

    Gingerbread, shortbread, biscotti, snickerdoodles (the crisp kind) — these are the marathon runners of Christmas cookies. Low moisture is their preservative.

    Method: Cool completely (any residual warmth = condensation = sogginess), then pack in airtight tins or containers at room temperature. They’ll stay crisp and good for 2–3 weeks, sometimes longer. Metal tins beat plastic — they seal better and block light.

    How to tell they’re fading: They lose their snap and taste stale-soft. If caught early, 5 minutes in a 300°F (150°C) oven re-crisps most of them.

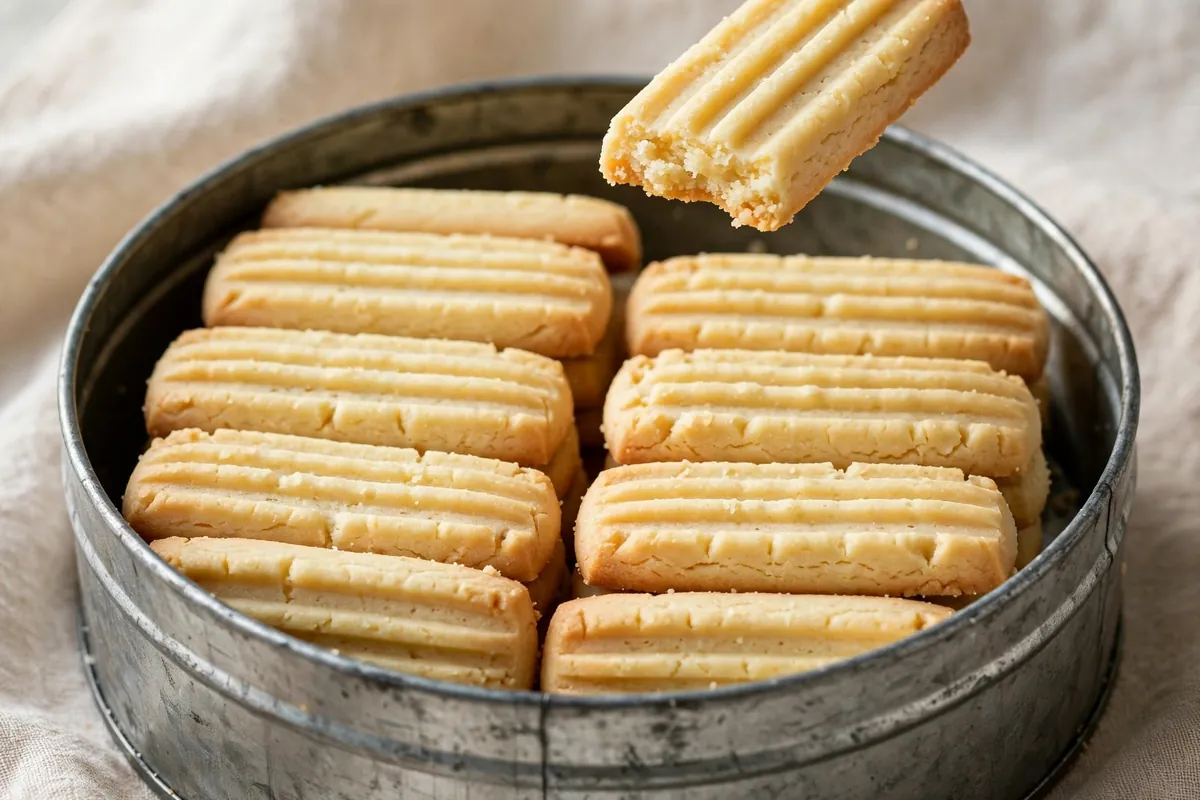
    shortbread fingers stacked in a metal tin
    shortbread fingers stacked in a metal tin

    Soft and chewy cookies: the bread-slice trick

    Frosted sugar cookies, molasses crinkles, soft gingerbread — these need their moisture kept in, the opposite problem.

    Method: Airtight container at room temperature, plus half a slice of plain sandwich bread tucked in. The bread — staler than the cookies — gives up its moisture to the surrounding air, and the cookies absorb it instead of drying out. Replace the bread slice every 2–3 days (it’ll go hard as it donates its moisture — that’s it working). Expect 1–2 weeks of freshness.

    Frosting note: Let royal icing dry a full 24 hours before stacking or storing — touching frosting smears, and trapped moisture under the icing softens it. Buttercream-frosted cookies store fine airtight for about a week.

    Freezing baked cookies: the 3-month plan

    Almost all Christmas cookies freeze beautifully for 2–3 months — this is how serious holiday bakers do it.

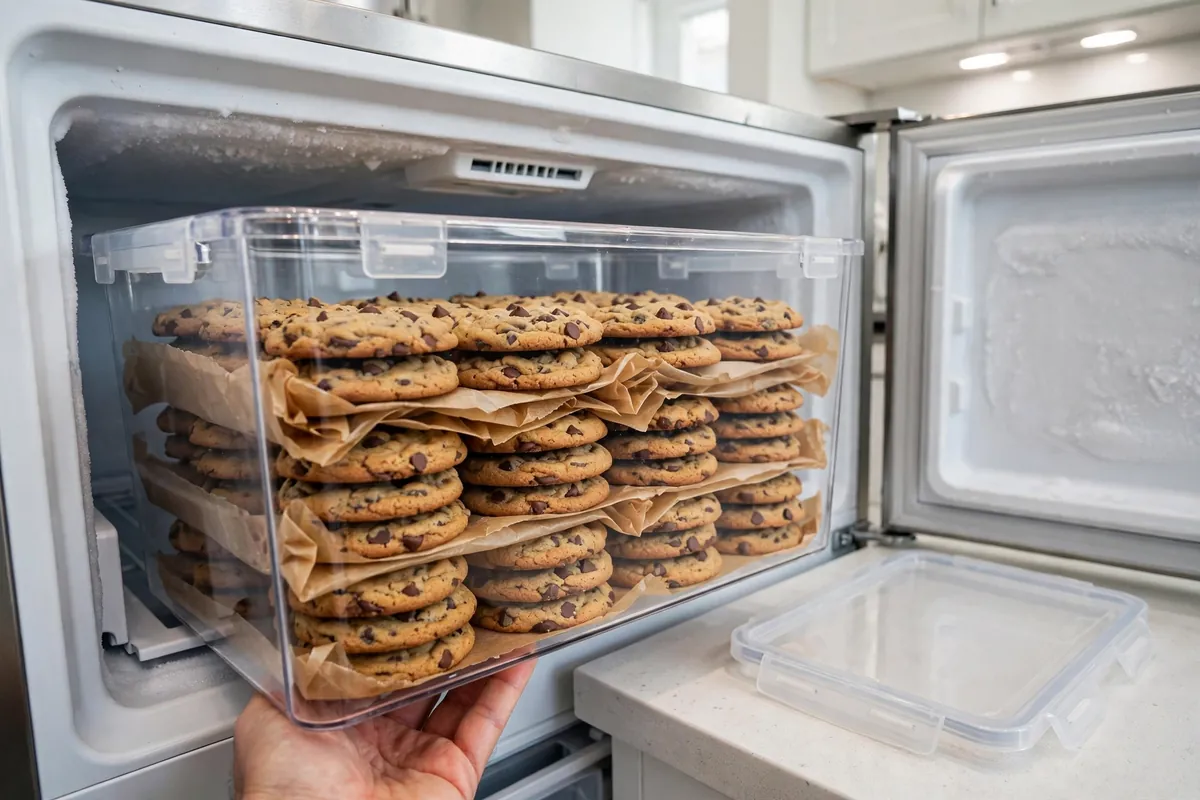
    Method: Cool completely. Layer in rigid airtight containers with parchment between layers (bags crush decorations). Freeze. Thaw unwrapped at room temperature — unwrapping before thawing prevents condensation from settling on the surface.

    The royal icing rule: Freeze undecorated when you can; decorate after thawing. Fully-dried royal icing does survive freezing, but any soft spots will weep. When in doubt, decorate fresh.

    parchment-layered cookies in a rigid container going into the freezer
    parchment-layered cookies in a rigid container going into the freezer

    Freezing dough: often the better move

    For many cookies, freezing the dough beats freezing the baked cookie — you get fresh-baked taste on demand all December.

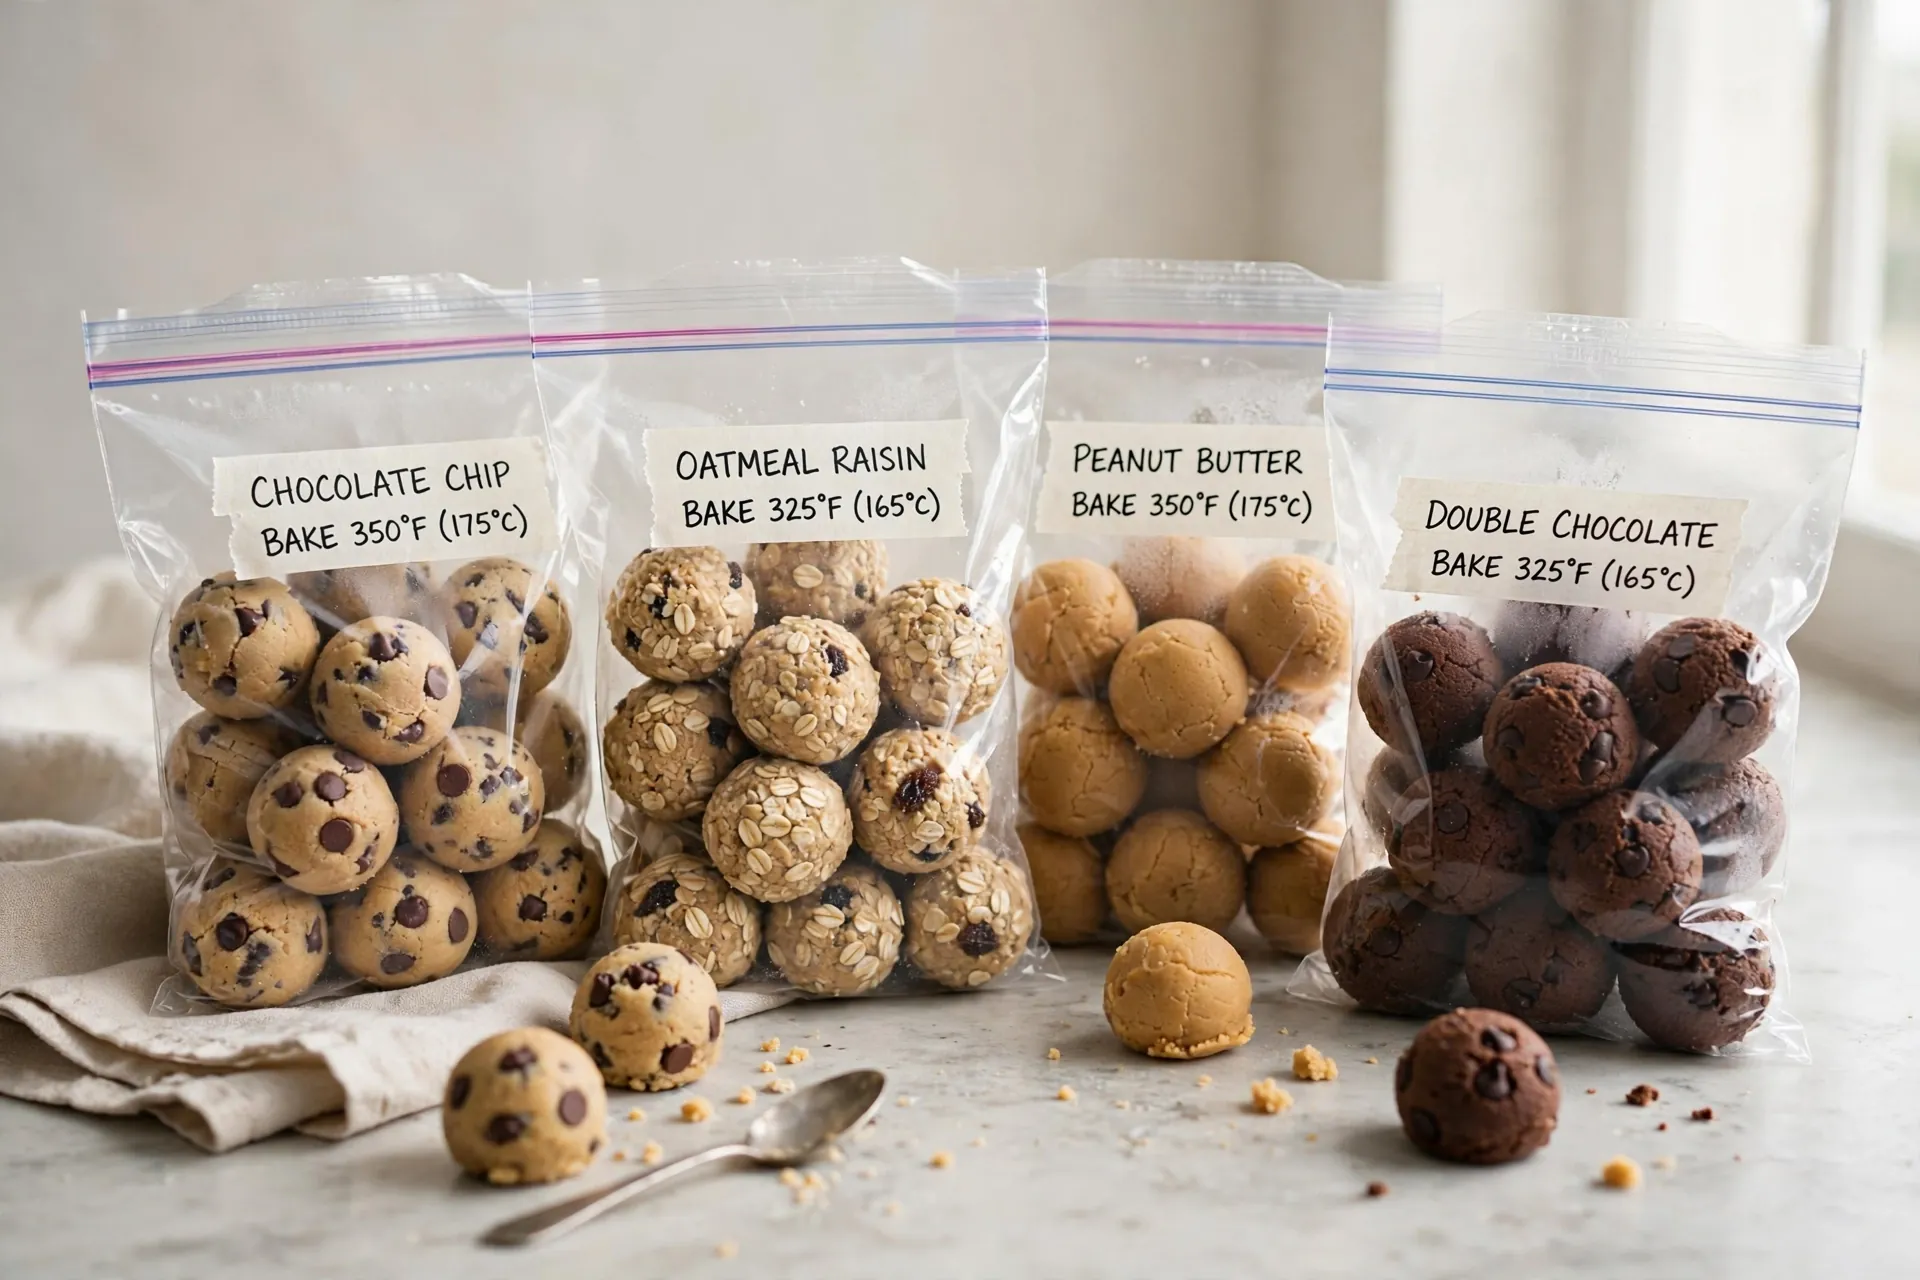
    Drop cookies: Scoop dough balls, freeze solid on a tray, then bag. Bake straight from frozen, adding 1–2 minutes (see How to Freeze Cookie Dough).
    Slice-and-bake (shortbread, icebox cookies): Form logs, wrap tightly, freeze. Slice frozen and bake — the cold dough holds its shape perfectly.
    Cut-outs: Freeze the cut shapes on trays, then bag. Bake from frozen; they spread less, so edges stay sharp.

    Dough keeps 3 months frozen. Label everything with the bake temp and time — future-you in mid-December will not remember.

    Gifting and shipping: packing cookies to travel

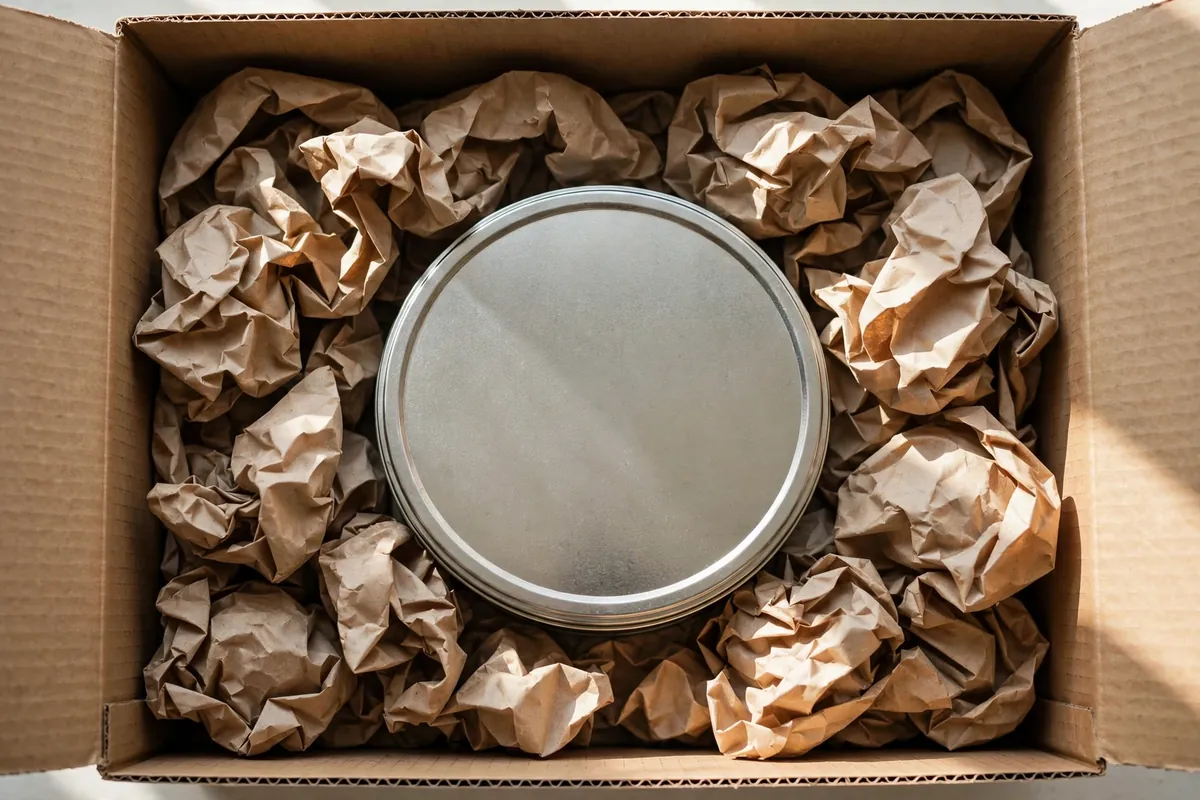
    If these cookies are leaving your kitchen, packing matters as much as baking. For hand-delivered tins, the parchment-layer system above is enough. For shipping: choose sturdy cookies (shortbread, biscotti, and gingerbread survive mail; delicate cut-outs and meringues don’t), pack tins inside a slightly larger box with crumpled paper buffering all six sides, and ship early in the week so they don’t sit in a warehouse over the weekend. Include a card with the bake date — recipients appreciate knowing the timeline, and it quietly signals that you planned this.

    cookie tin packed inside a shipping box with crumpled paper cushioning
    cookie tin packed inside a shipping box with crumpled paper cushioning

    What doesn’t keep well

    • Lace cookies and tuiles: beautiful, fragile, and humidity-sensitive. Days, not weeks — make them close to serving.
    • Anything with fresh fruit or cream fillings: days in the fridge, not weeks on the counter.
    • Meringue kisses: technically weeks in an airtight container in dry conditions, but one humid day ruins them. Winter-dry climates only.
    labeled freezer bags of cookie dough balls with bake temp written on each
    labeled freezer bags of cookie dough balls with bake temp written on each

    Frequently asked questions

    Can I freeze decorated sugar cookies?
    Yes, with a caveat: the royal icing must be bone-dry first (24 hours minimum), and you should freeze them in a single rigid layer. They’ll survive 2–3 months. But decorating after thawing gives a better result — freeze the baked blanks, decorate fresh.

    How long do gingerbread cookies really last?
    Crisp gingerbread: 3+ weeks airtight at room temperature. Soft frosted gingerbread people: 1–2 weeks with the bread-slice trick. The decoration doesn’t change the timeline — the texture does.

    Why did my crisp cookies go soft in storage?
    Three usual suspects: stored with soft cookies (moisture migration), packed before fully cool (trapped steam), or a humid kitchen with a loose lid. Re-crisp in a 300°F (150°C) oven for 5 minutes — it works surprisingly often.

    Is it safe to eat month-old cookies?
    If they were stored properly (airtight, cool, dry), yes — this is a quality question, not a safety one. Low-moisture baked goods don’t harbor bacteria; they just go stale. Trust your nose and texture: stale is disappointing, not dangerous. Anything with cream, custard, or fresh fruit follows fridge rules instead.

    Can I refresh stale cookies?
    Crisp types: 5 minutes at 300°F (150°C) restores snap. Soft types: 10 seconds in the microwave (seriously — it re-softens them). Neither trick works twice; it’s a one-time rescue.

    Related troubleshooting: How to Freeze Cookie Dough (and Bake It Straight From Frozen) · Why Do My Cookies Spread Flat? Butter, Sugar, and Chill Time

  • Why Do My Cookies Spread Flat? Butter, Sugar, and Chill Time

    Why Do My Cookies Spread Flat? Butter, Sugar, and Chill Time

    Why Do My Cookies Spread Flat? Butter, Sugar, and Chill Time

    Quick diagnosis: Flat cookies almost always trace to two things: butter that was too warm and dough that went into the oven unchilled. If your butter looked shiny or greasy before mixing and you skipped the chill, those two alone explain the pancake. Fix them first — they solve 8 out of 10 flat-cookie cases.

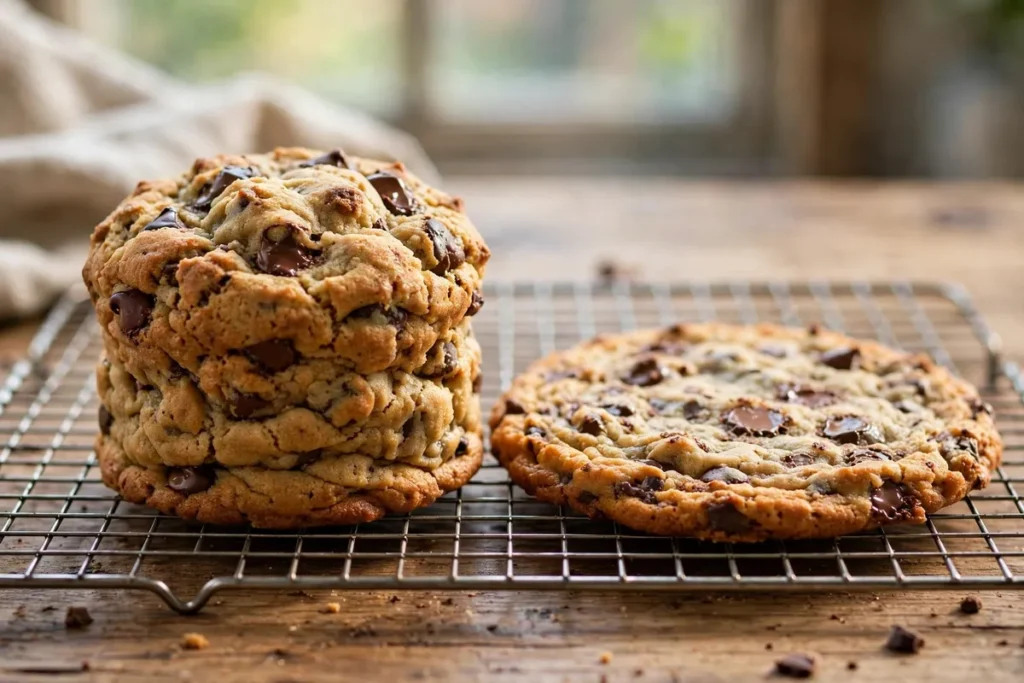
    side-by-side of one thick cookie and one flat spread cookie on a cooling rack
    side-by-side of one thick cookie and one flat spread cookie on a cooling rack

    Cookie spread is a race: fat melts and sugar liquefies, pushing the dough outward, while heat sets the structure and stops the flow. A thick cookie is simply dough whose structure set before it could travel far. Every cause below is a lever on that race — slow the melt, speed the set, and your cookies stay tall.

    1. The butter was too warm (or melted)

    The number one cause, and the one I see most in reader photos. Butter for cookies should be softened — cool to the touch at 65–68°F (18–20°C), holding its shape but giving slightly when pressed. Melted or greasy-warm butter is already liquid, so it starts flowing the second the dough hits the oven, long before the structure sets.

    How to tell: Think back to mixing. Did the butter look shiny, slump in the bowl, or leave a grease slick? Did the creamed mixture look more like a batter than a fluffy paste? That’s too-warm butter.

    The fix: Cut cold butter into cubes and let it sit 30–45 minutes — no microwaving, no warm spots. Cream it with sugar 2–3 minutes until light and fluffy, not soupy. When I deliberately baked one batch with melted butter against a properly creamed control, the melted-butter batch spread nearly twice as wide.

    2. Too much white sugar (wrong sugar ratio)

    White sugar melts cleanly and encourages spread. Brown sugar contains molasses, which is hygroscopic — it holds onto moisture — so it spreads less and bakes up chewier and thicker. A recipe heavy on white sugar will always spread more than one leaning on brown.

    How to tell: Compare your recipe’s sugar ratio. If it’s all white sugar, or white outnumbers brown two-to-one, sugar is contributing to the spread.

    The fix: Shift the ratio toward brown sugar — try replacing a quarter to half of the white sugar with packed brown sugar. You’ll get thicker cookies with chewier centers and a deeper flavor. This is also the single biggest lever if you want chewy rather than crisp cookies (more on that in Why Are My Cookies Cakey Instead of Chewy?).

    3. The dough wasn’t chilled

    Chilling firms the butterfat back up so it melts slowly in the oven instead of all at once. It also hydrates the flour, which means less free moisture and better flavor. Skipping the chill is the fastest way to turn a good recipe flat.

    How to tell: Did the scooped dough feel soft and room-temp when it went onto the tray? That’s unchilled dough.

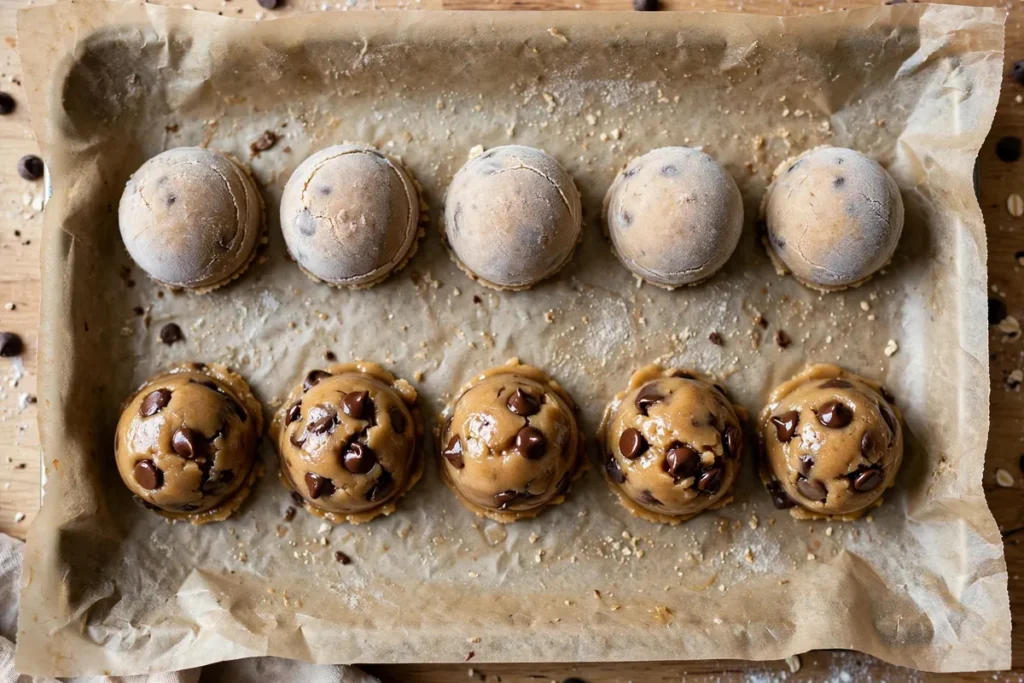
    The fix: Chill scooped dough balls at least 30 minutes; an hour is better, and overnight develops noticeably deeper flavor. Keep a tray of portioned dough in the fridge and bake straight from cold — the difference in height is dramatic. If you’re in a hurry, 20 minutes in the freezer works as an emergency chill.

    scooped dough balls on a tray, half labeled chilled (firm, matte) vs room-temp (soft, glossy)
    scooped dough balls on a tray, half labeled chilled (firm, matte) vs room-temp (soft, glossy)

    4. The oven ran too cool

    Spread happens while the fat is melting but the structure hasn’t set. A cool oven stretches that window — the fat liquefies fully while the proteins and starches are still catching up, so the dough flows outward for longer. Most home ovens run 15–25°F off, usually cool.

    How to tell: Cookies took longer than the recipe’s time range and still look pale, or everything you bake seems to need “a few more minutes.”

    The fix: Verify with an oven thermometer — they’re cheap and every serious baker owns one. Most drop cookies want 350°F (175°C); for extra-thick cookies, 375°F (190°C) sets the edges faster. Preheat fully, a full 15–20 minutes past the beep.

    5. The baking sheet was warm (or greased)

    Dough placed on a warm tray starts melting on contact — the bottoms liquefy before the oven heat even reaches the tops. And greasing the sheet, an old habit from the shortening era, actively encourages spread. Modern nonstick or parchment-lined sheets need no grease at all.

    How to tell: The first tray spread fine but the second batch — scooped onto the still-warm tray — went flat. Or you greased the pan “just in case.”

    The fix: Cool trays completely between batches (run cool water over the back, dry thoroughly), and line with parchment instead of greasing. Use light-colored aluminum sheets; dark pans absorb more heat and over-brown bottoms while encouraging spread.

    6. Too little flour went in

    Flour is the structure that stops the flow. Under-measure it and there’s nothing to hold the dough’s shape. The classic error is scooping the cup straight from the bag, which compacts flour — except here the danger is the reverse: a hurried, heaped-then-shaken scoop that actually delivers less than a proper measure, or a recipe developed with weighed flour that you cup-measured loosely.

    How to tell: The dough felt slack, sticky, or batter-like rather than a firm scoopable dough.

    The fix: Weigh flour — 120g per cup, spooned and leveled if you must use cups. If the dough seems slack, add flour one tablespoon at a time until scoops hold a clean dome. Don’t overdo it; past the right point you trade spread for dryness.

    7. Too much baking soda

    Baking soda is alkaline. It raises dough pH, which weakens gluten slightly, speeds browning, and — crucially — encourages spread. A heavy hand with soda gives thin, lacy cookies with a soapy aftertaste. (Baking powder, which contains its own acid, puffs upward instead — that’s why cakey-cookie recipes lean on powder.)

    How to tell: Cookies spread excessively AND taste faintly soapy or metallic, with very dark, lacy edges.

    The fix: Measure soda precisely — most drop-cookie doughs use about 1 teaspoon per 2¼ cups of flour. Level the spoon. If your recipe already spreads well, don’t “add a little extra for lift”; extra soda buys spread, not height.

    three cookies from the same dough — one baked from warm dough, one chilled 30 min, one chilled overnight
    three cookies from the same dough — one baked from warm dough, one chilled 30 min, one chilled overnight

    Can I rescue the flat batch?

    Yes — the cookie scoot. While the cookies are still hot and pliable on the tray, take a round cookie cutter slightly larger than the cookie, place it over each cookie, and swirl gently. The cutter tucks the spread edges back under, and as the cookie cools it holds a thicker, rounder shape. It won’t fix the texture completely, but it turns pancakes into presentable cookies. I use this on every imperfect batch.

    FAQ

    Are flat cookies safe to eat?
    Yes, completely. Spread is a texture issue, not a safety one. As long as the centers are set — no wet, raw-looking dough — flat cookies are fine to eat. They’ll be crisper and more caramelized than intended, which some people actually prefer.

    Can I fix cookies that already spread too much?
    While they’re hot, yes: use the cookie scoot described above — a round cutter swirled around each warm cookie pulls the edges back in. Once fully cooled and set, the shape is permanent, so work fast, within 2–3 minutes of leaving the oven.

    Does chilling the dough really make that much difference?
    More than any other single step. In side-by-side tests, chilled dough bakes up visibly thicker with better flavor (the resting flour hydrates fully). Thirty minutes is the minimum useful chill; overnight is the gold standard. It’s the highest-return habit in cookie baking.

    Should I use melted or softened butter for thick cookies?
    Softened, always, for thick cookies. Melted butter is a legitimate choice when you want thin, chewy, toffee-edged cookies — many excellent recipes use it deliberately. But if your goal is height, melted butter works against you from the first minute.

    Why did my second tray spread when the first was fine?
    The tray was still warm. Dough hitting a hot sheet starts melting on contact. Cool the sheet completely between batches, or rotate between two sheets so one is always cooling while the other bakes.

    Do silicone baking mats cause more spreading?
    Slightly, sometimes — silicone insulates, so bottoms set a touch slower. The effect is small compared to butter temperature and chilling. Parchment on a light aluminum sheet is the most predictable setup; if you love your mat, add 5 extra minutes of chill to compensate.

    Related troubleshooting: Why Are My Cookies Cakey Instead of Chewy? · Puff Pastry Not Puffing: Lamination Mistakes to Avoid